
To connect an IoT device to the Azure Raspberry Pi simulator, you can follow these steps:
Set up an Azure IoT Hub:
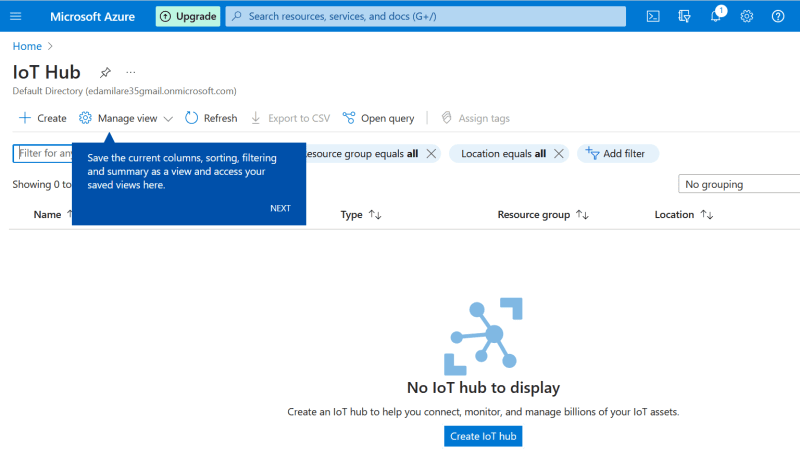
a. Go to the Azure portal and create a new IoT Hub resource.
b. Configure the settings for your IoT Hub, such as name, subscription, resource group, and region.

c.
Once the IoT Hub is created, go to its “Shared access policies” section and create a new policy with sufficient permissions (e.g., “registryRead”, “registryWrite”, “serviceConnect”, “deviceConnect”).
d. Take note of the “Connection string - primary key” value; you’ll need it later.

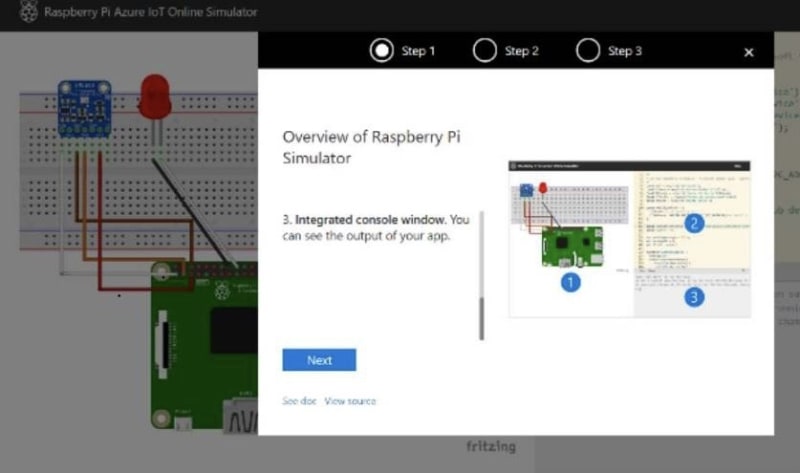
Open your web browser and search for azure raspberry pi simulator.
Run the Raspberry Pi simulator:
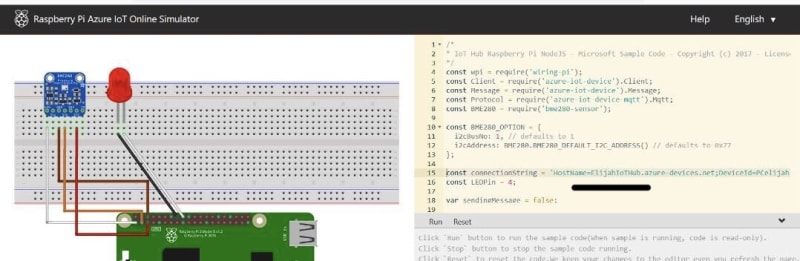
a. Input your code, add logic to start the device simulation and send telemetry data at regular intervals. Input primary connection key on line 15 of the code script.
b. Test the simulator on your local machine to make sure it’s functioning correctly.Monitor device telemetry in Azure IoT Hub:
a. In the Azure portal, navigate to your IoT Hub resource.
b. Open the “IoT devices” section and verify that your simulated device is listed.
c. Monitor the incoming telemetry data and device events in the “Messages” and “Events” sections.

That’s it! You have now connected your IoT device (Raspberry Pi simulator) to Azure IoT Hub. You can explore additional features such as device management, data visualization, and alerts using Azure services like Azure Stream Analytics, Azure Functions, or Azure Logic Apps.

Top comments (0)