
Resource locks protect your Azure resources from accidental deletion or modification. As an administrator, you can lock an Azure subscription, resource group, or resource to protect them from accidental user deletions and modifications. The lock overrides any user permissions. You can set locks that prevent either deletions or modifications. In the portal, these locks are called Delete and Read-only
STEP 1
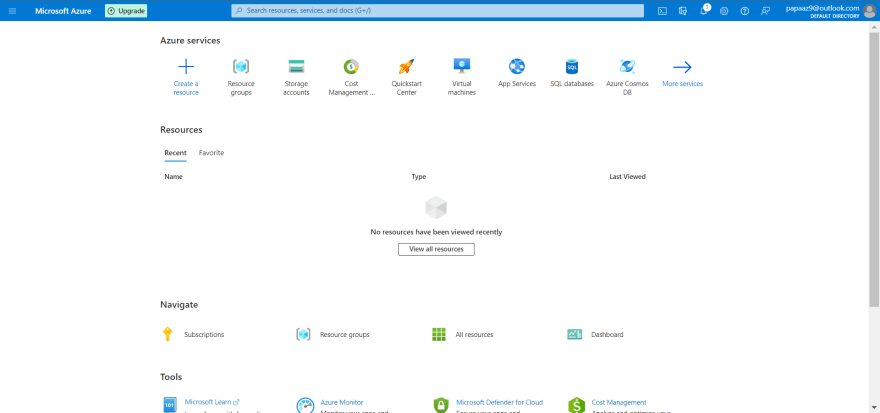
Login your Microsoft Azure account
*STEP 2 *
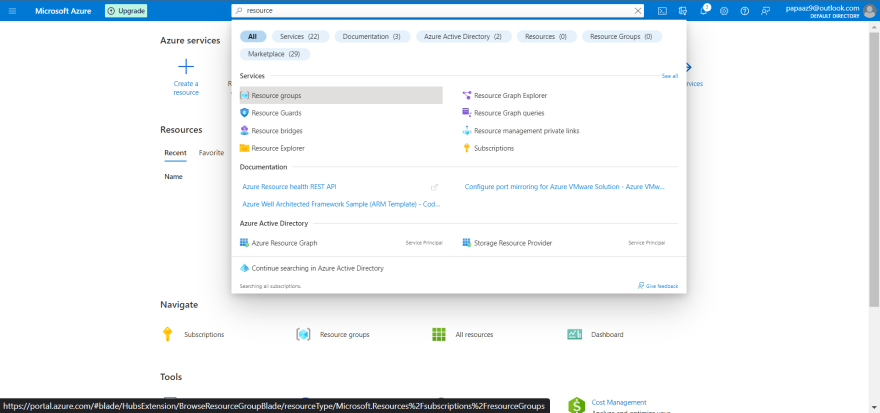
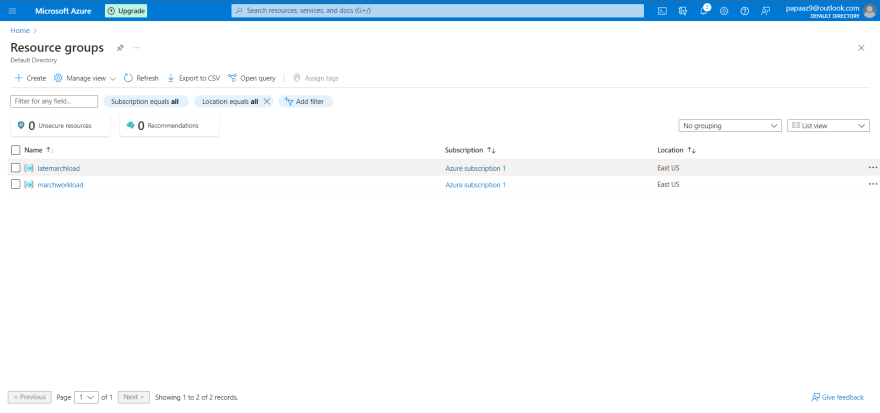
search resource group
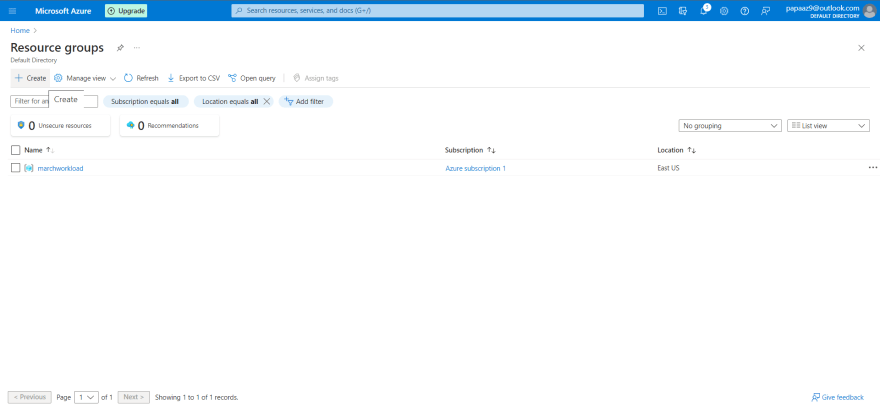
STEP 3
Click on Create
STEP 4
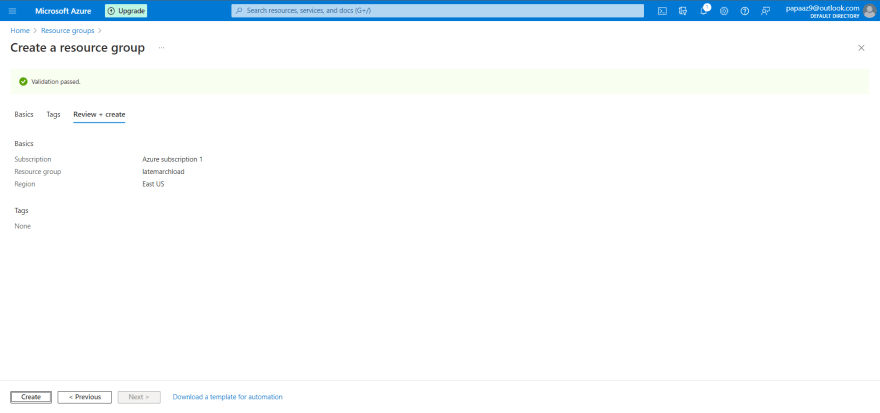
-Give the resource group a name [I used latemarchload]
-Click on Review and create

STEP 5
Click on create
STEP 6
-Click on the resource group
-Search for locks and click on it

STEP 7
-Click on '+ Add'
-Choose a lock name
-Choose lock type, I used delete
READ ONLY-means authorized users can read and modify a resource, but they can't delete it.
DELETE- means authorized users can read a resource, but they can't delete or update it
-Click ok

STEP 8
Now we would create a storage account using the locked resource group.
-Go home and search for storage account
-click on create


STEP 9
-Choose your subscription
-Choose the resource group we added a lock to earlier[latemarchload]
-Choose a unique name for the storage account
-Choose your region
-Click Review

STEP 10
Click on create

Click on Go to Resource

STEP 11
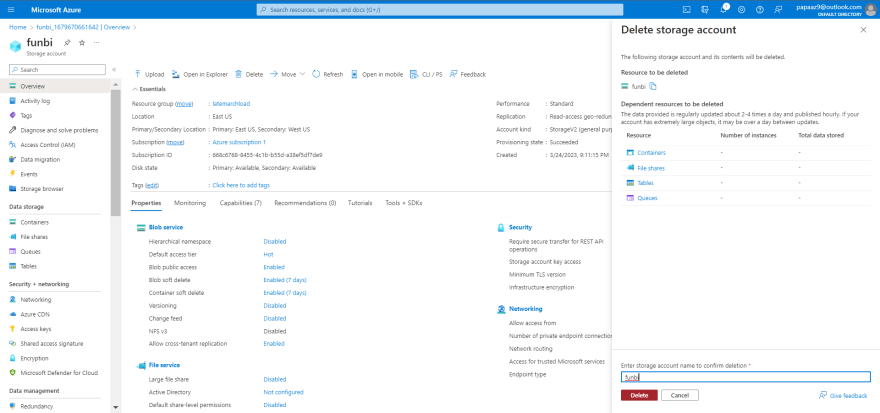
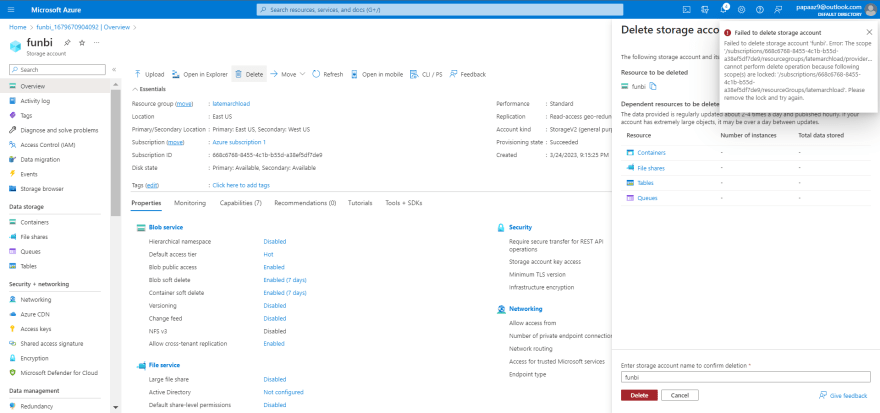
-Click on delete
-Type the name of the storage account[funbi] to confirm deletion
-You'll see an error message popped up to confirm the efficiency of the Lock placed on the resource group
STEP 12
To remove the placed lock;
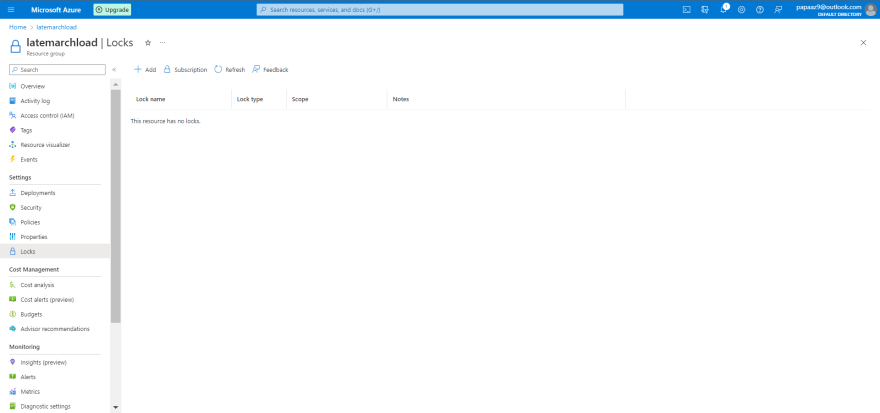
-Go to the resource group
-Search and click on locks

STEP 13
Click on delete
STEP 14
Go back to the resource group and try to delete the storage account after the deleting the lock
Storage account was deleted successfully because of the removal of the locks


Top comments (0)