
Quite often a Python project consists not only of an app but also of some libraries that could also be used by other projects.
- On one hand, it's very convenient to work with the app repository independently of libraries assuming the libraries are installed on the system (virtual environment).
- On the other hand, this creates a painful problem of "change the library" -> "install the library" -> "check the change from the app development setup" cycle.
This post shows, how you can manage this setup with Git X-Modules.
For the Git server, we will use Atlassian Bitbucket Server/Data Center --- one of the most popular self-hosting Git solutions. It's also convenient because there's a special Git X-Modules App for it. If you are on any other Git Server, you may still use Git X-Modules as a command-line tool.
The configuration. As an example, we'll create an app (let's call it 'qsolver') that solves quadratic equations. I will also create a library ('qsolverlib) that performs mathematical calculations, so the 'qsolver' app will use it to output the solution.
Finally, there will be a 'qsolver-project' containing both components. This will help us to pinpoint the version of 'qsolverlib' used by 'qsolver' because otherwise 'qsolver' would use 'qsolverlib' installed on the system that could be of the wrong version. This is especially useful in real life when some problem happens to some older version of the application and it's important to deduce the library version used for that application.
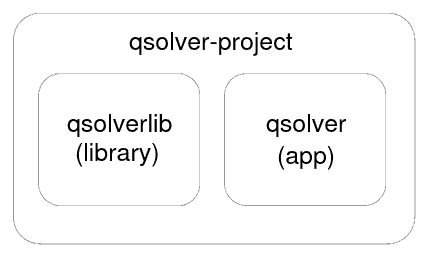
We will create 3 Git repositories: for 'qsolverlib', 'qsolver', and 'qsolver-project'.
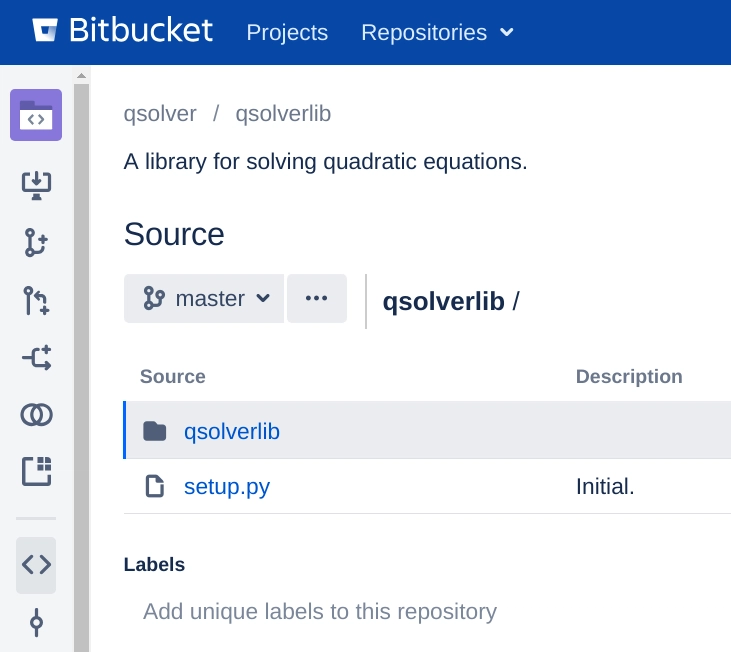
Step 1. Create 'qsolverlib' Git repository.
Create 'qsolverlib' Git repository on Atlassian Bitbucket Server/Data Center.

Clone this empty Git repository:
git clone http://example.org/scm/qsolver/qsolverlib.git qsolverlib/
cd qsolverlib/
Inside this Git repository create the 'qsolverlib' subdirectory and create the solve.py file in it with the following content:
"""Quadratic equation solver."""

import math

def solve(a, b, c):
    """Solve equation ax^2 + bx + c = 0, return a root or a list with roots"""
    D = b * b - 4 * a * c
    if D < 0:
        return None
    elif D == 0:
        return -b / (2 * a)
    else:
        return [(-b - math.sqrt(D)) / (2 * a), (-b + math.sqrt(D)) / (2 * a)]
Also create an empty "__init__.py" file in the "qsolverlib" subdirectory:
touch qsolverlib/__init__.py
Finally, create "setup.py" at the root of the Git repository:
"""Setup file for qsolverlib."""

import setuptools

setuptools.setup(
    name="qsolverlib",
    version="0.0.1",
    description="A library solving quadratic equations",
    url="http://example.org/scm/qsolver/qsolverlib.git",
    author="Dmitry Pavlenko",
    author_email="pavlenko@tmatesoft.com",
    license="MIT",
    classifiers=[
        "License :: OSI Approved :: MIT License",
        "Programming Language :: Python"
    ],
    packages=setuptools.find_packages(),
    python_requires=">=3.7"
)
So the resulting structure looks as follows:
.
├── qsolverlib
│   ├── __init__.py
│   └── solve.py
└── setup.py
Commit and push the package.
git add .
git commit -m "Initial."
git push origin master
Step 2. Create Python virtual environment and install the package there.
Python virtual environment allows installing python packages locally into some directory without requiring to install them at the system-wide level. To create the environment run (not inside the Git repository but inside it parent directory):
virtualenv .venv/
or
python3 -m venv .venv/
As result, the ".venv/" directory will be created. This environment should be activated to be used:
source .venv/bin/activate
After that "(.venv)" will be prepended to the command prompt indicating that we're working with the virtual environment.
Now install the 'qsolverlib' package into this environment:
pip3 install qsolverlib/
For me it prints:
...
  error: invalid command 'bdist_wheel'

  ----------------------------------------
  Failed building wheel for qsolverlib
...
This can be resolved by installing the 'wheel' package:
pip3 install wheel
Then retrying
pip3 install qsolverlib/
is successful. Now the library can be used by an app if the app is running within the same virtual environment.
The virtual environment can be de-activated with
deactivate
command.
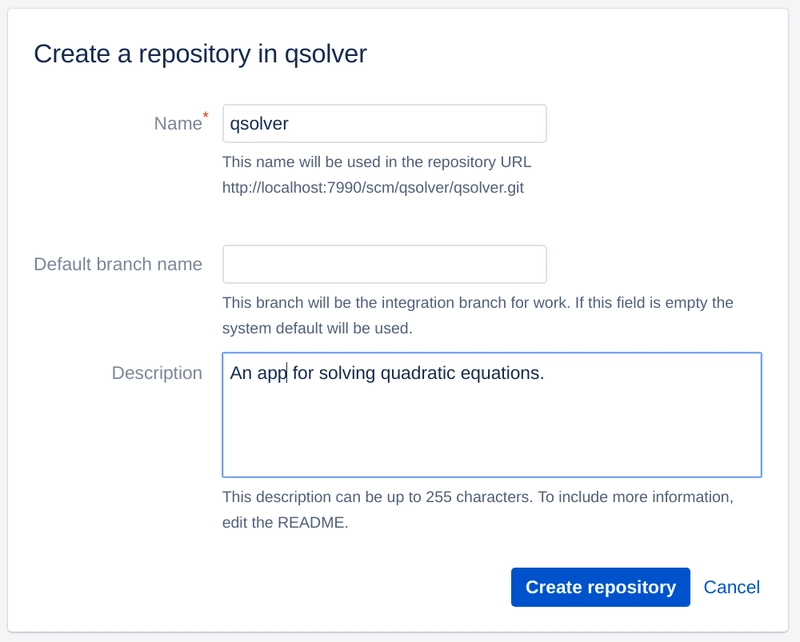
Step 3. Create a 'qsolver' app.
Create 'qsolver' Git repository on Atlassian Bitbucket Server/Data Center.
Clone this empty Git repository:
git clone http://example.org/scm/qsolver/qsolver.git qsolver/
cd qsolver/
Create app.py with the following content:
from qsolverlib import solve

def main():
    print(solve.solve(1, -3, 2))

if __name__ == "__main__":
    main()
I.e. it solves: x^2 - 3x + 2 = 0
Commit and push this file:
git add app.py
git commit -m "Initial."
git push origin master
Check that the app works:
python3 app.py
[1.0, 2.0]
Indeed, x^2 - 3x + 2 = (x - 1)(x - 2)
Step 4. Develop mode of package.
If we now want to change the "solve()" function, we have to edit solve.py in the 'qsolverlib' repository, install the package, and only then test how it works in app.py in 'qsolver'. This is too inconvenient. "Develop mode" is the solution.
To install 'qsolverlib' in develop mode run.
pip3 install -e qsolverlib/
It logically links qsolverlib installed in the virtual environment with the sources of 'qsolverlib', so any changes to 'qsolverlib' sources become effective for the app immediately.
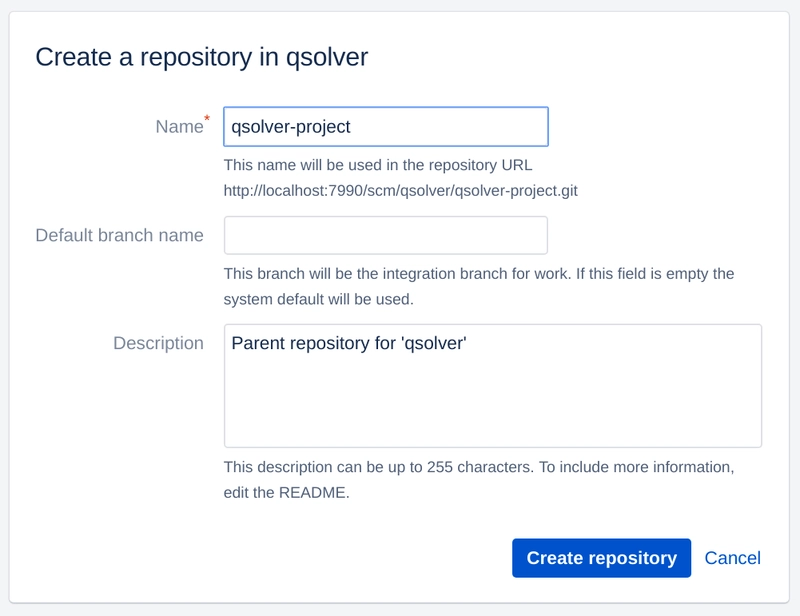
Step 5. Create a parent project to pinpoint versions of 'qsolverlib' and 'qsolver'.
Create 'qsolver-project' Git repository on Atlassian Bitbucket Server/Data Center.
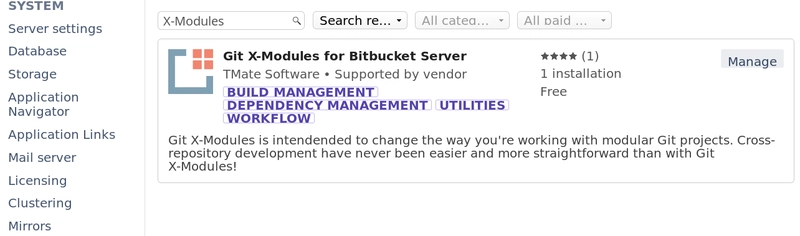
Now we will use Git X-Modules, make sure you have it installed. To do that, go to Administration | Find new apps | Search theMarketplace and type "X-Modules".
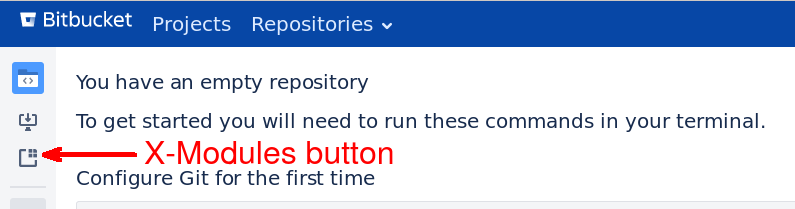
Go to the 'qsolver-project' repository page on Bitbucket. As the app is now installed, there's an X-Modules button, click it.
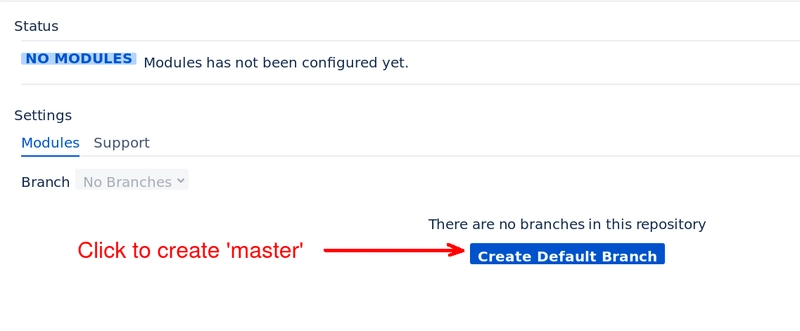
The repository is empty, so click "Create Default Branch" to create the "master" branch.
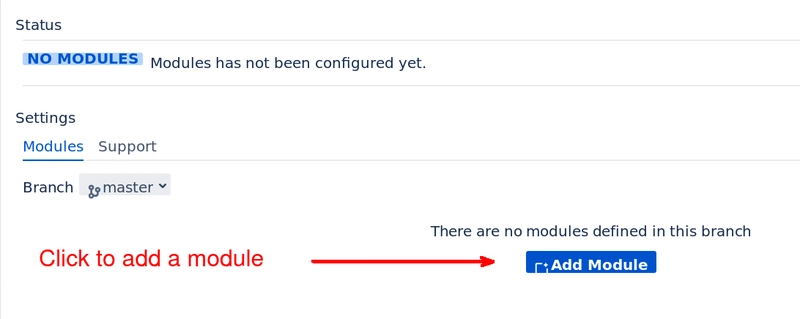
Click "Add Module" to add 'qsolverlib' as the first module.
Choose the 'qsolverlib' repository and the master branch.
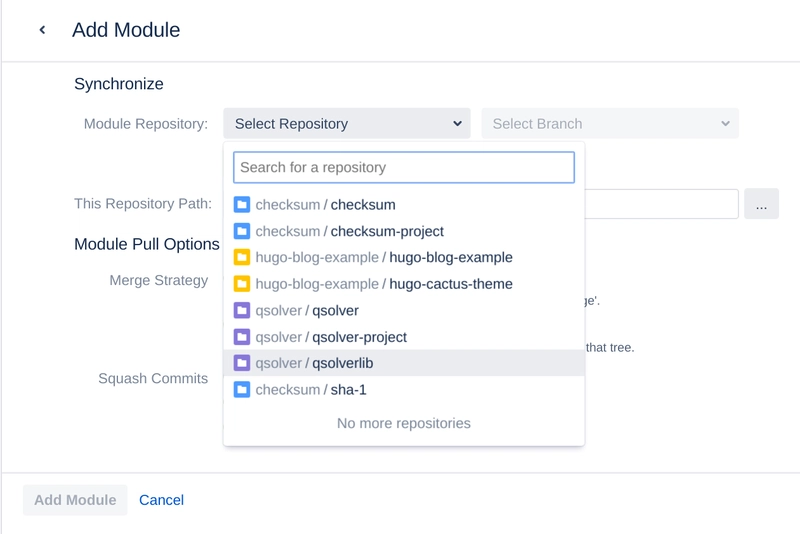
Make sure "This Repository Path" is 'qsolverlib'. It's a path for the insertion point of the 'qsolverlib' module. Click "Add Module".
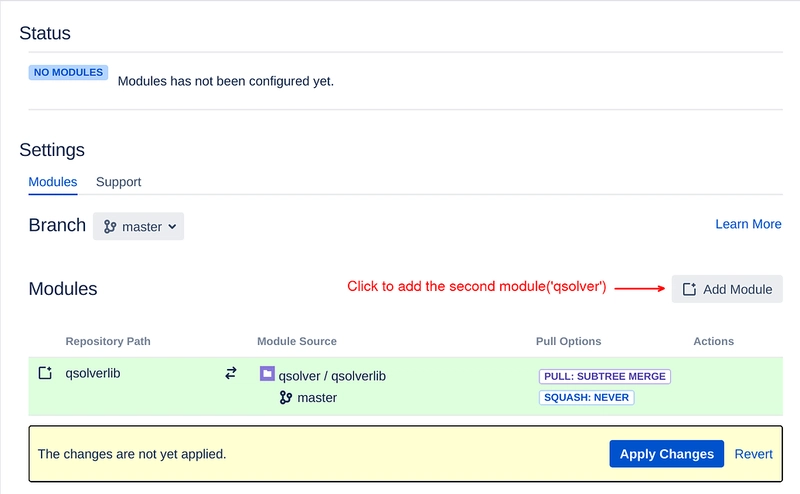
Instead of applying changes immediately click "Add Module" again, to add the second module (for the app).
Choose the 'qsolver' repository and the master branch.
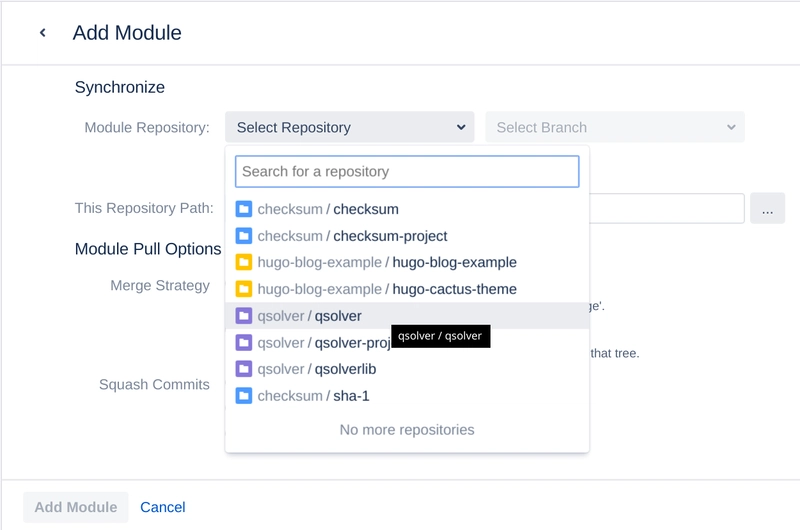
Make sure "This Repository Path" is 'qsolver'. Again, this is a path for the insertion point of the 'qsolver' module.
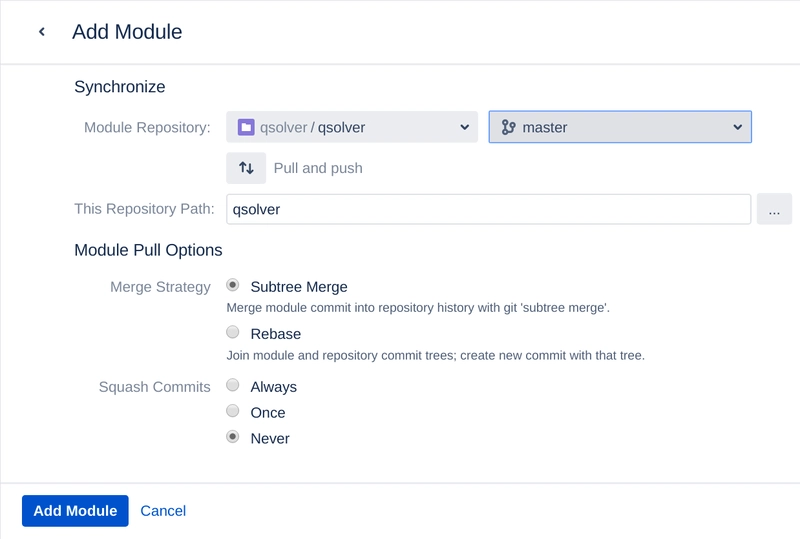
Click "Add Module".
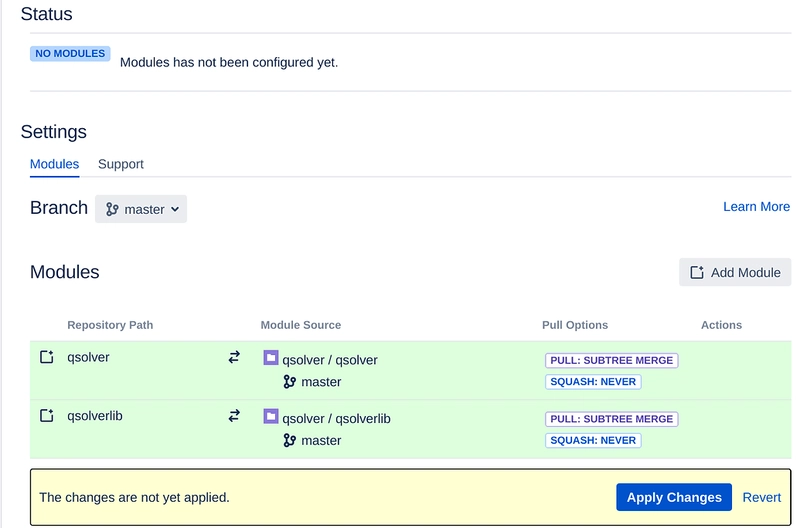
Now apply the changes.
Now 'qsolver-project' repository contains both 'qsolverlib' and 'qsolver' X-Modules. These are regular Git directories that are synchronized with the corresponding repositories.
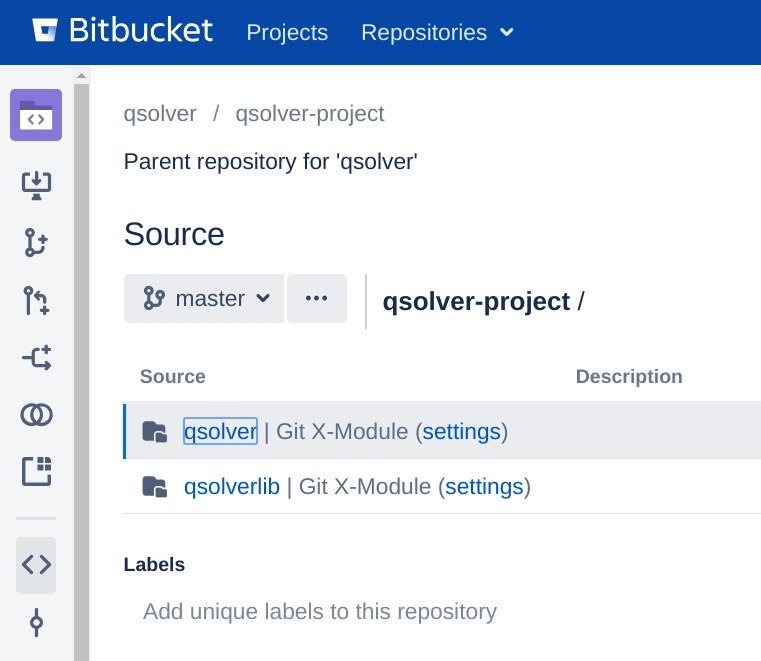
So now one can clone the 'qsolver-project' repository and both 'qsolverlib' and 'qsolver' components will be there.
Step 6. Quickstart script.
Suppose you have a new colleague who wants to start working on both 'qsolverlib' and 'qsolver' as soon as possible. For this purpose, we will create a "create-virtualenv.sh" script that would set up the development environment.
Clone 'qsolver-project':
git clone http://example.org/scm/qsolver/qsolver-project.git qsolver-project
cd qsolver-project
The current structure of 'qsolver-project' is:
├── qsolver
│   └── app.py
└── qsolverlib
    ├── qsolverlib
    │   ├── __init__.py
    │   └── solve.py
    └── setup.py
It already contains 'qsolverlib' and 'qsolver' components, so one doesn't need to clone them separately.
Create "create-virtualenv.sh" script with the following content:
#!/bin/sh

if [ -z "$1" ]; then
    echo "Path for the virtual environment required, e.g.:"
    echo ""
    echo "    $0 .venv/"
    echo ""
    exit 1
fi

python3 -m venv "$1"
$1/bin/pip3 install wheel
$1/bin/pip3 install -e qsolverlib/

echo "Virtual environment created at $1"
Add, commit, and push this script:
git add create-virtualenv.sh
git commit -m "create-virtualenv.sh script added."
git push origin master
So now for a new colleague, it will be enough to clone 'qsolver-project' and run this script to start working on the project:
sh create-virtualenv.sh .venv/
source .venv/bin/activate
Step 7. An example: make a change to 'qsolverlib'.
Now let's improve our solve() function to handle the case a=0, i.e. to solve bx+c=0 equation.
Edit qsolverlib/qsolverlib/solve.py and qsolver/app.py:
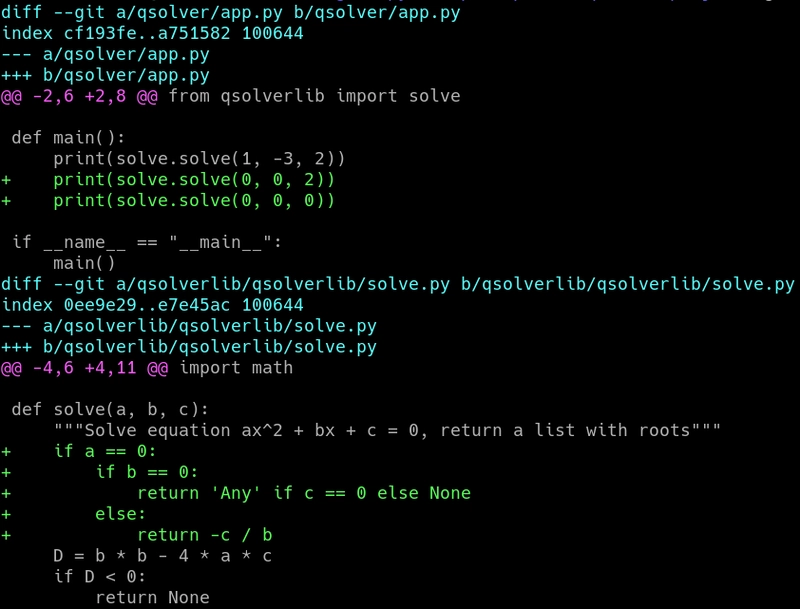
Commit and push the changes with to both 'qsolverlib' and 'qsolver' as a single commit in 'qsolver-project'.
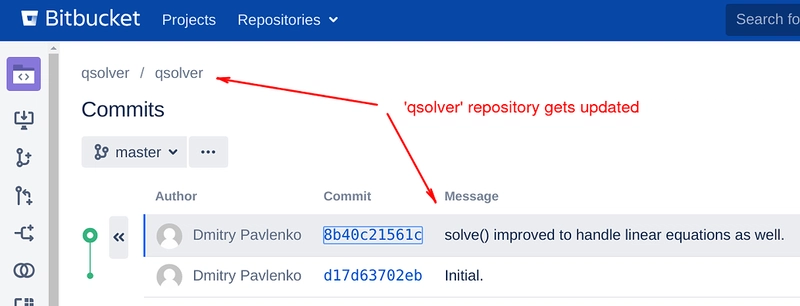
git commit -a -m "solve() improved to handle linear equations as well."
git push origin master
Now you can look at 'qsolverlib' and 'qsolver' histories on Bitbucket: they are updated!
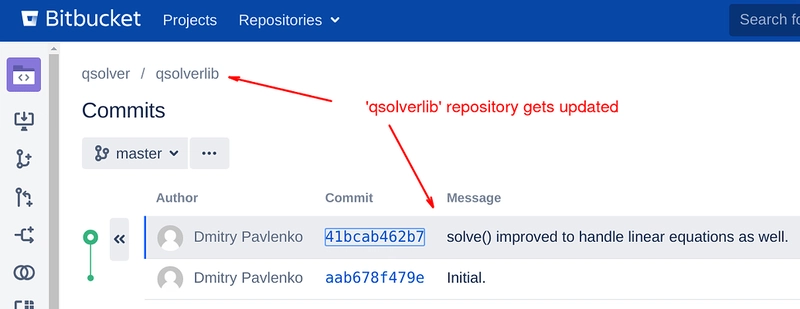
The synchronization is bi-directional, updates of 'qsolverlib' and 'qsolver' also get into 'qsolver-project' automatically.

Top comments (0)