How to deploy Python to bereveal.com.
Here is a tutorial on how to deploy a Django project. You can also use other Python frameworks in the same way.
Currently they have two packages for Python on their site. Buy any one from here.
1. Django Hosting Basic
2. Premier Web hosting plan
3. Value Web hosting plan
4. Advanced Web hosting plan
5. Basic Web hosting plan
Needless to say, all of plans are suitable for Python hosting. But SSH is automatically unlocked when you buy the plan mentioned for Python, but you have to buy SSH separately in other plans.
SSH remains locked during the trial period. So you have to buy SSH separately during the trial period. You can also buy for a month if you want.
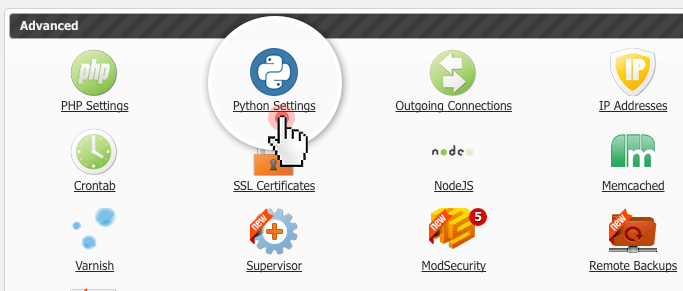
<p> They says, Following the feedback of web developers, we’ve added a new functionality to the Advanced section of the Control Panel - the Python Settings.</p>
The new Python Settings will allow you to edit the current Python version and to enable Python-compatible applications for your projects.
Located right next to PHP Settings, it gives you one-click access to various Python management options.
What is Python about?
Python is one of the most important application development languages and has been around for a long time now.
Its standard library supports many Internet protocols, including JSON, FTP, IMAP, HTML and XML.
There are different types of Python-based software:
for web development purposes:
- frameworks such as Django and Pyramid; micro-frameworks such as Flask and Bottle;
- advanced content management systems such as Plone and django CMS;
- asynchronous networking libraries like Tornado, which is perfect for long polling, WebSockets and other applications that require a long-lived connection to each user;
- full-stack frameworks (like web2py) for rapid development of fast and portable web-based, database-driven apps;
for scientific and numerical computing purposes:
- open-source packages like SciPy, Matplotlib and NumPy, which are used in mathematics, science and engineering;
- Pandas - a BSD-licensed library for high-performance data analysis and modeling;
- iPython - a powerful command shell for easier editing and recording of work sessions that supports interactive data visualization and parallel computing;
- Software Carpentry Course, which teaches the basics of scientific computing and provides open-access teaching materials;
for software development purposes:
- Buildbot and Apache Gump, which are used for automating software build, test and release processes;
- Roundup and Trac - issue tracking and project management tools;
for system administration purposes:
- Ansible - an easy-to-deploy IT automation engine that automates configuration management, application deployment and cloud provisioning;
- Salt - a powerful open-source platform for IT automation and orchestration;
- OpenStack - a high-performance computing, storage and networking platform;
Python is easy to learn and use, no matter if you're new to programming or an experienced developer.
It is backed up by a large community, which organizes conferences and workshops, collaborates on code development projects, supports an extensive Python documentation to help newbies along the way and maintains mailing lists to keep users up to date.
How do I use the Python Manager?
From the Python Manager section of the Control Panel, you’ll be able to set the Python version for your account.
You can choose between Python 2.7, Python 3.1 and the latest version - Python 3.5.

How to install a Python-based CMS on our platform (tutorial)?
To give you a better idea of how Python-based applications work on our servers, we’ll show you how to install the Django framework-powered Mezzanine CMS on our platform via SSH.
Step 1: Create a virtual environment (venv) in the root folder of your account, in our case:
/usr/local/python-3.5/bin/virtualenv /home/venv/Step 2: Enter the newly created virtual environment using the following command:
source /home/venv/bin/activateStep 3: Go to the "www" folder of your hosting account:
cd /home/www/Step 4: Install the Mezzanine CMS binaries along with the corresponding modules fastcgi support and flup6.
pip install git+https://github.com/NetAngels/django-fastcgi
pip install flup6
pip install mezzanine
NOTE: Make sure you disable the “Outgoing Connections” option or the installation of the modules will fail.
Step 5: Set up the Mezzanine project In a selected custom directory, in our case mydjangocms:
mezzanine-project mydjangocmsStep 6: Create a domain or subdomain for the newly installed CMS.
Keep in mind that the Jail host option needs to be deactivated in order for the installed modules to function properly.
Point your newly created domain or subdomain to the path of your project. In our example, the path is "/www/mydjangocms".

Step 7: Go to the newly created Mezzanine CMS folder:
cd mydjangocmsStep 8: Set up a database for your CMS. In our case, we’ll use the sqlite3 database for the sake of ease (alternatively, you could set up a MySQL/PostgreSQL database by applying the necessary settings to the Python setup file:
python manage.py createdbYou will see the following message:
A site record is required.
Please enter the domain and optional port
in the format 'domain:port'. For example 'localhost:8000' or 'www.example.com'.

Hit enter to use the default (127.0.0.1:8000):

Use the default option for the SQL host. You will then be asked to enter your username, email and password.
These are the login credentials for the CMS system and not the database.
In the end, you can choose if you want to have some demo content inserted.
Step 9: Set up an .htaccess file in the folder of your project with the following entries:
RewriteEngine On
RewriteCond %{REQUEST_FILENAME} !-f
RewriteCond %{REQUEST_FILENAME} !-d
RewriteRule ^(.*)$ /index.fcgi/$1 [QSA,L]
Step 10: Set up an index.fcgi file in the folder of your project using the following code (it will serve as an entry point for all requests to the CMS).
Don't forget to replace "mydjangocms" with the name of your project.
#!/home/venv/bin/python3.5
# -*- coding: utf-8 -*-
import os
import sys
activate_this = '/home/venv/bin/activate_this.py'
exec(open(activate_this).read(), dict(__file__=activate_this))
cms_path = '/home/www/mydjangocms/'
sys.path.insert(0, cms_path)
os.chdir(cms_path)
# Set the DJANGO_SETTINGS_MODULE environment variable.
os.environ['DJANGO_SETTINGS_MODULE'] = "mydjangocms.settings"
from django_fastcgi.servers.fastcgi import runfastcgi
from django.core.servers.basehttp import get_internal_wsgi_application
wsgi_application = get_internal_wsgi_application()
runfastcgi(wsgi_application, method="prefork", daemonize="false", minspare=1, maxspare=1, maxchildren=1)
Step 11: You'll need to make the index.fcgi file executable using this command:
chmod +x index.fcgiStep 12: Edit the settings file located inside "mydjangocms/local_settings.py" and replace
ALLOWED_HOSTS = []With your actual host name:
ALLOWED_HOSTS = ['mydjangocms.my-best-domain.net']Step 13: Run the following command to collate the static files:
python manage.py collectstaticYou are now ready and your site should be up and running.
In our example, the newly installed Mezzanine CMS will resolve to:
http://mydjangocms.my-best-domain.net/
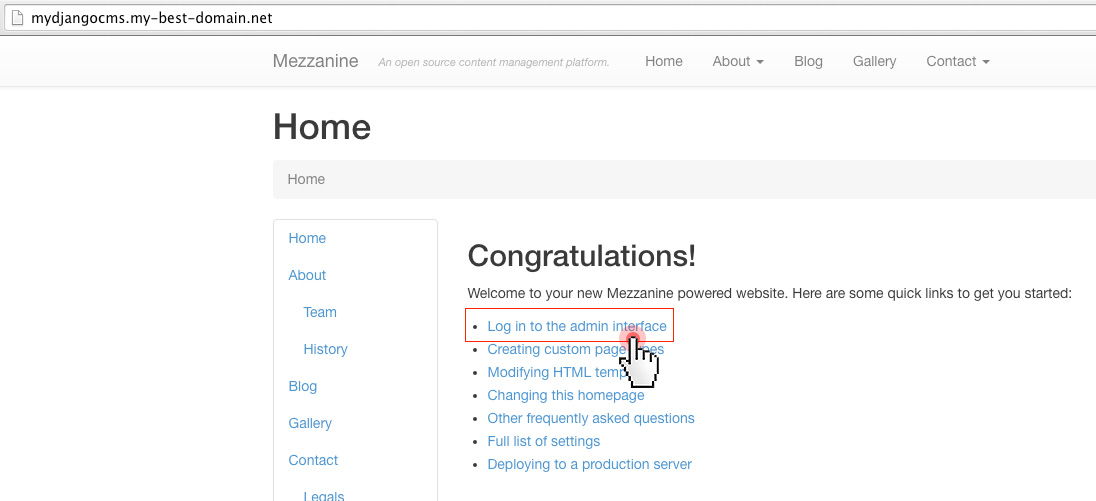
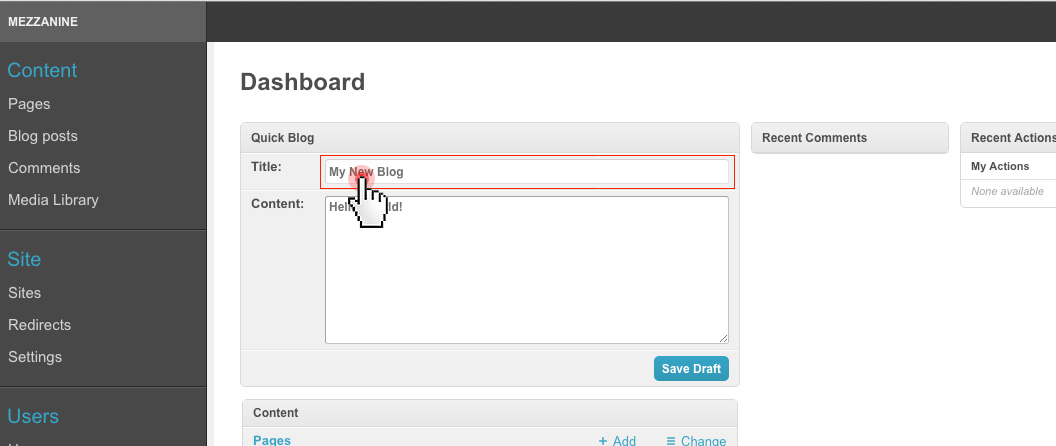
Now you can log into your Mezzanine CMS Admin Panel using the login details set in step 8 above and kickstart a new blog, for example:
</div>

Oldest comments (0)