In this very short tutorial, I will show you how I flashed an ESP8266 with Tasmota.
Step 1: Download ESP Flasher & Tasmota
- ESP Flasher: github repo, and download the appropriate version of ESP Flasher (no need to install)
- Tasmota: tasmota.bin.gz
Step 2: Plug ESP8266 to your computer in Boot Mode
Plug the ESP8266's USB to your computer, while pressing the Flash button

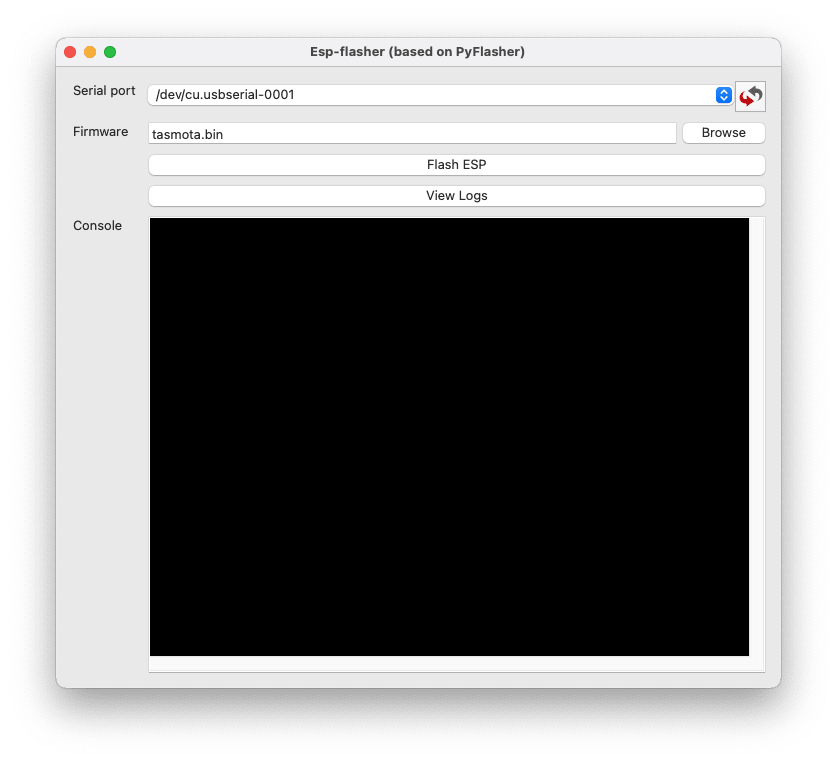
Step 3: Start and Setup ESP Flasher
- Reload the Serial Port until you see your USB plug appearing
- Browse the firmware Tasmota we downloaded in Step 1
- Launch ESP-Flasher
This process can take up to 30sec. Once done, unplug, and replug the ESP8266 module to your computer or any other source of power.
Step 4: WiFi connection
- Once relaunched, you should see a Tasmota_XXX WiFi appearing in your networks.
- Connect your computer to the Tasmota WiFi
- Connect your WiFi (SSID + Password)
- Click Ok
- Let the component restart
Step 5: Tasmota Config
- Configure MQTT Broker accordingly (host + port + login + password)

Top comments (0)