As businesses and individuals increasingly rely on virtual machines (VMs) for their computing needs, the need to expand storage capacity becomes inevitable. Fortunately, virtualization platforms like Azure, AWS, and VMware offer the flexibility to add data disks to VMs effortlessly. In this blog post, we will walk you through the process of adding a data disk to a virtual machine and initializing it for use. Let's dive in!
Step 1: Identify the Virtual Machine and Disk Specifications
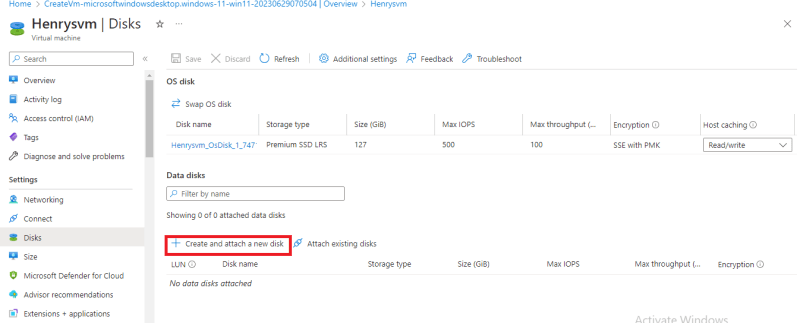
First and foremost, identify the virtual machine to which you want to add a data disk. Then from the menu on the left hand side select the disk option,

Step 2: Once selected then from the options available select create and attach new disk.
Step 3: Now give the new disk a name and a select a number to identify with the new disk then click save.If it displays an extra space for a new disk just go to the extreme right and click the x to close before you save.

Step 4: connect to your VM and then download the RDP file. Follow the prompt and input username and password.

Step 5: Access your VM and click on the windows a
icon and select disk management.

Step 6: select the required disk and click ok.

Step 7: right click on the selected new disk and from the munu choose extend or shrink depending on your requirement.

Step 8: Click on next to set up the wizard.

Step 9: select the size that you require then click next.

Step 10: Then click on finish to complete set up

The new disk how now been set up.

You can view your new disk as shown below. It is now available for use.


Top comments (0)