![Cover image for [Outdated] How I build a full-fledged app with Next.js and MongoDB Part 2: User profile and Profile Picture](https://media2.dev.to/dynamic/image/width=1000,height=420,fit=cover,gravity=auto,format=auto/https%3A%2F%2Fthepracticaldev.s3.amazonaws.com%2Fi%2Fpmr4ft5qt4imfntgpa91.jpg)
This does not reflect the recent rewrite of nextjs-mongodb-app. Check out the latest version.
In this post, I'm going back to work on nextjs-mongodb-app. This is a follow up of Part 1.
In between, I have made several modifications.
- In _app.js, I remove
<Container>as it is deprecated. - Some styling
Again, Below are the Github repository and a demo for this project to follow along.
What we are making
We are adding the following features:
- Profile Page
- Edit Profile
- Profile Picture
Building the user profile
The user profile page

My user profile page will be at /profile. Create /pages/profile/index.js.
The reason, I have index.js inside /profile instead of profile.jsx is because we are adding /profile/settings later.
import React, { useContext } from 'react';
import Link from 'next/link';
import { UserContext } from '../../components/UserContext';
import Layout from '../../components/layout';

const ProfilePage = () => {
  const { state: { isLoggedIn, user: { name, email, bio } } } = useContext(UserContext);

  if (!isLoggedIn) return (<Layout><p>Please log in</p></Layout>);
  return (
    <Layout>
      <div>
        <h1>Profile</h1>
        <div>
          <p>
          Name:
            {' '}
            { name }
          </p>
          <p>
          Bio:
            {' '}
            { bio }
          </p>
          <p>
          Email:
            {' '}
            { email }
          </p>
        </div>
        <Link href="/profile/settings"><a>Edit</a></Link>
      </div>
    </Layout>
  );
};

export default ProfilePage;
There is nothing new, we use the Context API to get our user info. However, look at
if (!isLoggedIn) return (<Layout><p>Please log in</p></Layout>);
You can see that if the user is not logged in, I return a text saying Please log in.
I'm also adding a new field, bio. However, for that to work, we need to modify our /api/session:
const { name, email, bio } = req.user;

return res.status(200).send({
  status: "ok",
  data: {
    isLoggedIn: true,
    user: { name, email, bio }
  }
});
Basically, I'm retrieving the additional bio field and also returning it.
Also, I'm adding a link to the Setting page:
<Link href="/profile/settings"><a>Edit</a></Link>
That is what we are going to create now.
The Profile Setting page
Building the Profile Update API
The way for our app to update user profile is would be to make a PATCH request to /api/user.
Create pages/api/user/index.js:
import withMiddleware from '../../../middlewares/withMiddleware';

const handler = (req, res) => {
  if (req.method === 'PATCH') {
    if (!req.user) return res.status(401).send('You need to be logged in.');
    const { name, bio } = req.body;
    return req.db
      .collection('users')
      .updateOne({ _id: req.user._id }, { $set: { name, bio } })
      .then(() => res.json({
        message: 'Profile updated successfully',
        data: { name, bio },
      }));
  }
  return res.status(405).end();
};

export default withMiddleware(handler);
If the request method is PATCH, the profile update logic will be executed.
It first checks if the user is logged in by checking req.user. If not, it will send a 401 response.
It will retrieve name and bio from the request body and call MongoDB UpdateOne to update the user profile.
The query (filter) is the document that has the _id of the current logged in user's. If successful, it will return the updated info with a message Profile updated successfully.
The Profile Settings Page
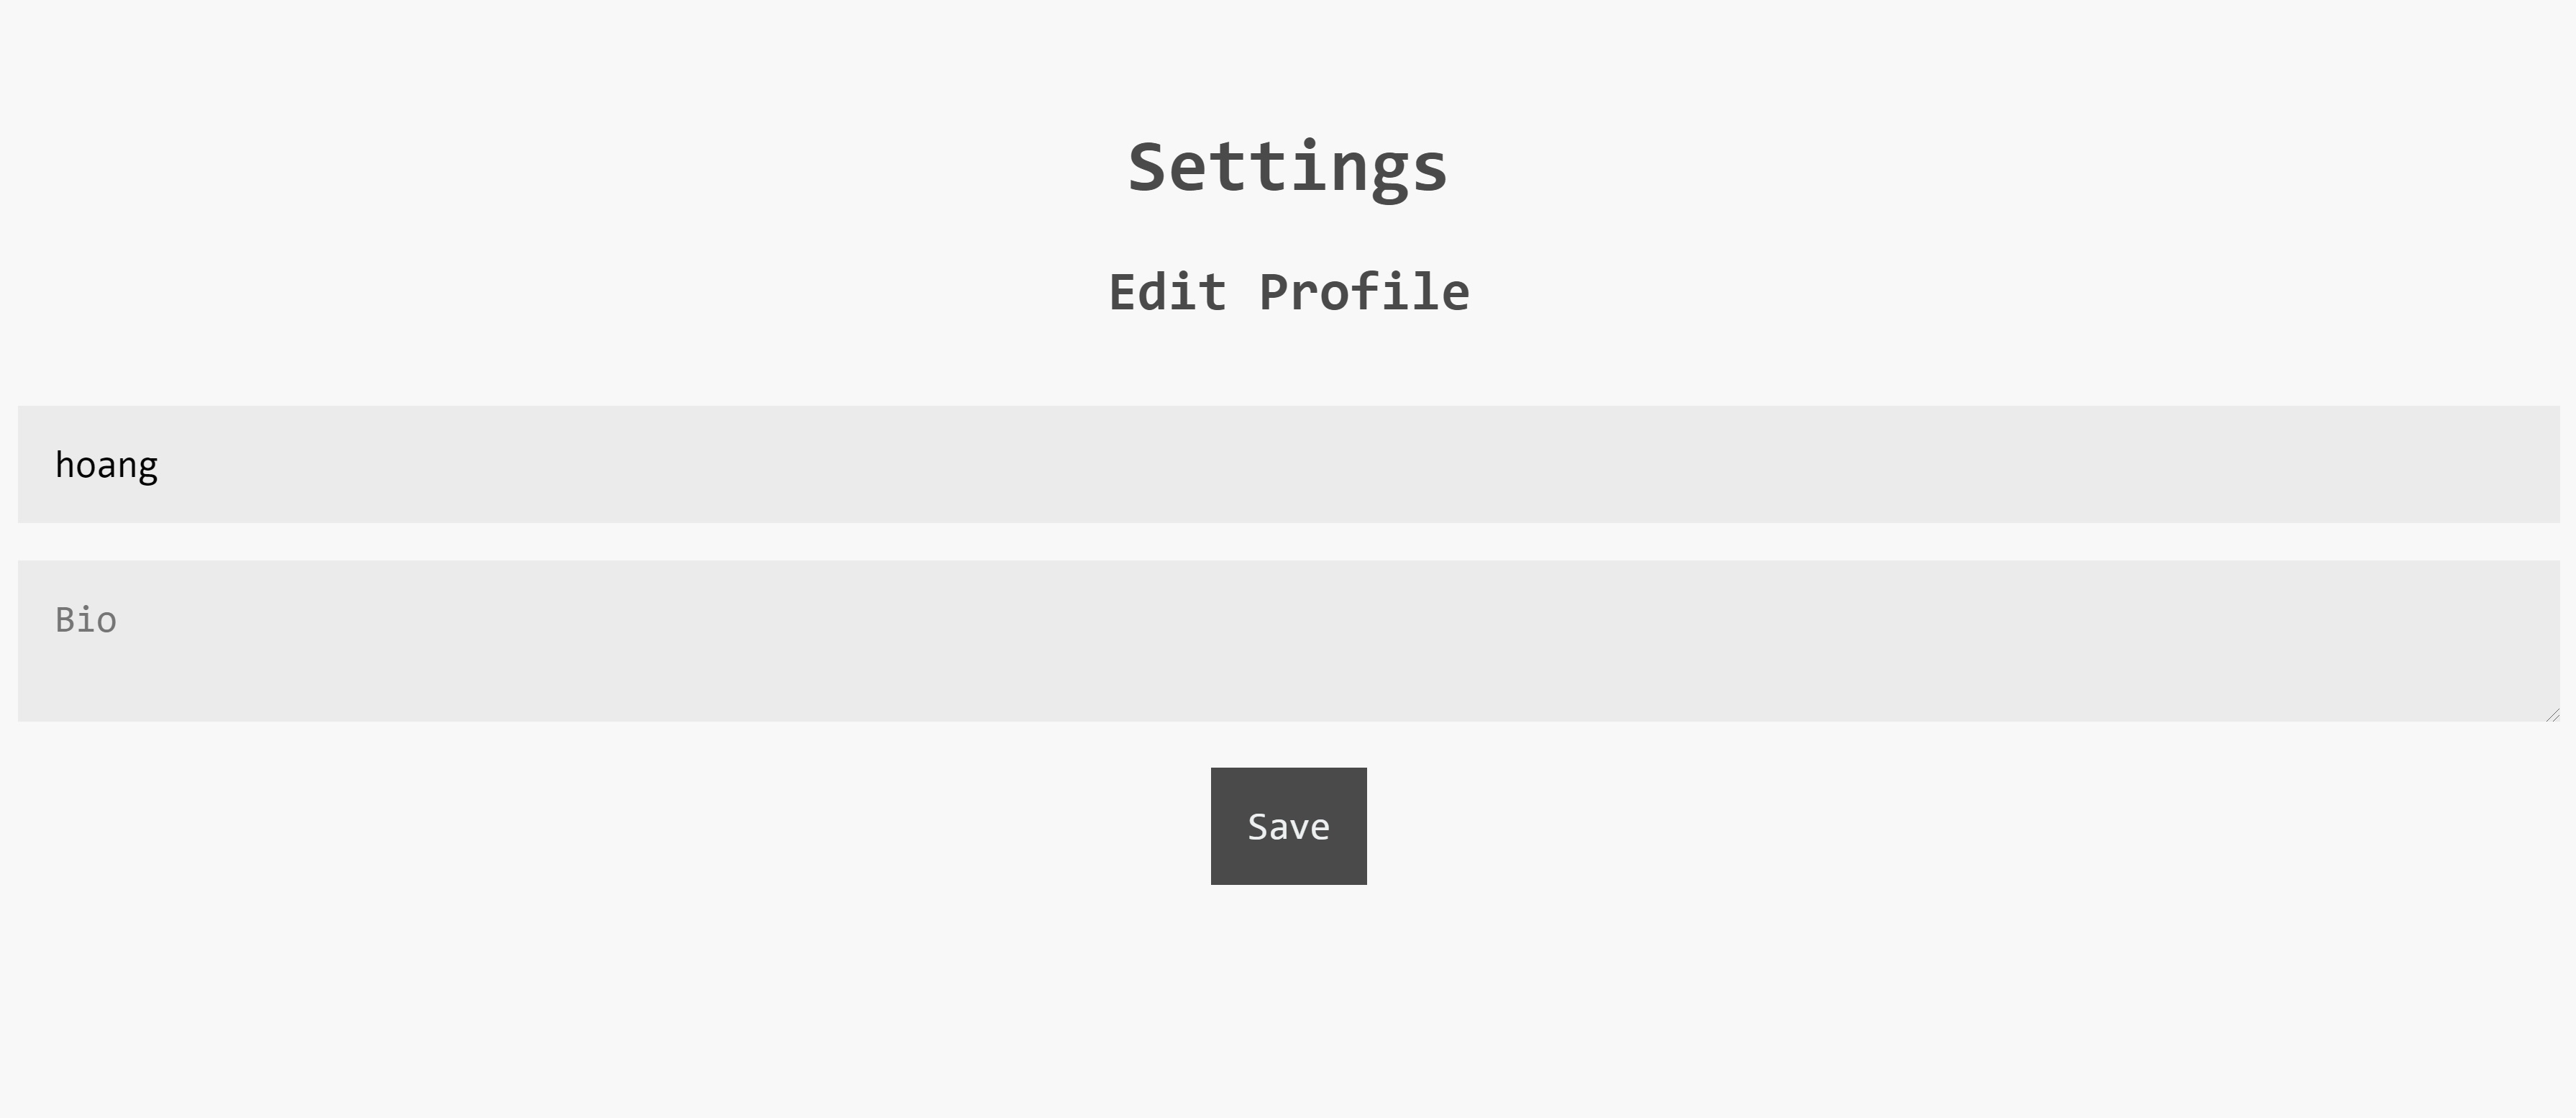
Let's create pages/profile/settings
import React, { useContext, useState } from 'react';
import axioswal from 'axioswal';
import { UserContext } from '../../components/UserContext';
import Layout from '../../components/layout';

const ProfileSection = ({ user: { name: initialName, bio: initialBio }, dispatch }) => {
  const [name, setName] = useState(initialName);
  const [bio, setBio] = useState(initialBio);

  const handleSubmit = (event) => {
    event.preventDefault();
    axioswal
      .patch(
        '/api/user',
        { name, bio },
      )
      .then(() => {
        dispatch({ type: 'fetch' });
      });
  };

  return (
    <section>
      <h2>Edit Profile</h2>
      <form onSubmit={handleSubmit}>
        <div>
          <input
            required
            type="text"
            placeholder="Your name"
            value={name}
            onChange={e => setName(e.target.value)}
          />
        </div>
        <div>
          <textarea
            type="text"
            placeholder="Bio"
            value={bio}
            onChange={e => setBio(e.target.value)}
          />
        </div>
        <button type="submit">
          Save
        </button>
      </form>
    </section>
  );
};

const SettingPage = () => {
  const { state: { isLoggedIn, user }, dispatch } = useContext(UserContext);

  if (!isLoggedIn) return (<Layout><p>Please log in</p></Layout>);
  return (
    <Layout>
      <h1>Settings</h1>
      <ProfileSection user={user} dispatch={dispatch} />
    </Layout>
  );
};

export default SettingPage;
In the setting page, I abstract the profile section into <ProfileSection /> and pass in the props of user and dispatch (the reducer to call when we need to update the user object).
We will have our name and bio state with the default value of initialName and initialBio which are basically the name and bio from the passed user object.
Similarly, we will set each of the values on input changes. On form submit, a PATCH request will be made to /api/user with name and bio. We then call dispatch({ type: 'fetch' }) to update the user information being shown in our app.
Building the Profile picture functionality
Profile Picture is a more complicated one to work on so I dedicate a section for it. We need somewhere to host our images. I choose Cloudinary to host my images, but you can use any services.
Add profile picture to settings page
After our first form, add our profile picture form:
/* ... */
const profilePictureRef = React.createRef();
const [isUploading, setIsUploading] = useState(false);

const handleSubmitProfilePicture = event => {
  if (isUploading) return;
  event.preventDefault();
  setIsUploading(true);
  const formData = new FormData();
  formData.append("profilepicture", profilePictureRef.current.files[0]);
  axioswal.put("/api/user/profilepicture", formData).then(() => {
    setIsUploading(false);
    dispatch({ type: "fetch" });
  });
};

return (
  <section>
    /* ... */
    <form onSubmit={handleSubmitProfilePicture}>
      <label htmlFor="avatar">
        Profile picture
        <input
          type="file"
          id="avatar"
          name="avatar"
          accept="image/png, image/jpeg"
          ref={profilePictureRef}
          required
        />
      </label>
      <button type="submit" disabled={isUploading}>
        Upload
      </button>
    </form>
  </section>
);
The isUploading state is what telling me if the file is being uploaded. We do want the user to accidentally upload multiple times by submitting the form multiple time. The submit button is disabled if isUploading is true: disabled={isUploading}, and the form will do nothing if isUploading is true: if (isUploading) return;
I set isUploading to true at the beginning of the submission and set it back to false when the submission is completed.
File Input is an uncontrolled component, meaning that its value can only be set by the user. The official documentation has a good explanation for it. We can only get its value by using React Refs.
Let's look at our form submission:
const handleSubmitProfilePicture = event => {
  if (isUploading) return;
  event.preventDefault();
  setIsUploading(true);
  const formData = new FormData();
  formData.append("profilePicture", profilePictureRef.current.files[0]);
  axioswal.put("/api/user/profilepicture", formData).then(() => {
    setIsUploading(false);
    dispatch({ type: "fetch" });
  });
};
We are creating a FormData and appending our file profilePictureRef.current.files[0] into the profilePicture field (keep that in mind). We then make a PUT request to /api/user/profilepicture containing that FormData. We then call dispatch({ type: "fetch" }); again to update the user data in our app.
Building the Profile Picture Upload API
I would like our endpoint for profile picture upload is PUT /api/user/profilepicture. I choose the PUT method because it refers to a Upsert (Update or Insert / Replace current profile picture or Set new profile picture) operation.
We will need something to parse the file upload. In Express.js, you may hear about Multer. However, since we are not using Express.js, I am going to use a module called Formidable.
npm i formidable
Let's create our pages/api/user/profilepicture.js:
import formidable from 'formidable';
import withMiddleware from '../../../middlewares/withMiddleware';

const handler = (req, res) => {
  if (req.method === 'PUT') {
    if (!req.user) return res.status(401).send('You need to be logged in.');
    const form = new formidable.IncomingForm();
    return form.parse(req, (err, fields, files) => {
      console.log(files.profilePicture.path);
      res.end('File uploaded');
    });
  }
  return res.status(405).end();
};

export const config = {
  api: {
    bodyParser: false,
  },
};

export default withMiddleware(handler);
Please note that I have not integrated Cloudinary yet. Looking at:
export const config = {
  api: {
    bodyParser: false,
  },
};
I am disabling Next.js 9 body-parser because it does not play well with our Formidable parser.
We now parse our file.
const form = new formidable.IncomingForm();
return form.parse(req, (err, fields, files) => {
  console.log(files.profilePicture.path);
  res.end('File uploaded');
});
form.parse() gives a callback function containing error, fields, and files arguments. We only care about the files argument. files argument gives an object containing all of the file(s) in our multipart form. The one we are looking for is the profilePicture field.
For learning purpose, I console logging the path the file get saved to. Run the app and look at the output in the console. The file should be at the path mentioned.
Integrate Cloudinary
This is the section for the file uploading logic. The content in this section depends on the File Uploading library or service you choose. I am using Cloudinary in my case.
If you use Cloudinary, go ahead and create an account there.
Configurate Cloudinary
Cloudinary provides its Javascript SDK. Go ahead and install it:
npm i cloudinary
To configure Cloudinary, we need to set the following environment variable:
CLOUDINARY_URL=cloudinary://my_key:my_secret@my_cloud_name
A Environment variable value can be found in the Account Details section in [Dashboard](https://cloudinary.com/console "Cloudinary Dashboard). (Clicking on Reveal to display it)
If you use Cloudinary, look at its Node.js SDK documentation for more information.
Process the profile picture
Import the cloudinary SDK (Using its v2):
import { v2 as cloudinary } from 'cloudinary'
Uploading an image is as simple as:
cloudinary.uploader.upload("theImagePath");
Our image path is files.profilePicture.path.
Going back to our formidable callback and replace its content:
return form.parse(req, (err, fields, files) =>
  cloudinary.uploader
    .upload(files.profilePicture.path, {
      width: 512,
      height: 512,
      crop: "fill"
    })
    .then(image =>
      req.db
        .collection("users")
        .updateOne(
          { _id: req.user._id },
          { $set: { profilePicture: image.secure_url } }
        )
    )
    .then(() => res.send({
      status: 'success',
      message: 'Profile picture updated successfully',
    }))
    .catch(error =>
      res.send({
        status: "error",
        message: error.toString()
      })
    )
);
We are uploading our image to Cloudinary with the option of cropping it down to 512x512. You can set it to whatever you want or not have it at all. If the upload is a success, I set the URL (the secured one) of the uploaded image to our user's profilePicture field. See this for more information.
Awesome, we have managed to create our Profile Picture functionality.
Displaying the profile picture
Similarly to what we do earlier, go to pages/api/user/session.js and include our profilePicture field.
const { name, email, bio, profilePicture } = req.user;
return res.status(200).send({
  status: "ok",
  data: {
    isLoggedIn: true,
    user: { name, email, bio, profilePicture }
  }
});
In our pages/profile/index.jsx, include our profilePicture field and set it to an image:
const ProfilePage = () => {
  const {
    state: {
      isLoggedIn,
      user: { name, email, bio, profilePicture }
    }
  } = useContext(UserContext);

  if (!isLoggedIn)
    return (
      <Layout>
        <p>Please log in</p>
      </Layout>
    );
  return (
    <section>
      /* ... */
      <h1>Profile</h1>
      <div>
        <img src={profilePicture} width="256" height="256" alt={name} />
        /* ... */
      </div>
    </section>
  );
};
Voila, that's all we have to do
Conclusion
Let's run our app and test it out. We have managed to create our user profile functionality with profile picture.
Again, check out the repository here. The pull request for this particular feature is here.
Also, if you are interested in this project, please star it to motivate me to continue working on it.
Good luck on your next Next.js + MongoDB project!

Latest comments (2)
api: {
bodyParser: false,
}
not working on heroku - 2020-04-29T10:51:35.725587+00:00 heroku[router]: sock=backend at=error code=H18 desc="Server Request Interrupted" method=PATCH path="/api/upload" host=eeeman-masterclass.herokuapp.com request_id=de89640c-a9f0-4dd1-bb7c-b64d0a0239e5 fwd="109.252.129.15" dyno=web.1 connect=0ms service=286ms status=503 bytes=180 protocol=https
Thanks for the tutorial. I followed along with it on Twitch and it proved super helpful!