If you haven't read the last post, I recommend you to check it out here, else many things in this post will not make sense.
In the last post we finally completed the database creation and user registration and also scheduled twilio sms api to send the case updates sms to the users daily and now in this post we will receive an sms from the user, in case they want to stop the service and we'll deactivate their account to stop sending messages to them anymore and will send them a reply back. And after that, we'll deploy our webapp on Heroku. Although, there are many cloud services available to serve Node.JS application online but I chose heroku as it's makes deployment very easy using github integration. Let's start with receiving an SMS from the user.
Receiving and Replying to SMS using Twilio
Twilio can send our web application an HTTP request when certain events happen, such as an incoming text message to our Twilio phone number.So, we'll create a route that twilio will call whenever a user sends a message on our Twilio phone number to stop or restart the service.
Now, We need to configure our Twilio phone number so that it can send an HTTP request to the route in our application, whenever our it receieves an incoming message. But, we'll need our websites URL for that,which we don't have for now. So, let's skip this and create the route in our application and after we deploy our application on heroku, we'll add the URL in the Twilio console.
Create a new file in routes directory called sms.js and add the following code to it.
Twilio provides code snippet for almost every programming language to achieve this task.
const express = require("express");
const router = express.Router();
const MessagingResponse = require("twilio").twiml.MessagingResponse;
const User = require("../models/User");

router.post("/", async (req, res) => {
  const twiml = new MessagingResponse();
  phn_number = req.body.From.slice(3);

  if (req.body.Body === "STOP") {
    await User.update(
      { number: phn_number },
      {
        $set: {
          active: false,
        },
      }
    );
    twiml.message(
      "You will not receive updates any more. To restart the service reply with 'START'\n Thank You."
    );
  } else if (req.body.Body === "START") {
    await User.update(
      { number: phn_number },
      {
        $set: {
          active: true,
        },
      }
    );
    twiml.message("Thank you for your interest. You will now receive updates.");
  } else {
    twiml.message("Sorry, you've send an invalid response.");
  }
  res.writeHead(200, { "Content-Type": "text/xml" });
  res.end(twiml.toString());
});

module.exports = router;
So, now when a user sends an sms to our Twilio phone number with 'STOP' or 'START' in the message body, Twilio will call the /sms route in our application and our application will handle the sms according to the message body and will reply to the user.
We'll need to add the following code in app.js to add this route in our application.
app.use("/sms", require("./routes/sms"));
And we are done with the coding part. Now, let's deploy the application on Heroku and set it live for the users to use.I will be deploying the app on Heroku using Github repository, however we can also make use of heroku-cli to deploy. You can learn more about Heroku CLI at their website, here.
Creating a Github Repository And Deploying using Heroku
Before creating a Github repository, we'll add a .gitignore file in our project directory to specify what parts of our application we want to ignore(i.e, node modules, .env file) while uploading it to the Github repository. We can manually write the .gitignore file but for the best practice we can get the specific file for specific programming language or framework that we use in our application. Github itself provides a repository that contains the collection of such files that we can use in our application and I used one for this application as well. You can find it here.
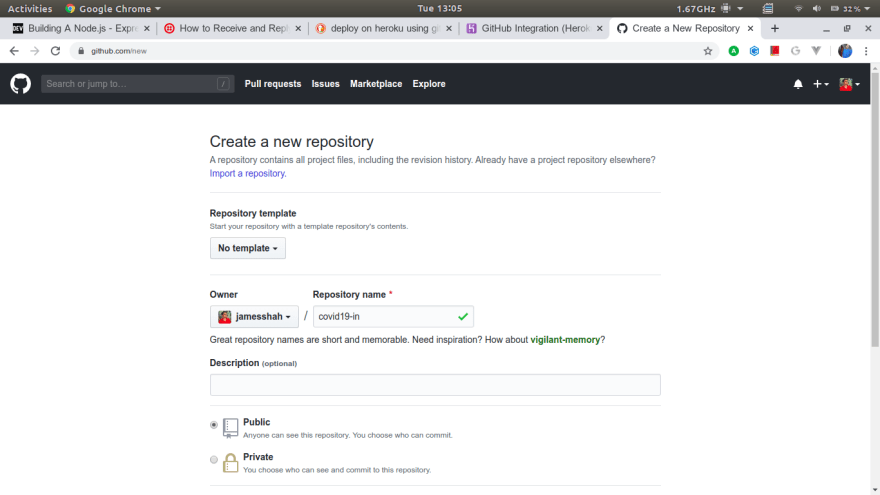
Now, let's create a new Github Repository and use our local project directory to upload.If you don't know how to create a github repository, you can learn how to do it from their documentation.
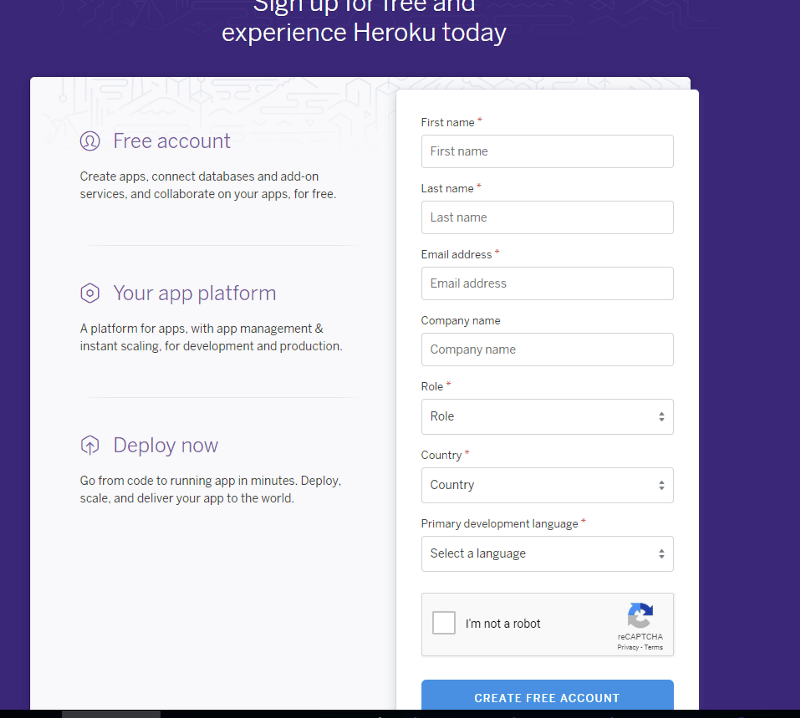
Now, let's go to Heroku and sign in to your account, create a new account,if you don't have one by simplying filling out a form for free.
Now, on the dashboard, let's creat a new app and then connect your Github account on the next page and select the Project Repository that we've just created and connect.

Now your app has been created but to tell Heroku that this is a Node.JS app, we'll need to add a buildpack. Go to settings and select "Add Buildpack" tab and select nodejs option from the list.

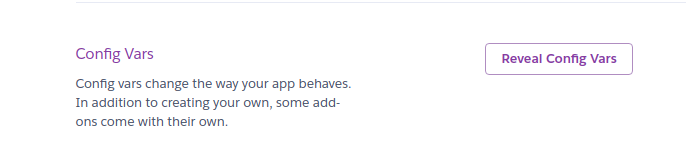
Remember, we used .env file to hide our secrets but we've not uploaded it to our Github repository for the very obvious reason. So let's add those secrets in Heroku Config Variables. In settings tab select Reveal Config Var and then add all the keys and values one by one.
And that's it, Now we can visit the url by clicking Open App from dashboard and we have our app live on server!!

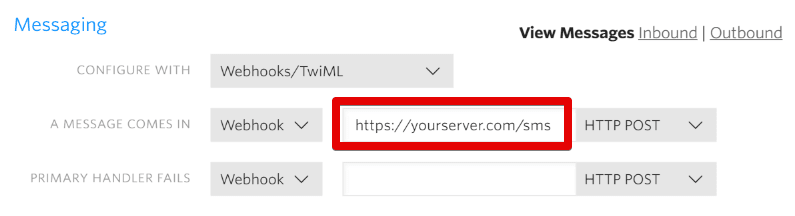
Now remember, we skipped a step above, configuring the Twilio console to add the URL of our app. Let's finish it by going into console page of our Twilio Account. Then click on your Twilio phone number. Find the Messaging section and the "A MESSAGE COMES IN" option and add the url to the application and add /sms as it is the route that handles incoming messages in our application.
And Finally, We've completed all our project from the scratch to find an idea, learning tech stack, creating and then deploying the application.
Full code can be found here:
 jamesshah
/
covid19-updates
jamesshah
/
covid19-updates
Simple web app to send daily covid-19 cases updates to users.
Thank You For Reading. #HappyCoding

Top comments (0)