This sample displays the message "Detected" when the prepared image comes into view. Learn how to detect images by creating a very simple sample.
Sample Repository
Run the sample
- Clone sample repository, Change current directory to
ImagesAndWords. And Open with Unity. - (If you don't have NRSDK) Download NRSDK 1.8.0 from Download | Nreal
- Open
Build Setting, change Platform toAndroid - Open
Project, selectAssets>import package>Custom Packageand importNRSDKForUnityAndroid_1.8.0.unitypackage. - Check
Build Settings>Player Settingsby referring to Configure Build Settings - Press
BuildformBuild Settingspanel - Install *.apk on Android or DevKit.
Tutorial
1. Setting up the project for Nreal development
- See Quickstart for Android - NRSDK Documentation and configure the build settings.
- (If you don't have NRSDK) Download NRSDK 1.8.0 from Download | Nreal
- Open
Project, selectAssets>import package>Custom Packageand importNRSDKForUnityAndroid_1.8.0.unitypackage.
2. Prepare tracking images
Prepare a sample image for image detection. Multiple images can be set for image detection. The sample is provided as an image named “ImageDetect.png”.
- Put it to
Assets>Scene.
3. Create TrackingImageDatabase
Image detection requires a database with registered images for image detection.
- Select yout tracking Images, and display context menu with right click.
- Select
Create>NRSDK>TrackingImageDatabase. Then aTrackingImageDatabasewill be created.
4. Create SessionConfig
Register the database you just created in SessionConfig.
- Move to
Assets>Scene, and selectCreate>NRSDK>SessionConfigthen create SessionConfig. - Select the
NRKernalSessionConfigyou just created and openInspector. - Enable
Image Tracking Mode. - Drag
TrackingImageDatabasetoTracking Image Database
5. Set SessionConfig to NRCameraRig
The place to register SessionConfig is in NRCameraRig.
- Select
Hierarchy>NRCameraRig - Drag
NRKernalSessionConfigtoSession ConfigonInspector>NR Session Behaviour
6. Create C# Script for image detection
- Create
C# Scriptin the asset with the file name "IconDetect.cs". Write the code as follows.
using NRKernal;
using NRKernal.NRExamples;
using System.Collections;
using System.Collections.Generic;
using UnityEngine;
using UnityEngine.UI;
/// <summary>
/// Icon Detect class using Trackable Images
/// </summary>
public class IconDetect : MonoBehaviour
{
/// <summary>
/// Trackable image list
/// </summary>
private List<NRTrackableImage> m_NewMarkers = new List<NRTrackableImage>();
/// <summary>
/// Display trackable status
/// </summary>
public Text text;
// Start is called before the first frame update
void Start()
{
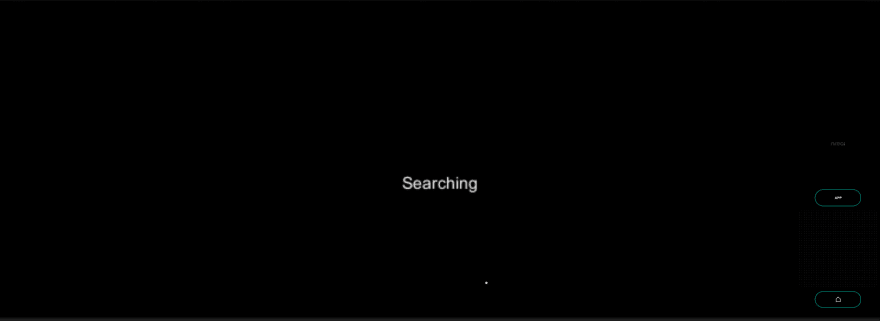
text.text = "Searching";
}
// Update is called once per frame
void Update()
{
NRFrame.GetTrackables<NRTrackableImage>(m_NewMarkers, NRTrackableQueryFilter.New);
if(m_NewMarkers.Count > 0)
{
NRTrackableImage image = m_NewMarkers[0];
Debug.Log(image.GetCenterPose().ToString());
// If you use NRAnchor, uncomment the following
// NRAnchor anchor = image.CreateAnchor();
text.text = "Detected";
}
}
}
7. Put Canvas and Text on the scene
Put Text object for displaying the cube rotation value.
- Put
CanvasfromCreate>UI - Put
Textas a child ofCanvas - Change Text to “Info” on
Inspectorpanel. - Attach
IconDetect.csonInspectorpanel ofCanvas. - Set
TexttoTextText Object.
8. Build
- Press
BuildformBuild Settingspanel - Install *.apk on Android or DevKit.
9. Test your application by displaying images for image detection
Display the image for image detection on your own smartphone or PC and view the image in Nreal Light. Make sure the text displayed in Nreal Light goes from Searching to Detected.

Top comments (0)