Introduction
🔥This is a mini-series including 3 blogs that shows the process how I work on my final project in my Open-Source Development class (OSD600) at Seneca College.
📝In the first blog, I introduced how I found an open-source repo to work for Final Project. In this second blog, I will introduce my process of installation and setup the app.
Process
Step 1: Twitter API
- I had to register for Twitter API because the app requires API from Twitter.
- I had to fill out the registration form from Twitter and waited 1 day to be approved for the access granted.
- I got the API Key in order to implement into Secrets.swift file in the project later.
import Foundation

// swiftlint:disable line_length

enum Secrets{
    static let bearerToken = "myAPIKey"
}
Step 2: AWS Amplify DataStore
- I had to install AWS Amplify DataStore in case I needed to change the model of the app.
- I opened the terminal and type:
curl -sL https://aws-amplify.github.io/amplify-cli/install | bash && $SHELL
- The amplify package is already added to the repo when I folked it my computer.
Step 3: Setup Repo
- I folked the repo to my GitHub.
- I cloned it to my computer.
git clone git@github.com:kiennguyenchi/brain-marks.git
- I set the remote upstream to the maintainer's repo.
git remote add upstream https://github.com/mikaelacaron/brain-marks.git
- I checked out new branch with formatted name by Contributing.md rule.
git checkout -b 101-feature-pin-category
Finally, I could run the app on XCode and opened iPhone 11 Simulator:
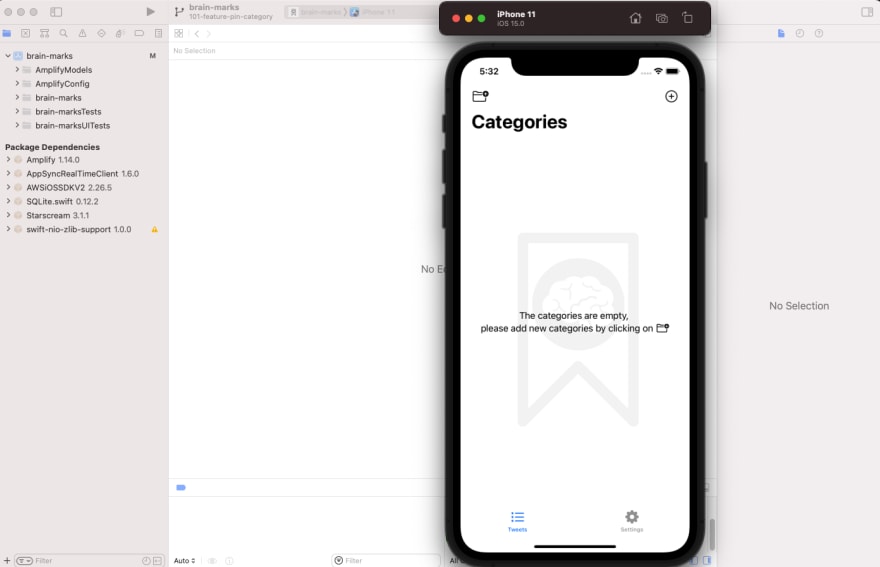
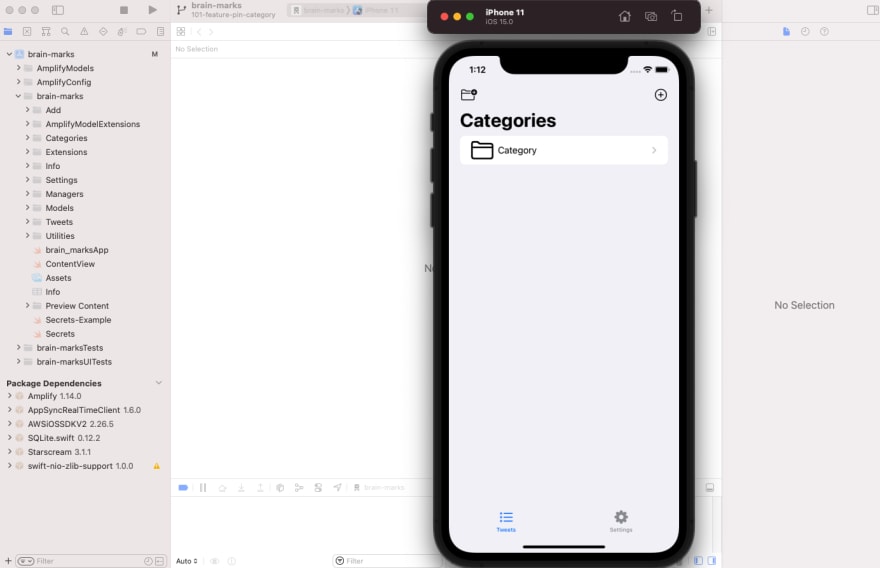
This is the main screen of categories of the app:
This is the screen when I hold my finger on each category.
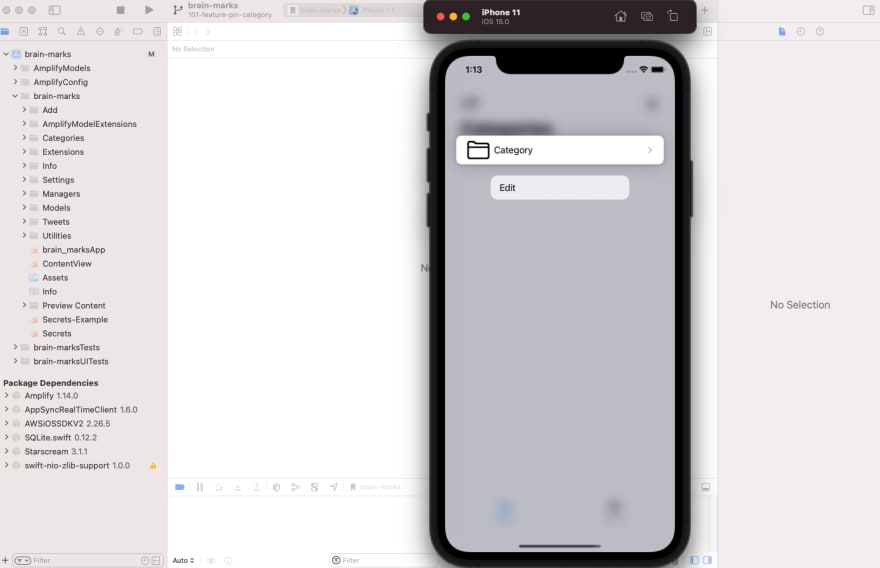
My target is to show the option pin under edit.
Conclusion
💻During the installation process, it took me a while to get the API, install the necessary packages and run the app properly.
❗At first, I could not run the app. I researched and watched youtube videos to see if I installed correctly or not. Finally, I found out that I could not run the app because all the added packages (Amplify, SQLite, Starscream,..) were not finished loading yet. I had to leave them some time to finish loading, then I could run the app.
💪Stay tuned and look forward to my last blog about my implementation process and final result.
Sources
📚Read my mini-series at:
💻Take a look at my work:

Top comments (0)