
This article covers the initiation of the Identity Provider (IDP) over Security Assertion Markup Language (SAML) Single-Sign-On (SSO) login flow, serving as a quick setup guide. If you have any comments or suggestions, please feel free to reach out to me.
Use case:
Is IDP init right for my organization?
- Simplifies experience by requiring an identification process before accessing any Service Providers (SPs).
- Ensures a consistent user experience across various channels and services.
- Establishes a centralized hub for maintaining a consistent level of security across all resources, incorporating Multi-Factor Authentication (MFA), biometric verification, or adaptive login.
I will try to explain possible scenarios with Azure Microsoft Entra ID (AEID) and WSO2 IS platform.
Both can be used for free. Microsoft Entra ID has a free tier and WSO2 is open source and the version downloaded from the site can be used free for preproduction env.
Setup WSO2 IS
- Download it, unzip it, setup JAVA_HOME, run it. (a good place to start is WSO2 IS documentation
Note: WSO2 IS version 7 will be released by the end of Nov 2023. The full B2B concept will be implemented as a first-class citizen functionality. This concept started first in the WSO2 SaaS platform [Asgardeo].(https://wso2.com/asgardeo/)
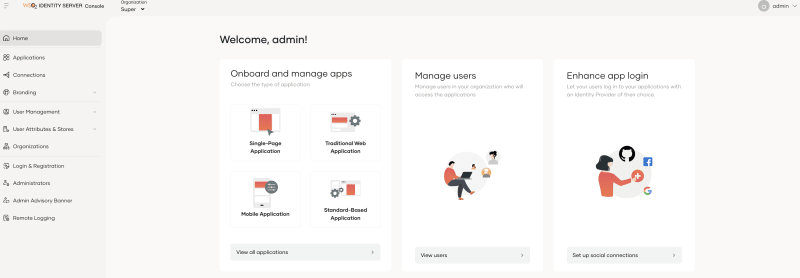
After logging in to IS, you will be at the root organization level.
- go to https://localhost:9443/console (if you haven't changed anything in /repository/conf/deployment.toml file the platform should run on the default 9443 port) and log in with admin/admin (username/password)
- Create the organizational structure (ORG_A, ORG_B,ORG_C,ORG_D)

- Create an application at the root level in my case with the following settings
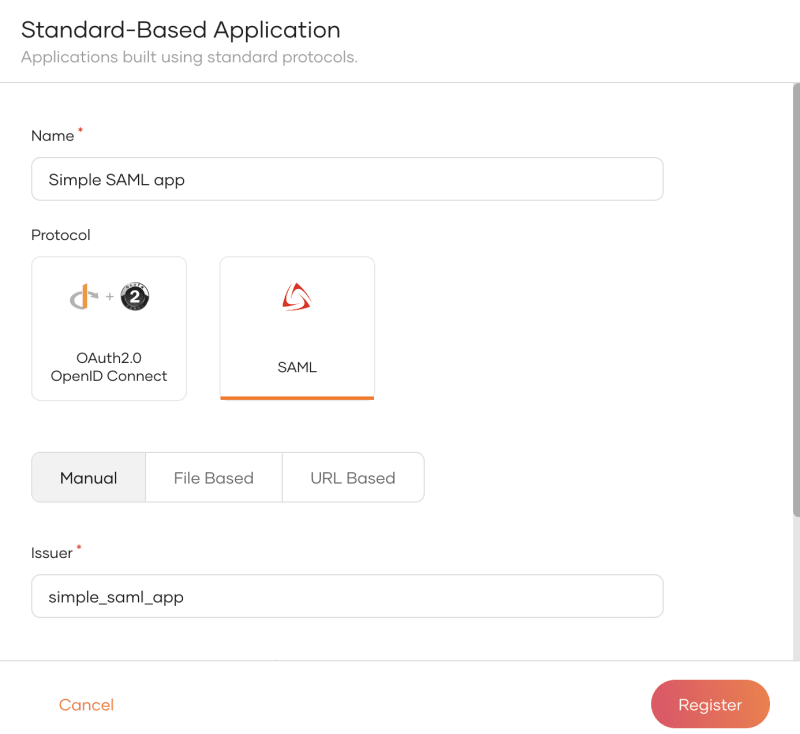
name : Simple SAML app
Issuer: simple_saml_app
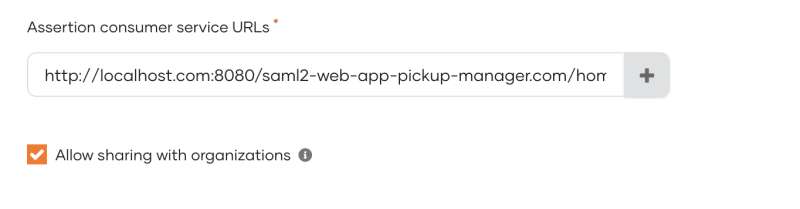
Assertion consumer service URLs:
http://localhost.com:8080/saml2-web-app-pickup-manager.com/home.jsp
Note: Issuer is used to uniquely identify your service/application, while Assertion consumer service URLs is URL where your application will receive SAML assertion from IDP. In my case, I'm using the demo application found on WSO2 Samples page.
Finally, shared the application with ORG_D.
Note: You need to check it the 'Enable IdP initiated SSO' in the Protocol tab.
Setup Azure
- Go to Azure/MS Entra ID/Enterprise application/ and create a new one by clicking on the 'Create your own application' button. In my case, I named it IDPInit. Choose 'Single sign-on from the left menu and choose SAML application.

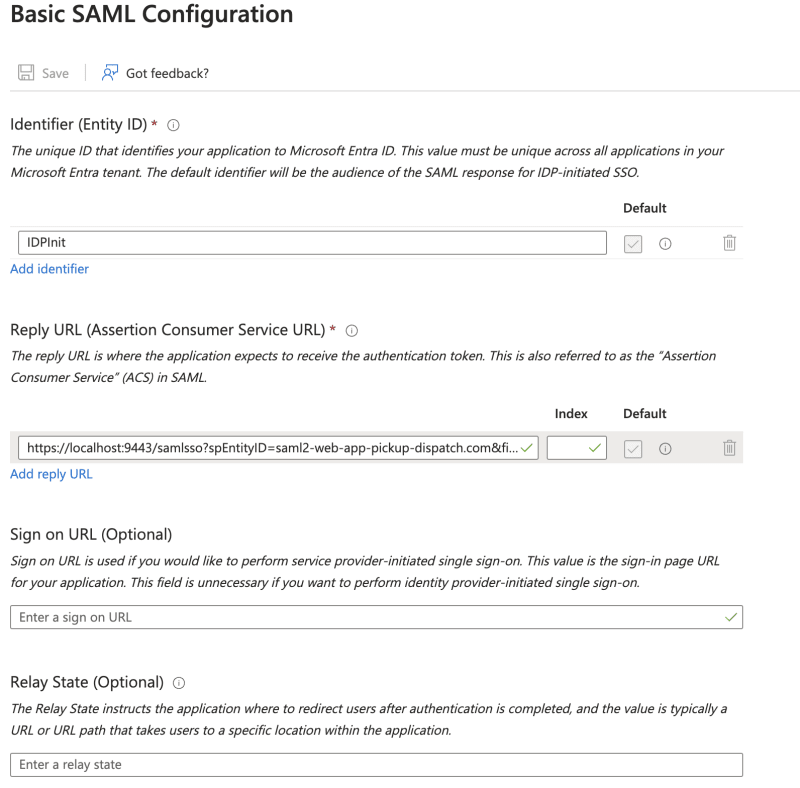
Edit Basic SAML Configuration with the following:
Identifier: IDPInit
Reply URL (Assertion Consumer Service URL):
https://localhost:9443/samlsso?spEntityID=simple_saml_app&fidp=OrganizationSSO&org=ORG_D
Note: If you want to change from the SAML application and redirect login flow to the OIDC application the Reply URL should look like this:
Reply URL (Assertion Consumer Service URL):
https://localhost:9443/oauth2/authorize?client_id=[oidc_app_client_id]&fidp=OrganizationSSO&org=ORG_C&redirect_uri=http%3A%2F%2Flocalhost%3A8080%2Fpickup-manager%2Foauth2client&response_type=id_token&scope=openid
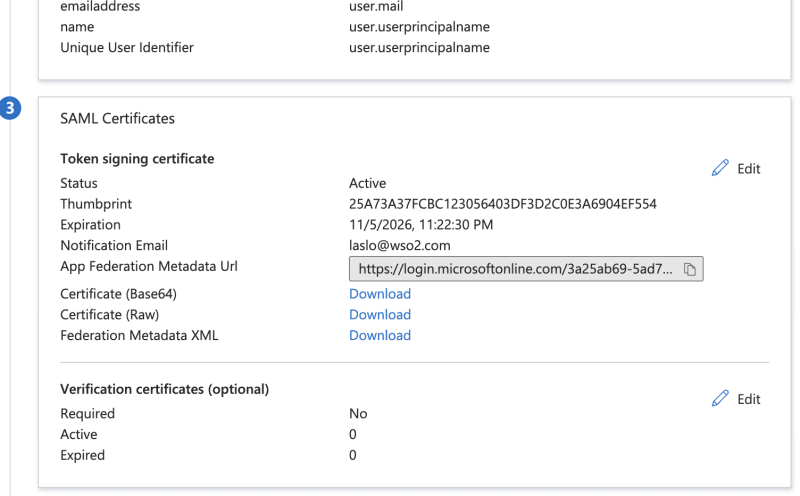
Download the Certificate (Base64) and Federation MetadataXML and save it (you will need later)
Go back to WSO2 IS
Switch to sub-Organization D and create a new Standard based connection with SAML protocol.
name: IDPInit (same as we defined in Azure)
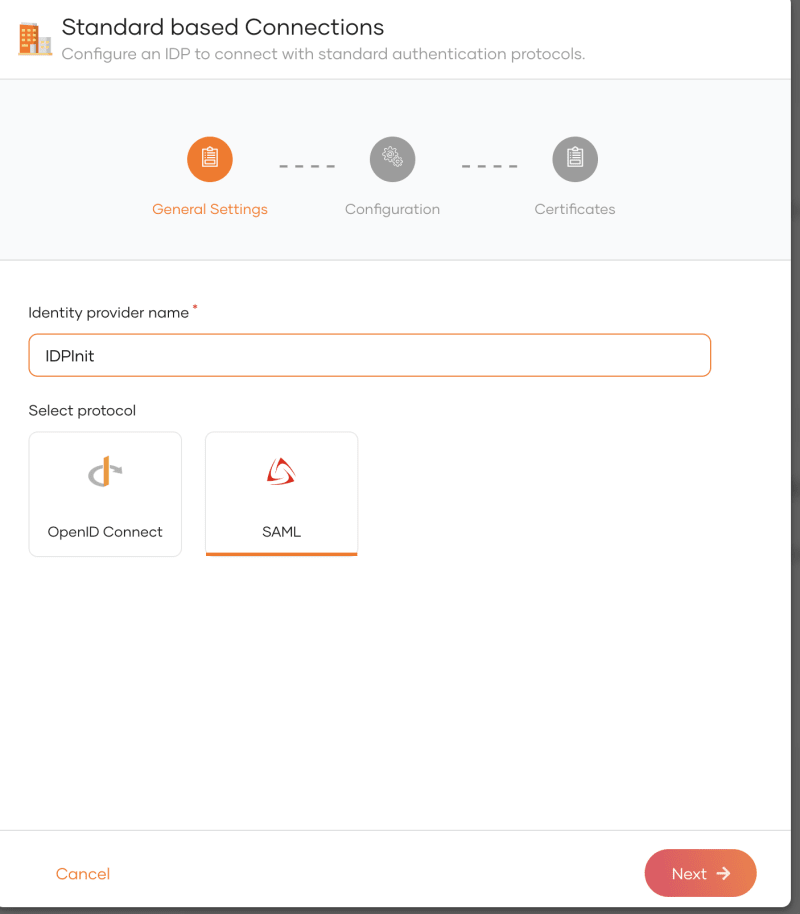
Service provider entity ID: IDPInit
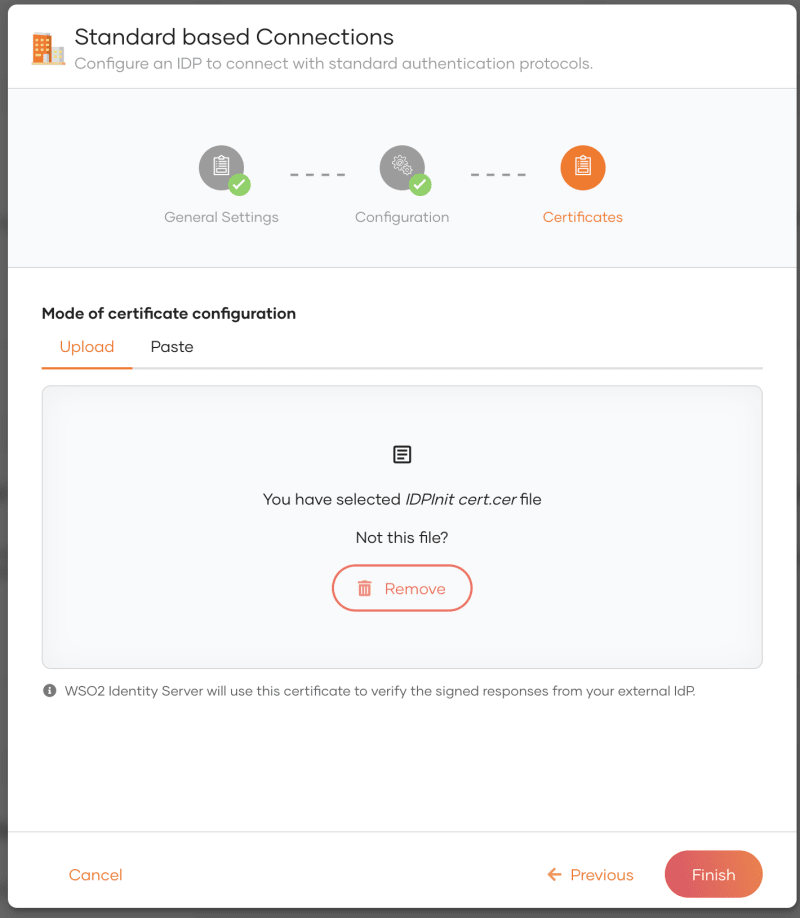
Upload the XML metadata we downloaded from Azure.

Upload the downloaded certificate.
Go to the application, and choose the Simple SAML app.
In Sign-in Method and in Classic Editor choose 'Start with Default configuration'.
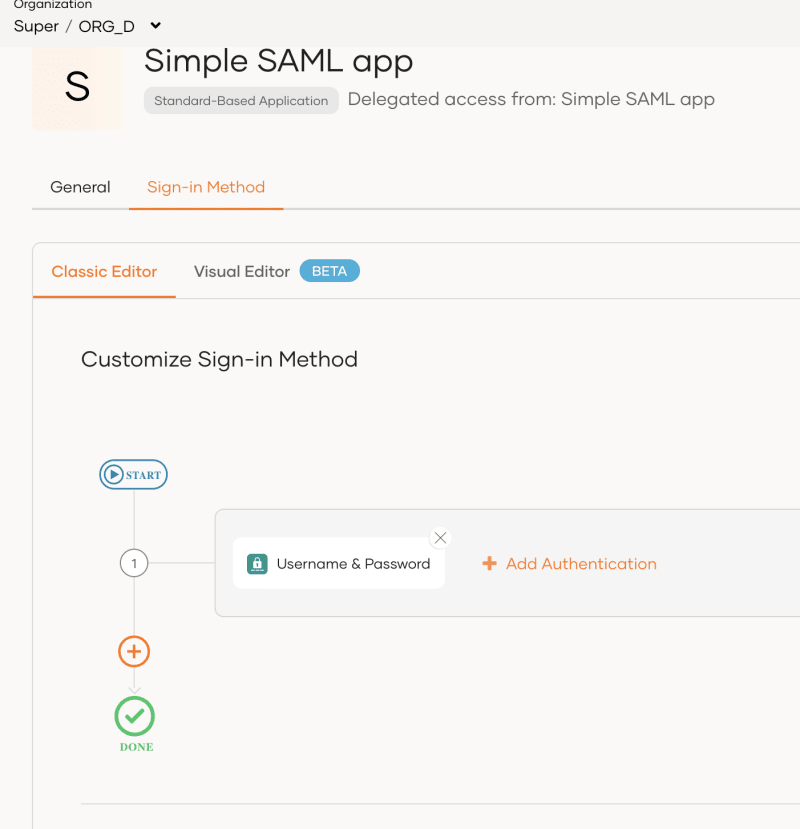
Remove 'Username and password; and add 'IDPInit' Authentication connector

Back to Azure Again
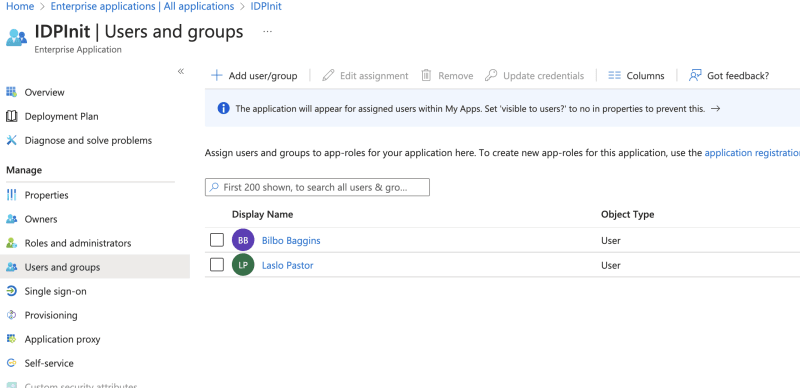
Assign a user(s) that should have the right to log in with the IDPInit application.
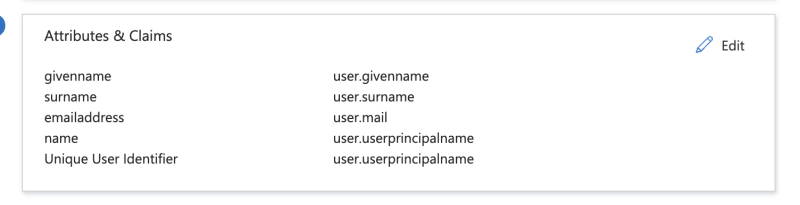
while you are there note the attributes and claims that will be passed in SAML accertion.
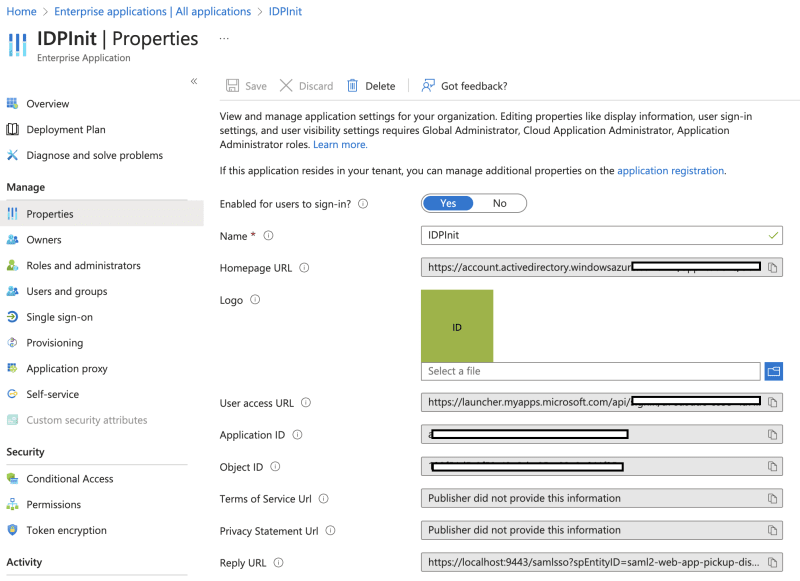
In the Properties section, you will find the User access URL link that can be used to initiate the flow. This is the link that your application will redirect the user to start the login flow.
Claims mapping
When you finish the login flow, the following popup will indicate that the required claim received from SAML assertion is not mapped to the application.
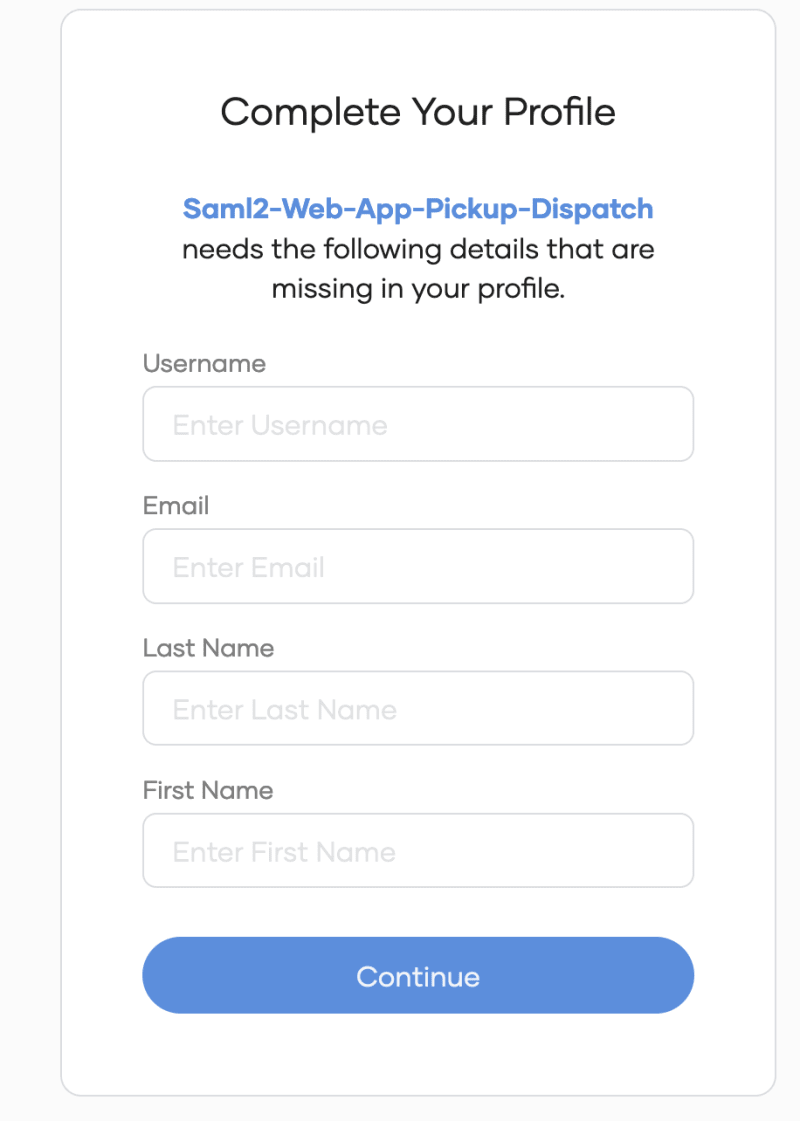
Fill out the claim mapping in the WSO2 'IDPInit' Authentication connector
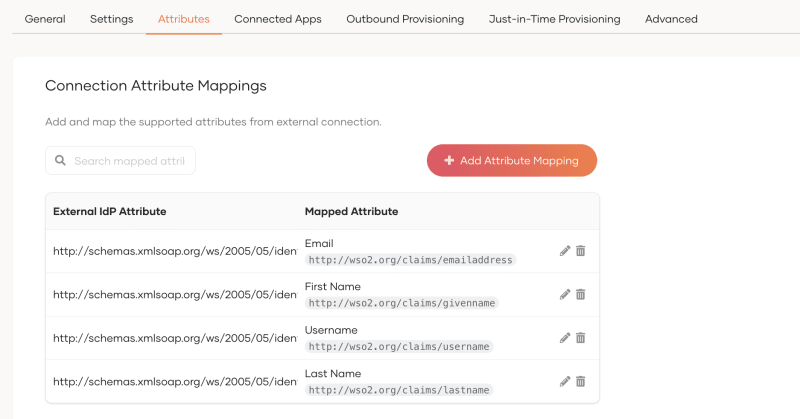
The correct values for External IdP Attribute can be found on Azure in Attributes & Claims section.

Good luck!

Top comments (0)