
Regions
There are specific geographical locations to host one's resources and it is called Region. Google has almost 20+ regions. Usages: Availability, Low latency, global footprint, adherence to government.
Zones/Discrete Cluster
Each region has more than one zones. Generally 3 zones. For example: us-west1 regions has zone us-west1-a,us-west1-b,us-west1-c.
Google Compute Engine
Enables to create and manage Virtual Machine. Gives one to load balance and auto-scale multiple virtual machine instances, attach storage and network storage, manage network connectivity and configuration.
Create a virtual machine instance( Hands-on):
- Go o Google Console and search for "Compute Engine". Press Create
- Give it a name and add labels. For example, the "environment" key can have "dev" value, "business" key with "sales" value etc. with a save.
- Choose a region and zone.
- From the Machine Configuration, choose Machine Family based on your need. For example, choose 'General purpose' and keep others as default.
- From the boot disk, select the image/operating system you want to use.
- Under the Firewall, we are going to select Allow HTTP Traffic to allow a person from outside with http website can get into our VM. Then press "Create". Now go to VM Instances and you can find your instance. You can see the external IP address which we will use to talk to the machine.
Note: You can also press 'SSH' to work with the VM instance through the terminal. Now we are going to install a http webserver on GCP VM.
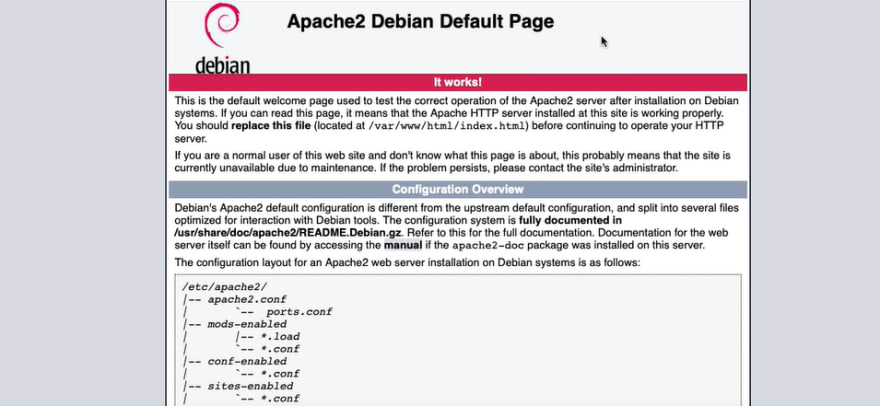
sudo su to become the root user. To update all package managers apt update. Now to install apache, apt install apache2.
Now go to see the http server, go to the external IP and see the page
As the default root is here /var/www/html, we are going to use it

thus use ls /var/www/html. Now going to edit "Hello world" in the index.html file
echo "Hello World!" > /var/www/html/index.html
Now go to the External IP address and you may see

Now to print the host name( Virtual machine name), we are going write echo $(hostname) and to get the Internal IP address, echo $(hostname -i)

To pass all these information to our index page, we can use echo "Hello world from $(hostname) $(hostname -i)" > /var/www/html/index.html
![]()
And we can see the output:

Basics of VM IP address
Internal IP address does not change and unique for a VM
External IP address changes when someone stop the VM. External users use the VM using External IP address.
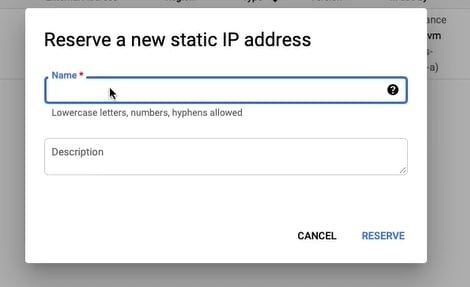
Static IP address is Permanent External IP address that can be attached to a VM. To create a static IP address, go to VPC Network and then External IP address and press Reserve Static Address to make your selected External IP address as a static one. Or manually search for External Ip address from the search bar and then from the dropdown, select "Static"

You can then give it a name
As it is a premium thing, you need not to use static one if you are not using it. Just go to external IP address under VPC Network and press "Change" and Attach IP address to None.
Simplify VM HTTP Server setup
- Using startup script: Go to VM Instances and press create. Give it a name and go to "Management, security, disk,..." and go to Startup script. add this code
#!/bin/bash
apt update
apt -y install apache2
echo "Hello world from $(hostname) $(hostname -I)" > /var/www/html/index.html
and press Create
- Instance Template: Rather than creating instances manually every time, we can create instance templates.
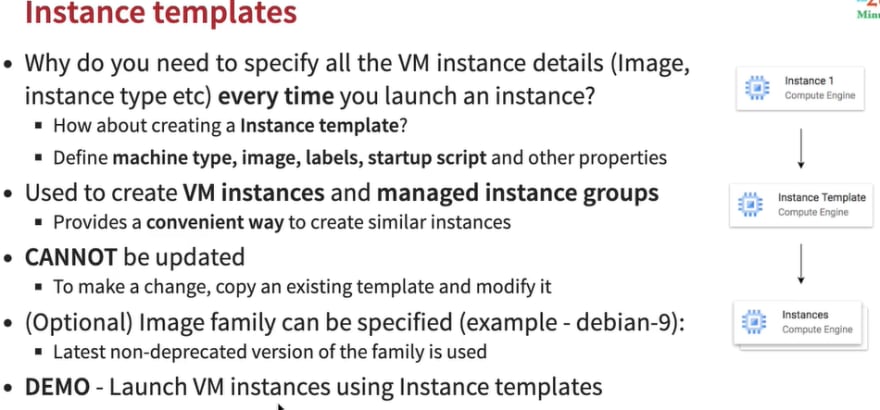
Now, under the Compute Engine, go to Instance Templates. Create a new.
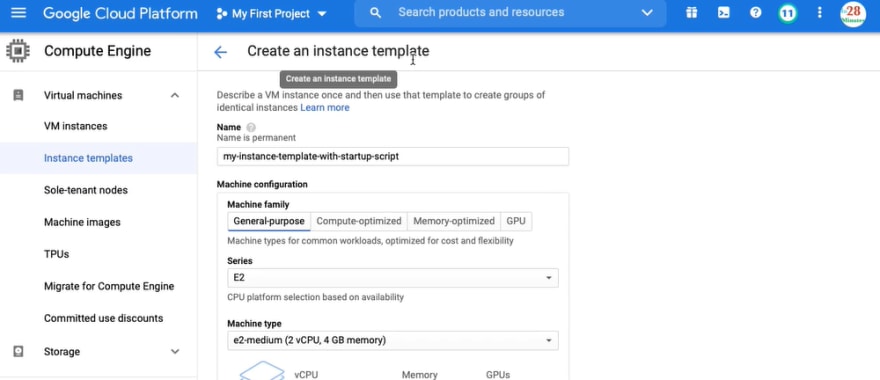
add the default disk and others and again add Startup Script like the previous example with the same code.
Note: We need to pay if we create a VM using the Instance Template.
- Use a custom image
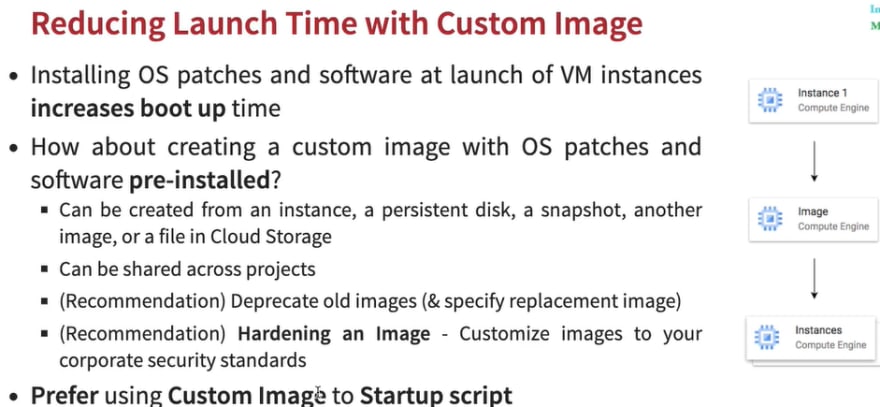
Under the Compute engine, go to storage and choose "Disks"(Hard disk associated with your virtual machine). Assume that we have a VM already created and thus a Disk already there.
Now go to "Actions" and go to "Create Image"
Note: You should not create an image from a disk that is currently attached to a running instance. You should stop the instance and then create an image from that disk.
Give the image a name and press "Create".
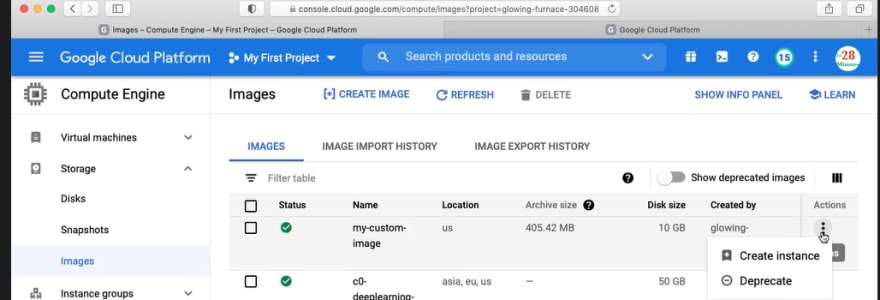
Now you will find a disk and you can create an instance from your custom disk.
You can now create instance templates using your custom disk. While creating instance templates, you need to choose your disk inn the "Boot disk" section.

Use discounts
Sustainable

Committed use discount
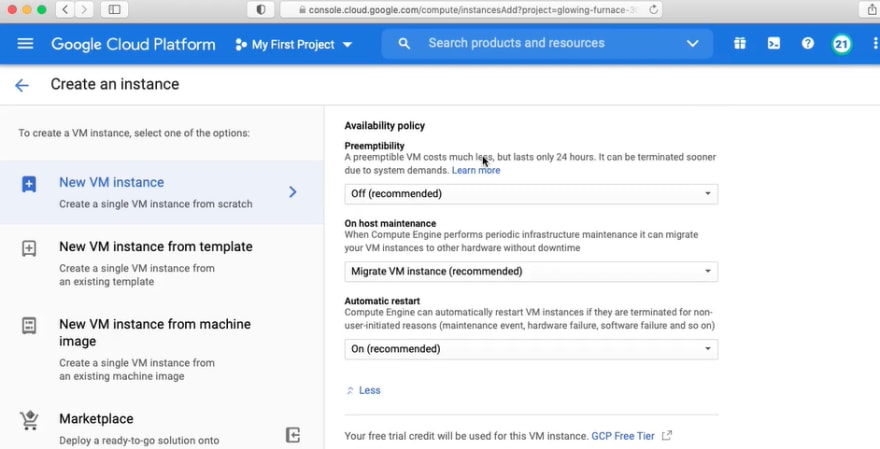
- Preemptible VM

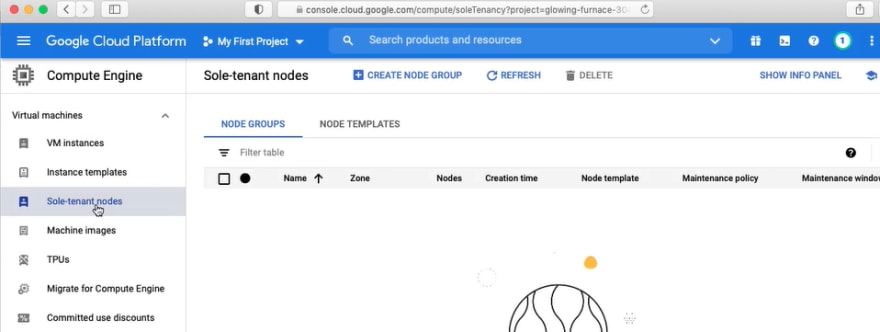
Sole Tenant Nodes
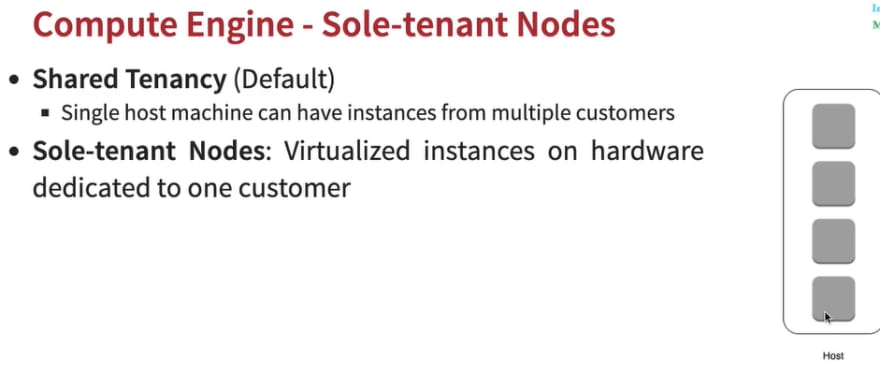
Press 'Create a Node group'. Under the node template properties, create a node template and remember to select Affinity Labels. For example: key="group" and value="a". You can choose number of nodes as 1. Thus you can create one.
Note: Sole tenants are very expensive and we will refrain from making this.
While creating a VM instance, go to Management,disk ,........
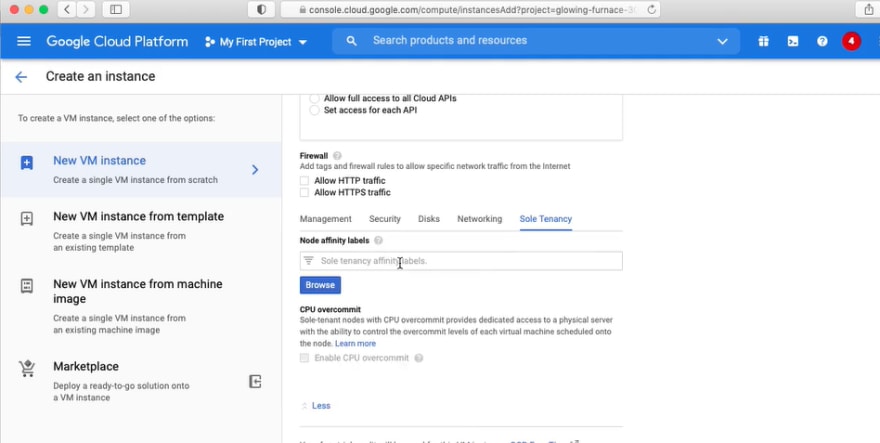
Add the affinity label we created
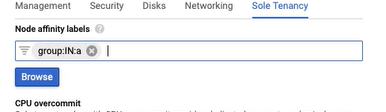
So, what basically happens is that if we have a key and value created with this, the VM is getting created under that node.
Google Cloud Pricing Calculator
Calculator

Oldest comments (0)