I had delayed learning React Native for some time now. After working with React for quite sometime, it is the obvious next step.
So, i headed over to Udemy and started the highly rated Stephen Grider course.
He created a restaurant app with Yelp API, but since yelp is not available in India i decided to go ahead with Zomato API. Zomato is a popular food delivery platform in India.
Our Restaurant Search app will have a Search Bar to search anything about food and then three categories of Restaurants — Cost Effective, Bit Pricer and Big Spender.
We will generate our React native project using expo-cli. So, head over to terminal and run the below command.
npx expo-cli init restroSearch
It will show the below screen. Press enter.
Then, we will be prompted to enter the name of the project. Type the same name restroSearch and press enter.
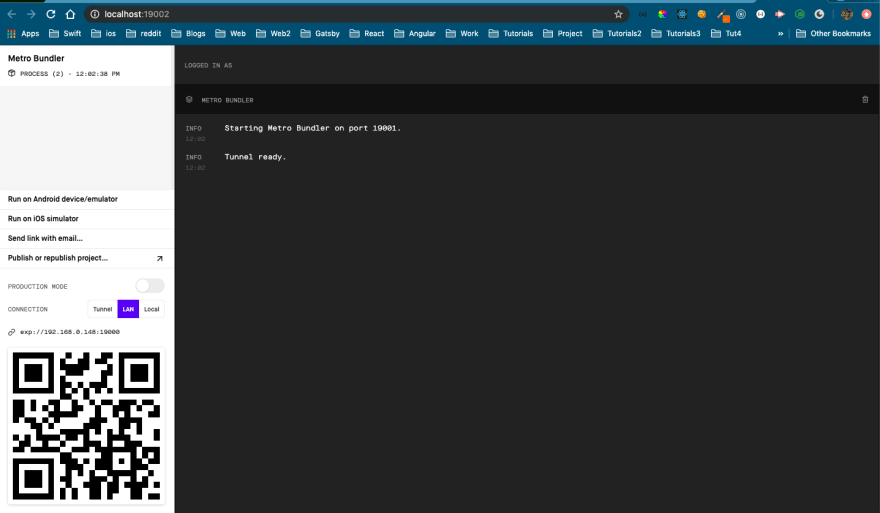
Once the installation is done, it will create a new folder restroSearch. Change to that and run npm start. It will open the http://localhost:19002 / in browser.
Now, i am running the output on a physical Android device. For running on a physical device, you need to head over to Play Store and install Expo
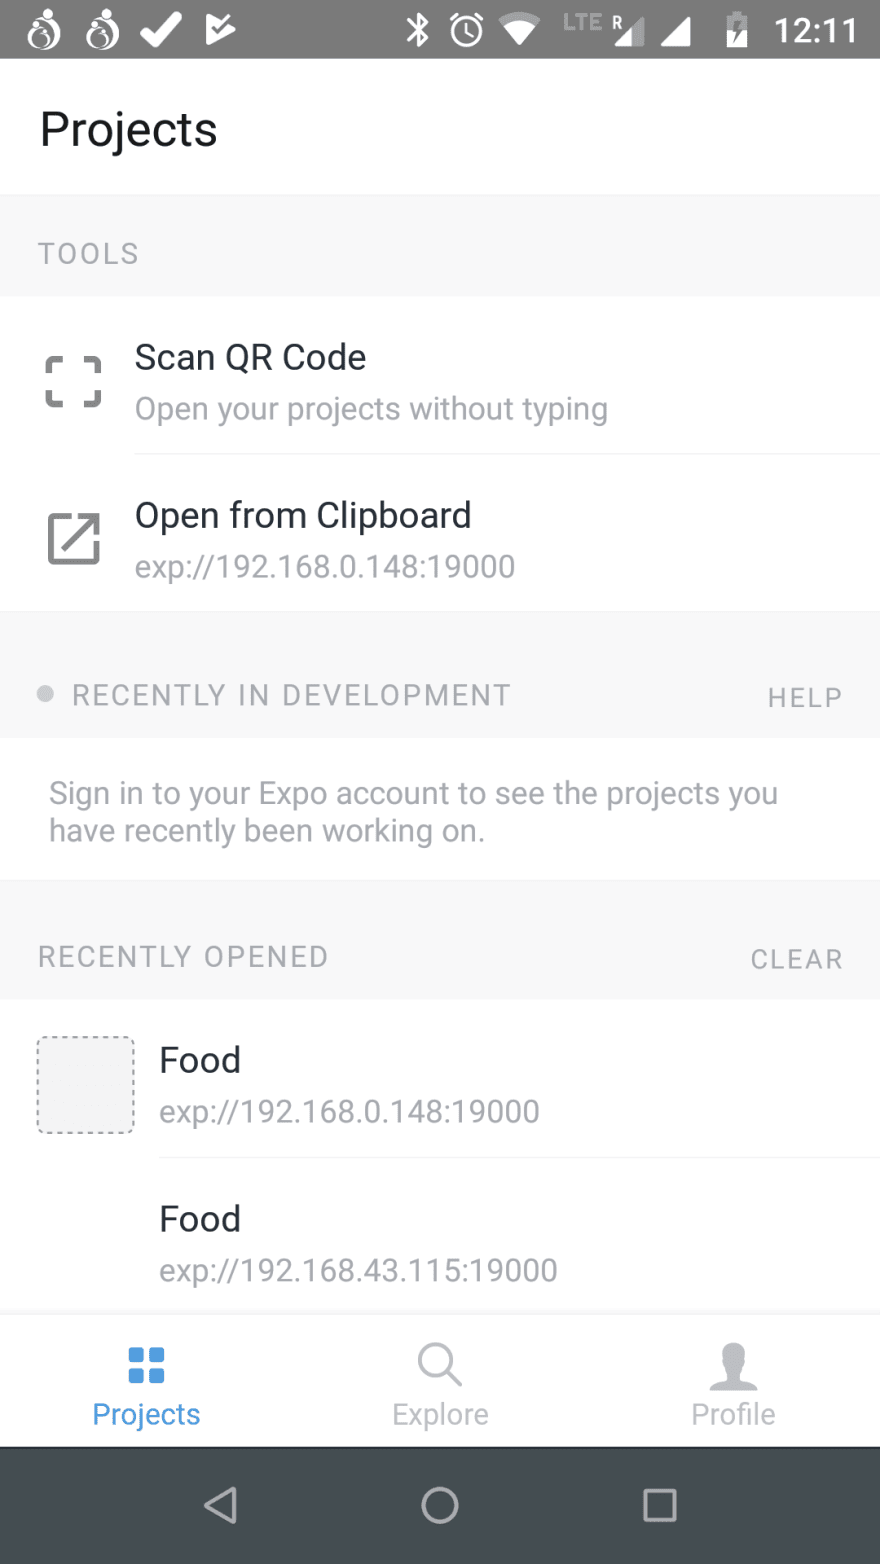
Now, open the app on your phone. You will get the below screen.
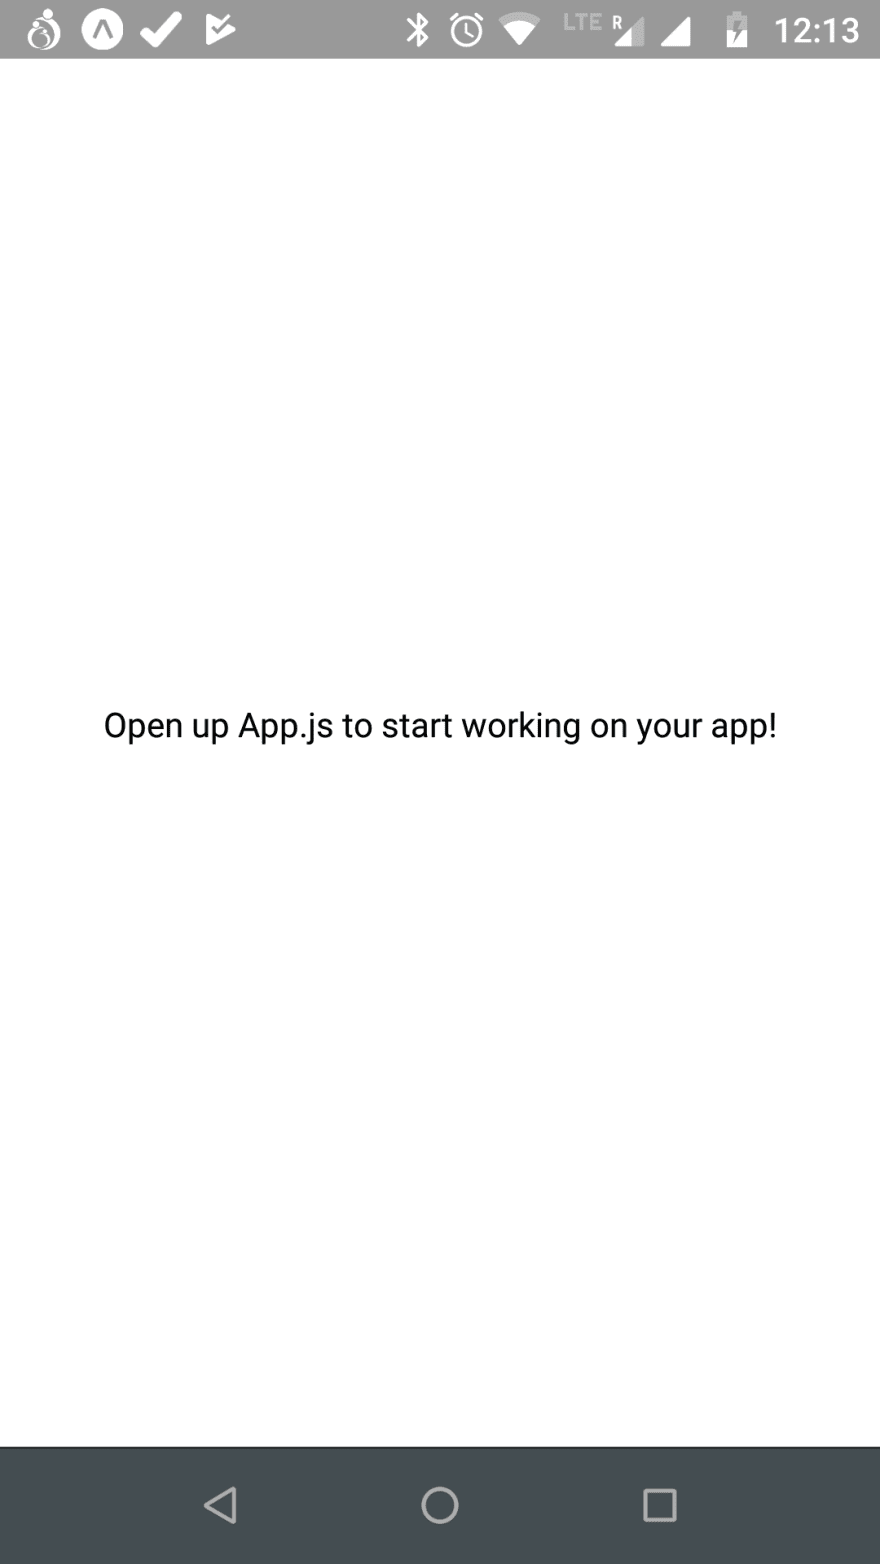
Click on Scan QR Code, it will open Camera. Point it to the QR code in the browser and you will the below screen, after all installation is done.
We will be using the StackNavigator in our project. So, go ahead and install these dependencies.
npm install react-navigation

npx expo-cli install react-native-gesture-handler react-native-reanimated
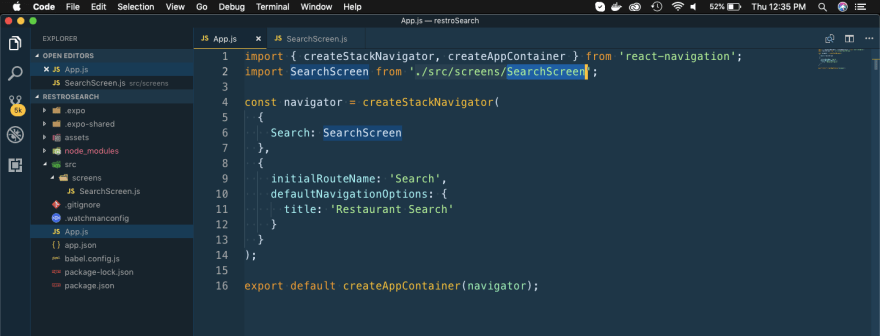
Open your project in Visual Studio Code and replace App.js content with below.
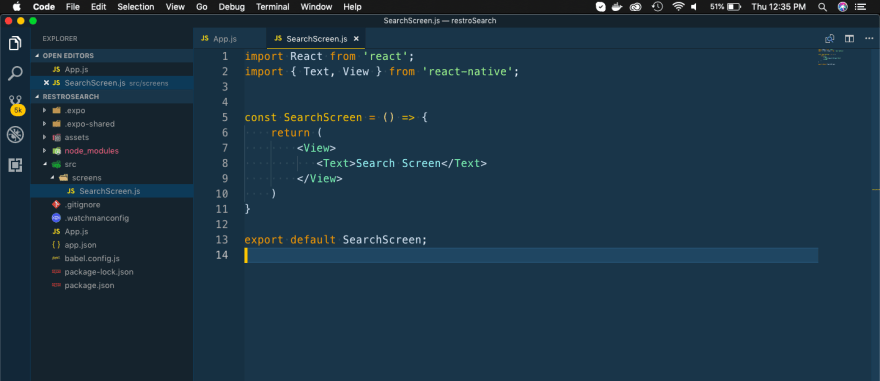
Now, create a file SearchScreen.js inside src -> screens. You need to create these two folders also.
This will change our Application in our Android app and will show the SearchScreen component.
Let’s create the SearchBar first. First create a components folder inside src. The create a file SearchBar.js inside it. Add the below content in it.
Here we are using View, TextInput, StyleSheet from react-native. We are also using an icon for Search from expo.
The styling in react native is mostly done through camelCase notation.
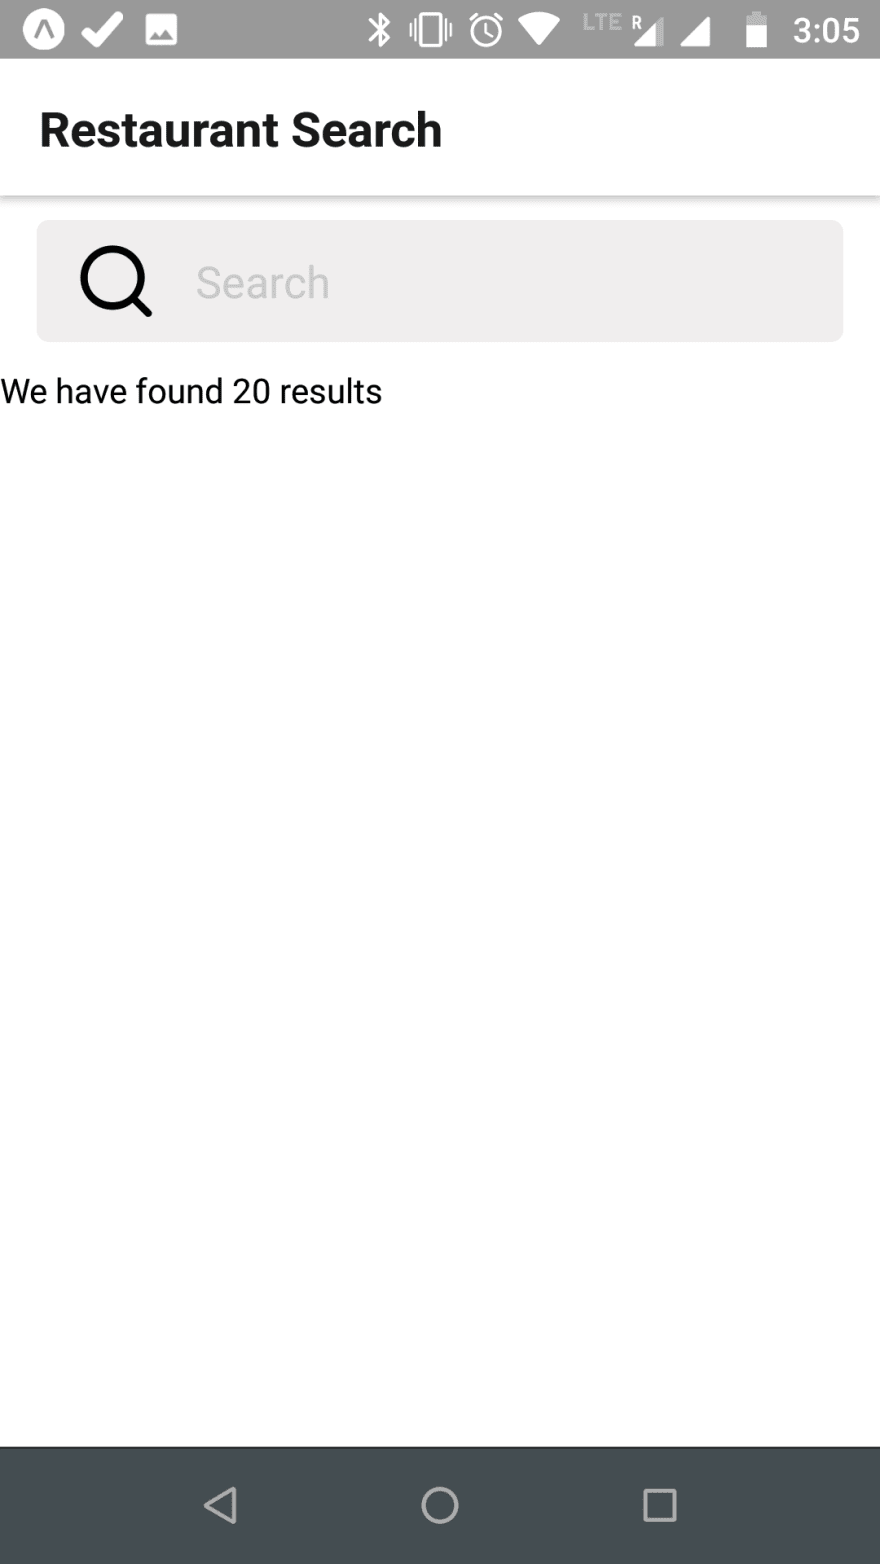
Now, our app will look like below.
We will be passing a state from our parent component SearchScreen to SearchBar and will use callback to change it from SearchBar.
So, open SearchScreen.js and add a state and pass it to SearchBar.
Now, we will use those in our SearchBar component.
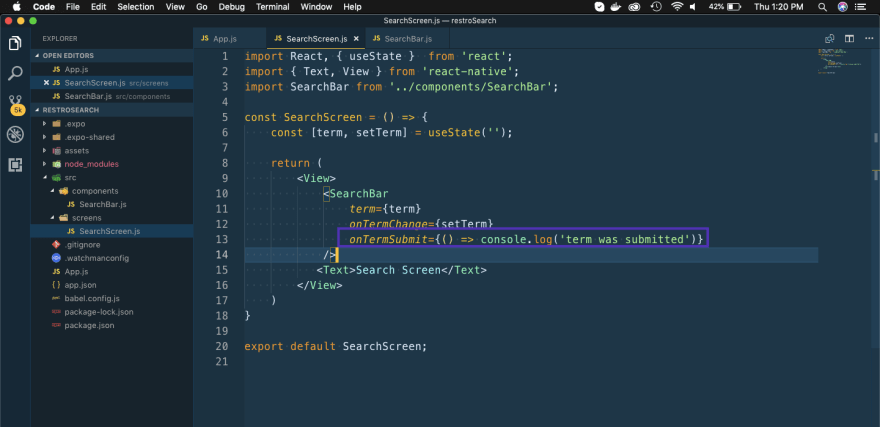
Our search should start only when the user hit enter on the device. So, we will add the logic for the same next. Add a new callback in SearchScreen. We will later use it to call the zomato API.
Next, add the same in SearchBar component.
Now, we can test it. Open you Android app and then type something on it and press the green enter key.
We can see the console log in our terminal after submitting.
Next, we will do the API call to get the list of restaurant and search anything. So, head over to https://developers.zomato.com/api and get your API keys.
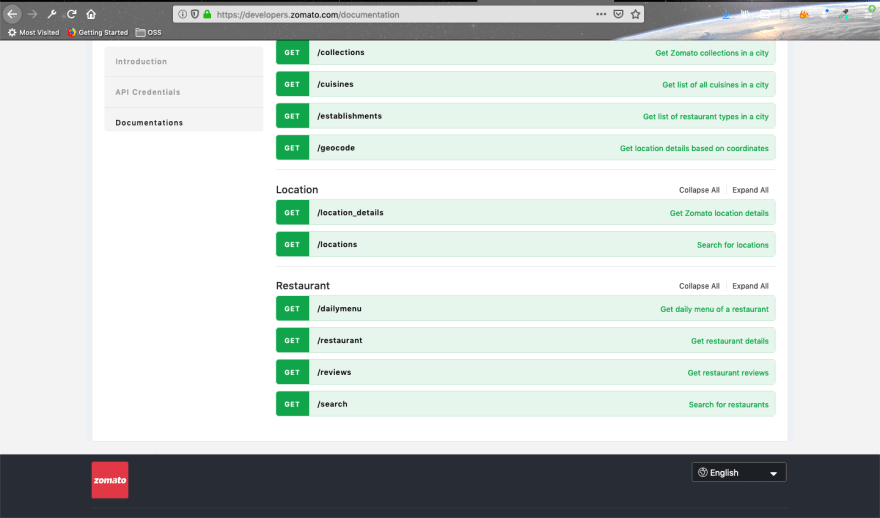
Zomato’s documentation is pretty good and contains swagger,so you can check the API there itself.
We will be using the Restaurant Search API mainly. I will be searching only the restaurants in Bangalore, so we will use the below GET api. We also need to pass our API keys in the header.
https://developers.zomato.com/api/v2.1/search?entity_id=4&entity_type=city&q=Kabab
Next, we will head over to terminal and install axios
npm install axios
Next to use the zomato API, we will use the axios instance method. Create a folder api inside src and a file zomato.js inside it.
Next, we will be creating a reusable hook. Create a folder hooks inside src and a file useResults.js inside it. Here we are hitting the zomato url and setting the result in results.We are also using an initial search, so that when the app loads we get some data.
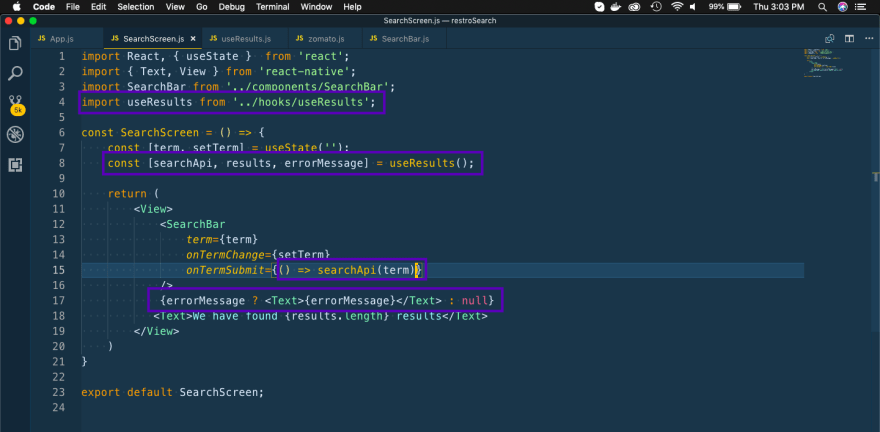
Now, we will use these hooks inside our SearchScreen component.
Now, i our android app we get the result.
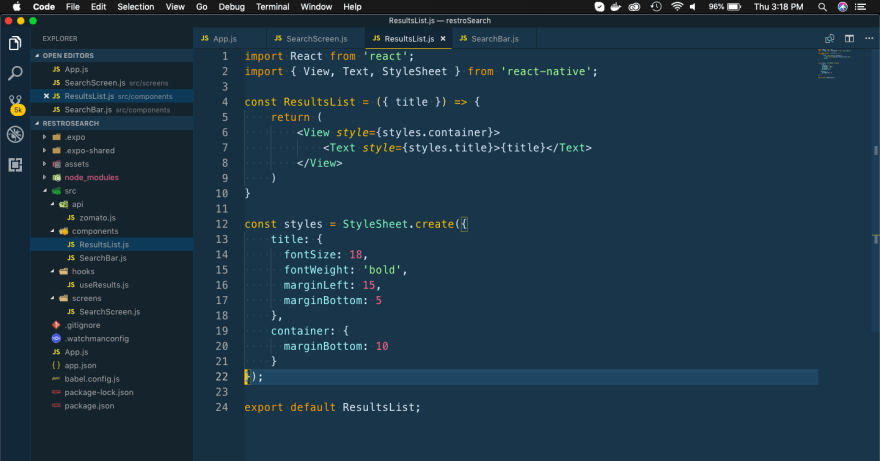
Next, we will create the component to show this result on screen. We will create a component ResultsList.js
Next, we will pass the title from SearchScreen
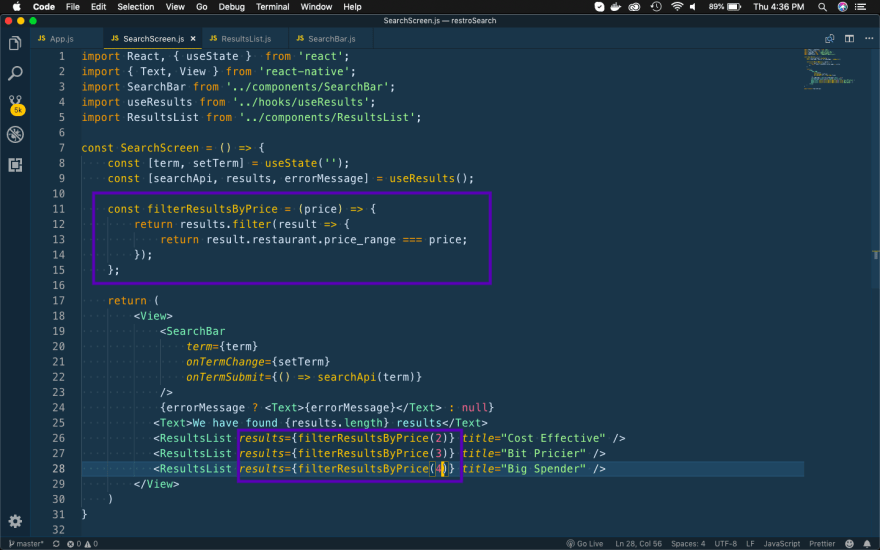
In our app, we are showing three different categories of restaurants by price. Now, zomato categories them by price_range value. We will filter the array and pass different price list to different ResultsList.
Next, let’s use this in the ResultsList component.
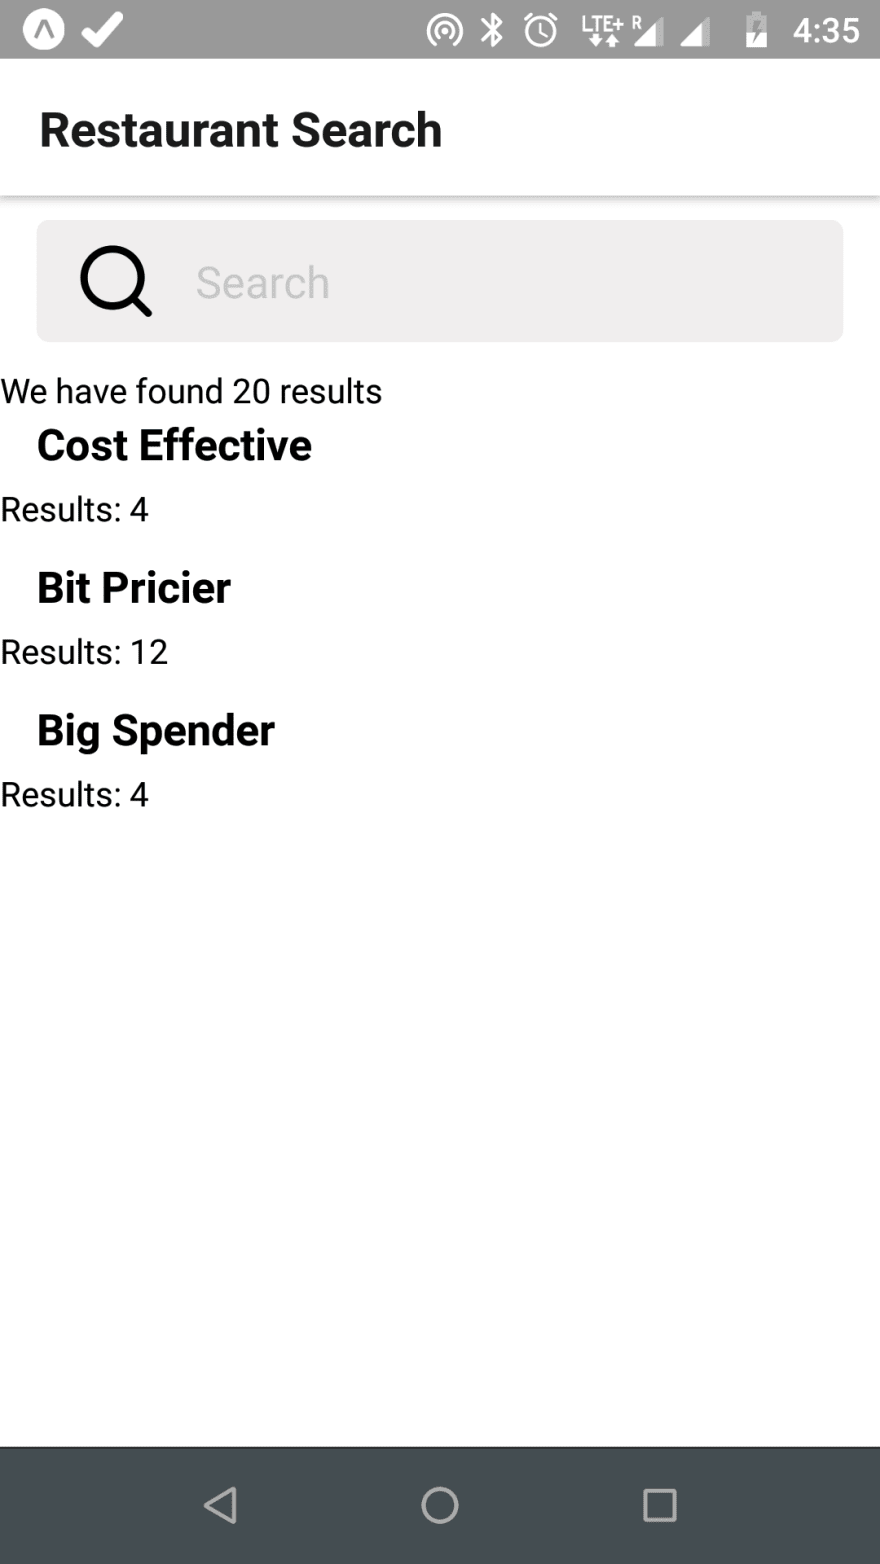
This will show the below in our App.
Now, let’s use the data an show it properly. We will use the FlatList to display the horizontal list, but use another component to show each item.
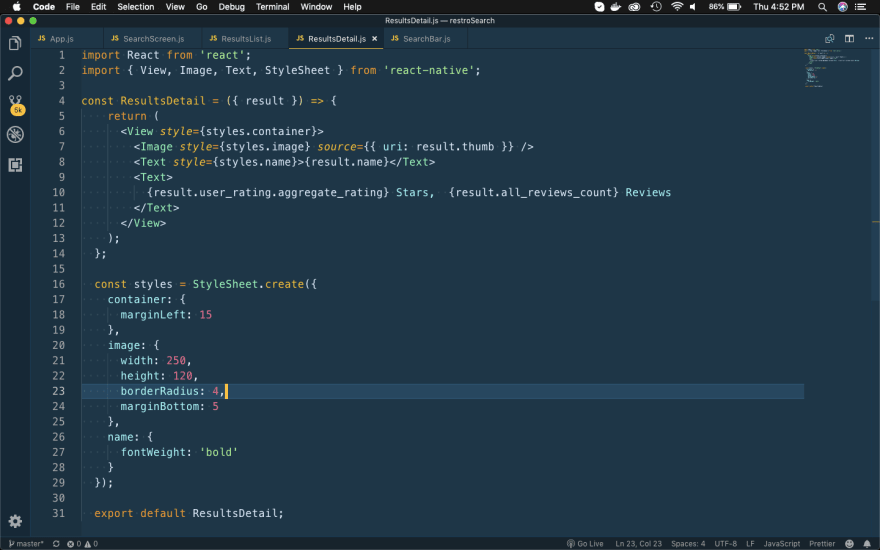
Next, we will create the ResultsDetail component. It just take the item, which is pass and shows it with some styling.
It will show as the almost complete version of the App.
You might have noticed, we were not able to scroll vertically on an Android phone. So, to fix that issue we have to use ScrollView to wrap our list and also need to change the View to and empty div <>
Now, we will add the logic to show more details of an individual restaurant, when the user clicks on it. For this we have to create a new Screen. Let’s first wire it up in App.js
Then we will add the Navigation logic to the ResultsList component. We are using withNavigation and passing the restaurant id to the ResultsShow component. With had wrapped the ResultsDetail with TouchableOpacity, so onPress we will be taken to the ResultsShow
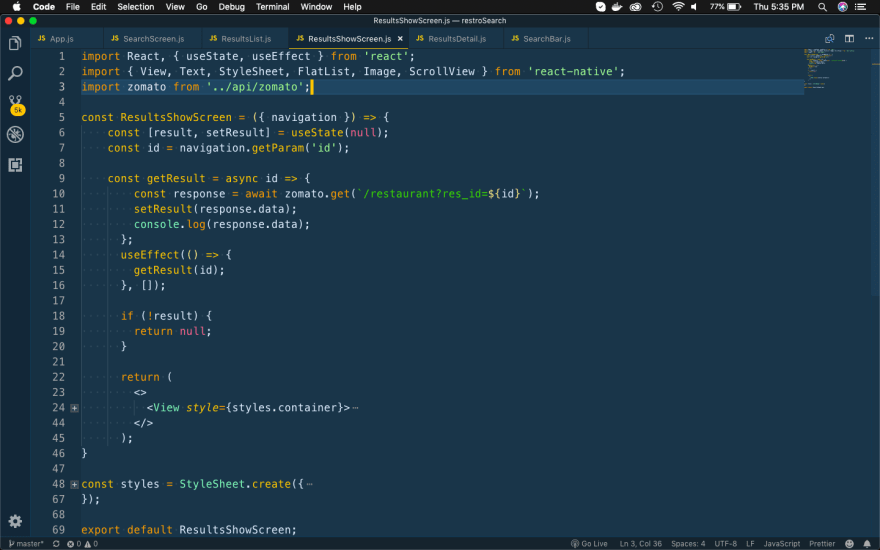
Now, inside screens folder create ResultsShowScreen component. Here we are receiving the id from the parent component and using it to another api call to zomato api to get the restaurant details.
Next, we will add some elements to show some details about the restaurant.
Next, we will add some styles for these elements.
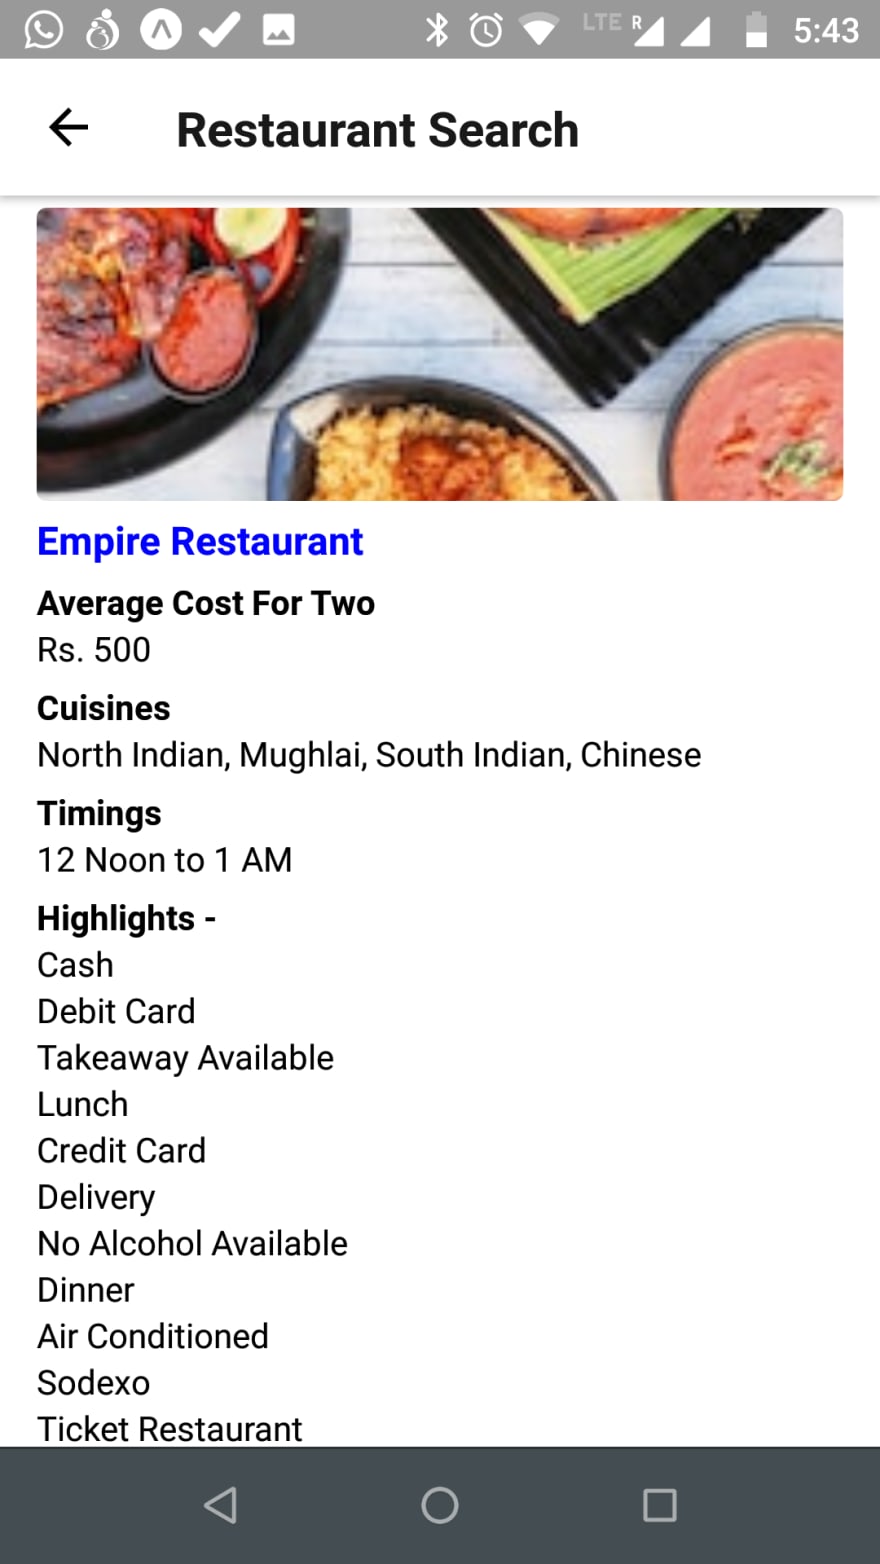
Now click on any restaurant and it will open the details of the restaurant.
You can find the code for the same in github here and the apk file can be downloaded from here.

















Top comments (0)