The following guide helps you to implement a little fancier file uploads for your web apps
Requirements
Laravel: Laravel is a web application framework with expressive, elegant syntax. Supported versions > 5.x.x . The version used in this guide is Laravel 8.
Uppy: Sleek, modular open source JavaScript file uploader.
Tus: Open Protocol for Resumable File Uploads.
Tus-PHP: A pure PHP server and client for the tus resumable upload protocol v1.0.0.
Redis: An open source (BSD licensed), in-memory data structure store, used as a database, cache, and message broker.
Tutorial
1.Install Uppy and its supported plugins (Dashboard, Tus) with NPM.
npm install uppy

npm install @uppy/dashboard

npm install @uppy/tus
- Create your file upload element in your blade file. In this example, we are using a button.
<button type='button' class='btn btn-success btn-sm' id='file_upload' name='file_upload'>Upload File</button>
3.In order to post your file to your /tus endpoint, you need to add CSRF-TOKEN. Create a meta tag to hold your token in the blade.php which you will pass to your Uppy.js.
<meta name="csrf-token" content={"{ csrf_token() }}">
4.Create your Uppy configuration in your JavaScript file.
import Uppy from '@uppy/core';
import Tus from '@uppy/tus'
import Dashboard from '@uppy/dashboard';
const uppy = new Uppy({
debug: false,
autoProceed: false,
restrictions: {
maxFileSize: 1000000,
maxNumberOfFiles: 1,
allowedFileTypes: ['image/*'],
}
})
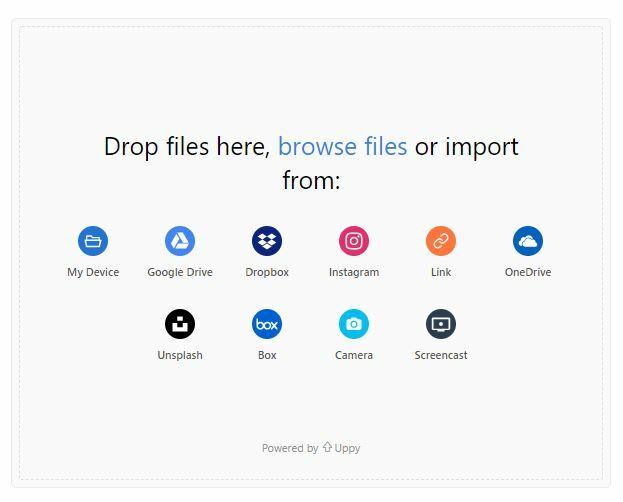
.use(Dashboard, {
target: 'body',
trigger: '#file_upload',
closeAfterFinish: true,
browserBackButtonClose: false,
showProgressDetails: true,
})
.use(Tus, {
endpoint: '/tus', // use your tus endpoint here
retryDelays: [0, 1000, 3000, 5000],
headers: {
'X-CSRF-TOKEN': $('meta[name="csrf-token"]').attr('content')
}
})
- We need Redis for cache management. Go ahead and follow the guide for installing Redis on your system. If you’re running a Windows system you need to install Windows Subsystem for Linux before you begin. I will recommend the Ubuntu distro.
curl -fsSL https://packages.redis.io/gpg | sudo gpg --dearmor -o /usr/share/keyrings/redis-archive-keyring.gpg

echo "deb [signed-by=/usr/share/keyrings/redis-archive-keyring.gpg] https://packages.redis.io/deb $(lsb_release -cs) main" | sudo tee /etc/apt/sources.list.d/redis.list

sudo apt-get update
sudo apt-get install redis
- Start the Redis server
redis-server
- Confirm that your redis server is running smoothly and can connect to it
redis-cli ping
- We will now tie everything together with the Tus-PHP from Ankit Pokhrel. Add Tus-PHP with Composer
composer require ankitpokhrel/tus-php
- Create a service provider (eg. TusServiceProvider) and add it to your config config/app.php.
php artisan make:provider TusServiceProvider
- Update the provider with the sample code from the Laravel integration guide. You do not have to exclude the server endpoint from Laravel’s CSRF validation. That’s a security risk and has been taken care of by passing it in the headers. Also, remember to create your upload folder in the storage
<?php

namespace App\Providers;

use Illuminate\Support\ServiceProvider;
use TusPhp\Tus\Server as TusServer;


class TusServiceProvider extends ServiceProvider
{
    /**
     * Register services.
     *
     * @return void
     */
    public function register()
    {
        //
        $this->app->singleton('tus-server', function ($app) {
            $server = new TusServer('redis');

            $server->setApiPath('/tus');
            $server->setUploadDir(storage_path('app/public/uploads'));

            return $server;
        });

    }

    /**
     * Bootstrap services.
     *
     * @return void
     */
    public function boot()
    {
        //
    }
}
- Add the /tus endpoint to your route to serve requests.
Route::any('/tus/{any?}', function () {
    return app('tus-server')->serve();
})->where('any', '.*');
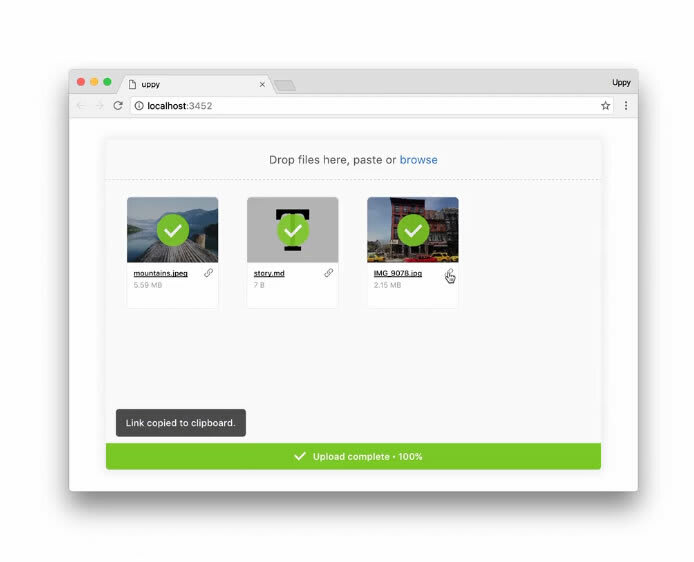
That’s all folks. Users will be able to resume the upload of files after an network error or closing the browser. Hit the comments if you need any help.

Top comments (0)