These instructions are for Windows and works for me™ in Chrome.
Create a self-signed certificate with a DnsName
Create a new certificate with powershell
New-SelfSignedCertificate -DnsName localhost -CertStoreLocation cert:\LocalMachine\My
The DnsName is important and if you use a custom domain via a host file you should add the domain you use there.
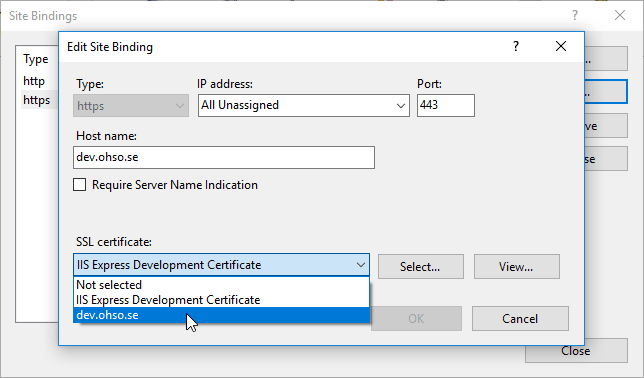
Make sure you use this certificate on your localhost
Export the certificate from Chrome
- Go to your localhost website and open up the inspector
- Under the security tab, click the "View Certificate" button.
- Go to the details tab in the dialog and click "Copy to file"
- Follow the wizard and choose the Cryptographic Message Syntax Standard - PKCS #7 (i do not think the "Include all checkbox" is important)
- Save it somewhere.
Import the certificate to the "Trusted Root Certification Authorites"
- Go to Chrome Settings
- Click advanced at the bottom
- Click the Manage Certificates link to open the certificate dialog
- Click import
- Follow the wizard and pick your exorted certificate file
- Click browse and choose "Trusted Root Certification Authorites"
- Done!
After this you should restart Chrome and you should not get any warnings.
All this information was collected at various places in this Stack Overflow question: https://stackoverflow.com/questions/7580508/getting-chrome-to-accept-self-signed-localhost-certificate
Bonus - Make it work in Firefox as well
Apparently Firefox doesn't use the global windows store for certificates. But it's easy to fix.
- In Firefox, type 'about:config' in the address bar
- If prompted, accept any warnings
- Right-click to create a new boolean value, and enter 'security.enterprise_roots.enabled' as the Name
- Set the value to 'true'
Credits to this post for this info.

Top comments (0)