In this quick post, we’ll see how to create, apply, Edit, and delete a color style in Figma.
Watch Video Tutorial
Create a Color Style
To create a new color style, let’s start by creating a new shape and go to Fill section and change the shape color to a light blue.
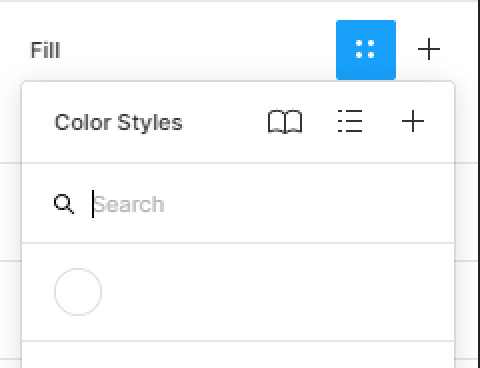
- Next, hit the four dots icons in the Fill section to trigger the color styles modal.
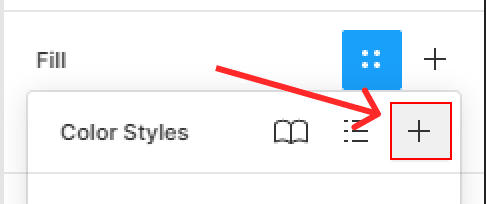
- Hit the + icon in the right corner of the Color styles modal.
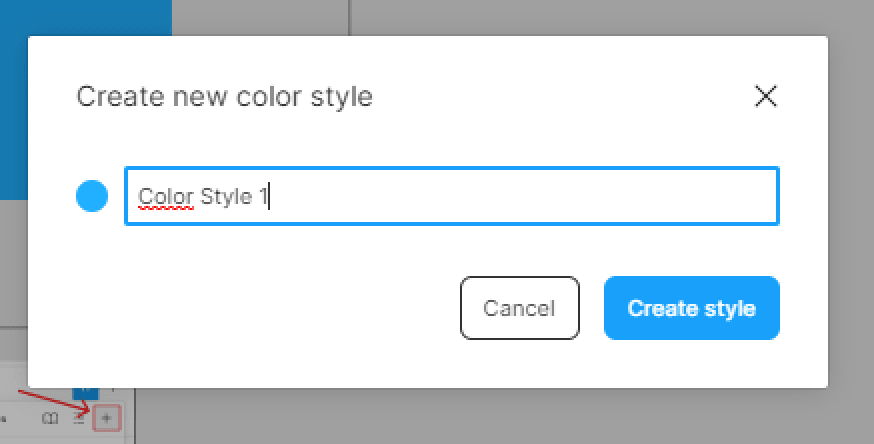
- Let’s give our style the name of Color Style 1 then hit Create style button.
You can create as much styles as your want.
Apply a Color Style to a layer
To apply a color style to a frame or a shape layer, select your layer and head to the Fill section in the right-hand sidebar.
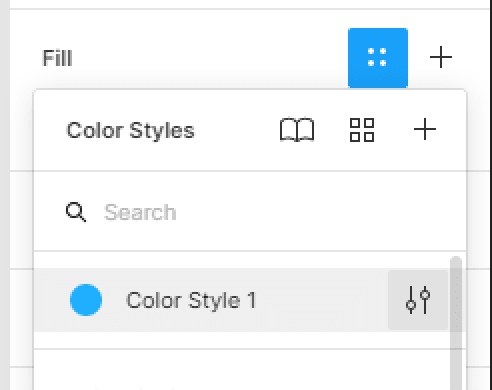
- Hit the four dots icon in the right corner of the Fill section to trigger the styles modal, then select Color styles 1 to apply the style to your frame.
Access your File’s Color Styles
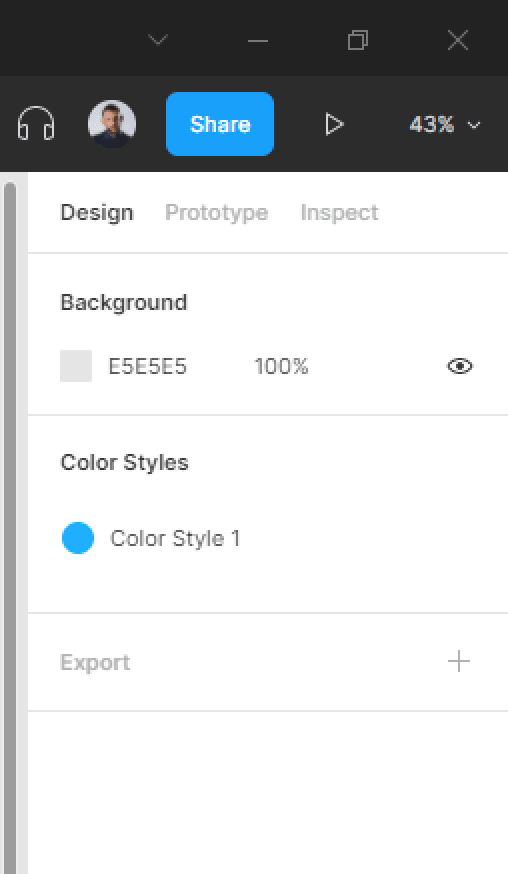
To display and access all your file’s styles, all you have to do is to click on the file’s gray. All your styles will be displayed in the right-hand sidebar.
Edit a Color Style
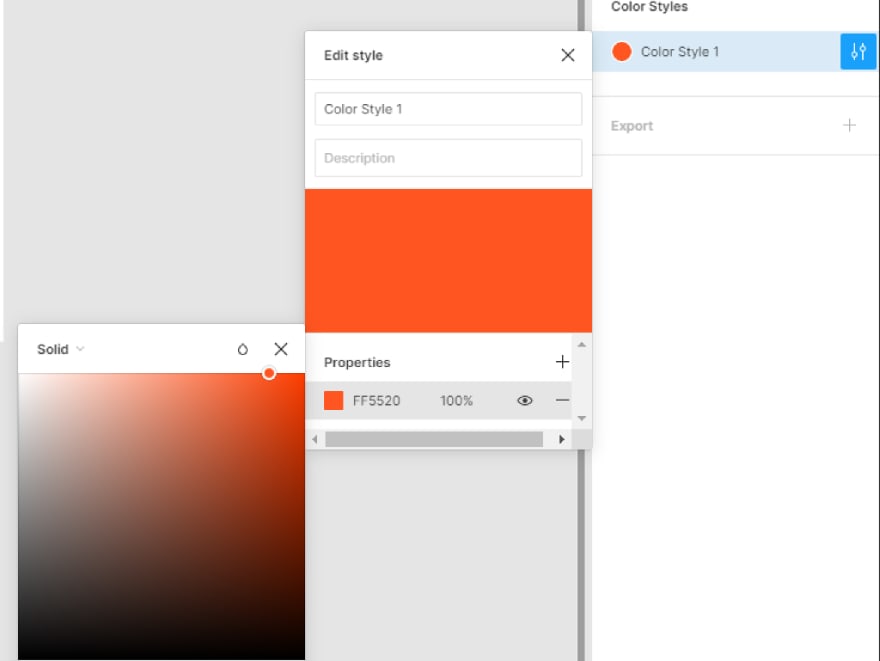
To edit a color style, click on the file’s gray backdrop to display your styles. Right-click on the color style and select Edit style in the context menu.
Once you edit a certain style, the change of the color will be applied automatically to every layer using that same style.
Delete a Color Style
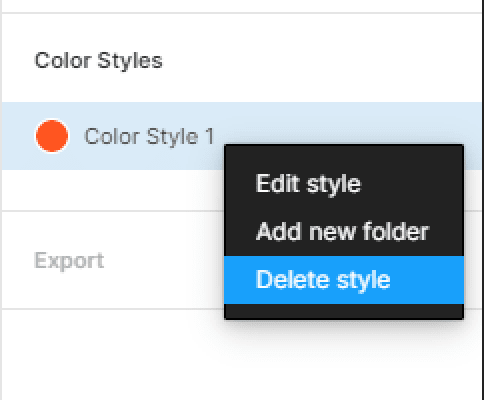
To delete a color style from your Figma file, click on the file’s gray backdrop to display your styles. Right-click on the color style and select Delete style in the context menu.
That’s everything about creating a color style in Figma. in the next posts we’ll cover more concerning Figma styles.
Before you go
Feel free to visit our website captain-design.com where we are sharing generously, ready for commercial use Figma and HTML templates.
You’ll find three things to help you kickstart your next project’s design :
Originally published at https://www.captain-design.com on January 6, 2022.






Top comments (0)