AWS is one of the most reliable and used Cloud provider, but the user experience is terrible. This is why my team and I had to fix it to make it usable by any developer!
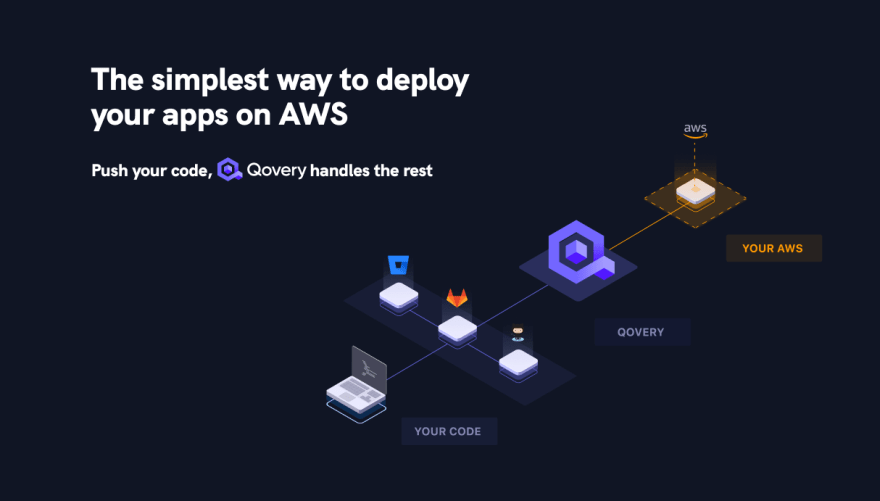
Qovery is a web app that turns app deployment on your AWS account as easy as Heroku. Zero AWS knowledge is required! Even my grandma can deploy her favorite apps in a few clicks.
In 18 months, 10 000 developers deploy their apps on AWS with Qovery 🎉 Thanks to all our users and our growing dev community 🙏
In this article, you'll learn how to deploy an app from your git repo and PostgreSQL on AWS with Qovery in 5 steps. 👇
Requirements
Before you get started, I assume you have:
Deploy
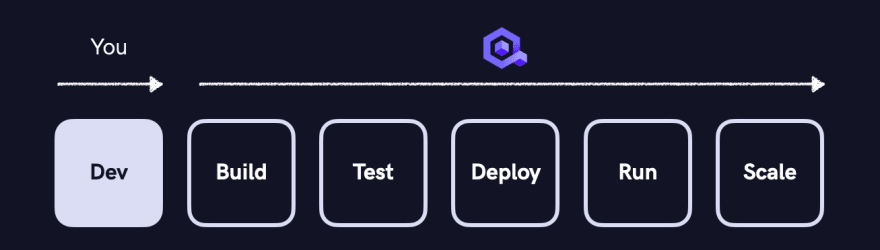
Qovery is a middleware to deploy your apps on your AWS account. From your app build, to the scaling of your app, everything you need to run your app is handled by Qovery.
1. Install Qovery on your AWS account
To deploy your apps with Qovery, you need to install it on your AWS account. Here are the steps:
- Create AWS API credentials: follow this guide
- Create a Free, Pro or Business organization in Qovery.
- Go to your organization settings > clusters tab.
- Add a cluster.
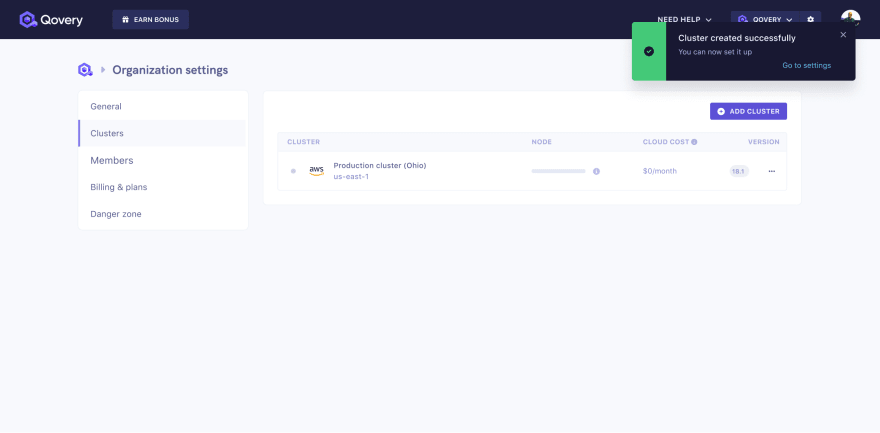
Note: Until mid-September 2021, you need to use our cluster API to install Qovery on your AWS account.
2. Deploy your app
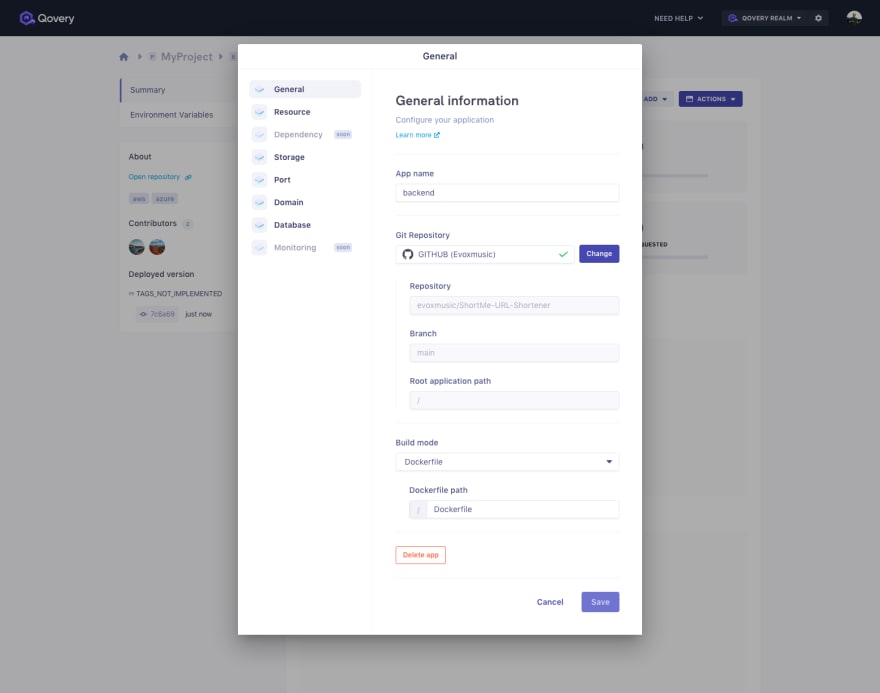
To deploy your app, it is as easy as selecting your Git repository and that's it!
Configuration
1/ Create a project "my project".
2/ Create a "dev" environment.
3/ Add your app -> You can fork and deploy this app.
4/ Change "build mode" to Dockerfile
5/ Add port 5555
6/ Save the config
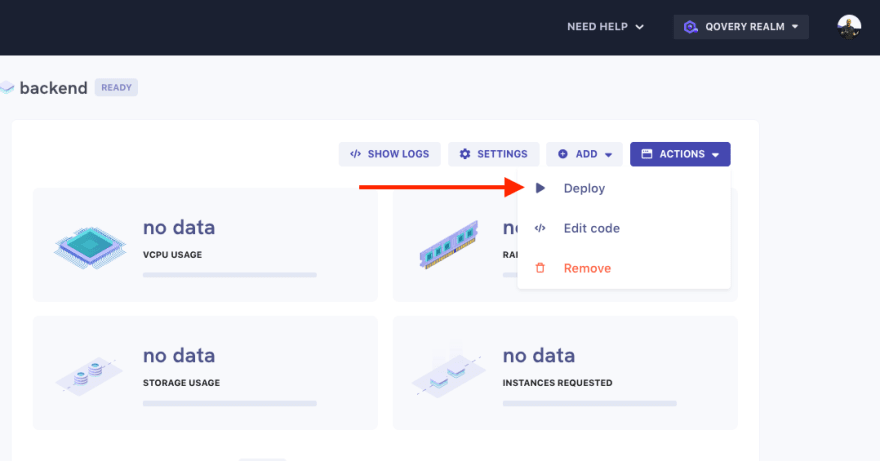
Deploy
Click to deploy your app now.
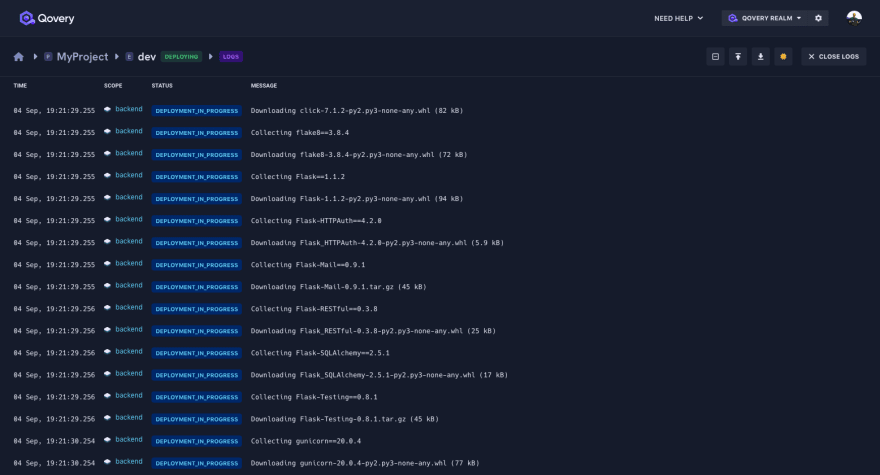
The deployment is in progress and you can take a look to the deployment logs.
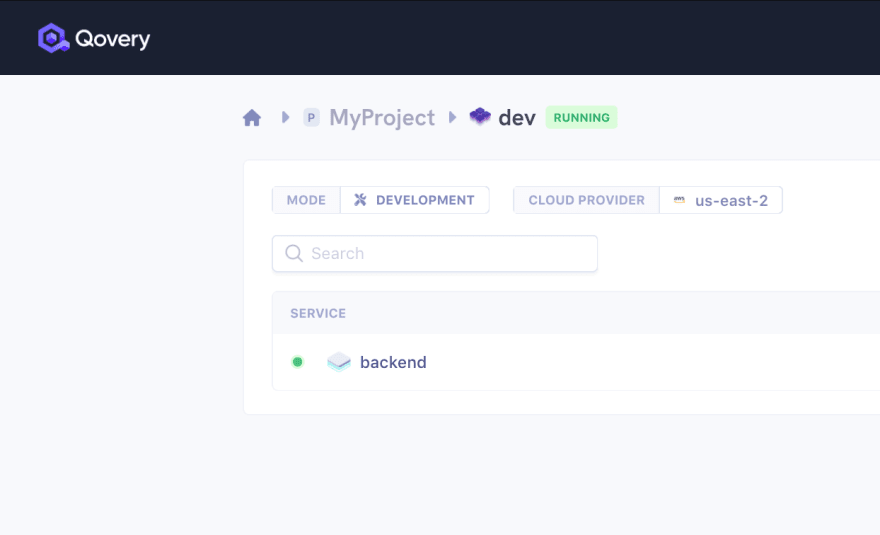
The status becomes "RUNNING" when deployed.
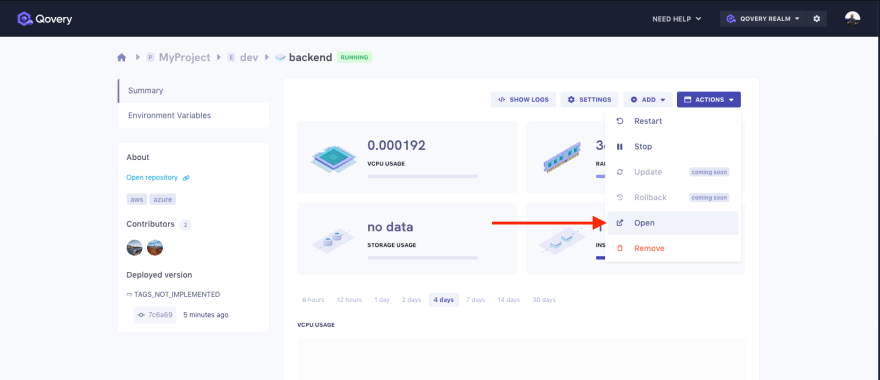
A preview URL is associated to my app and accessible via "Actions" > "Open"
And voila the result!
3. Deploy your PostgreSQL
PostgreSQL is by far the most used database out there. So, even if my app does not need to connect to a DB, here is how to connect it to your app.
1/ Go to your "dev" environment
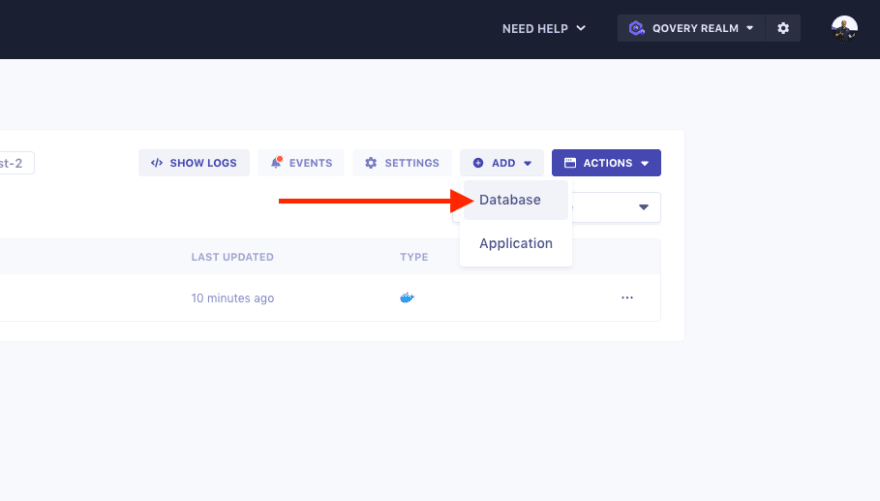
2/ Add a PostgreSQL database

3/ Deploy it

You can once again watch what happens while your Postgres DB is deployed.
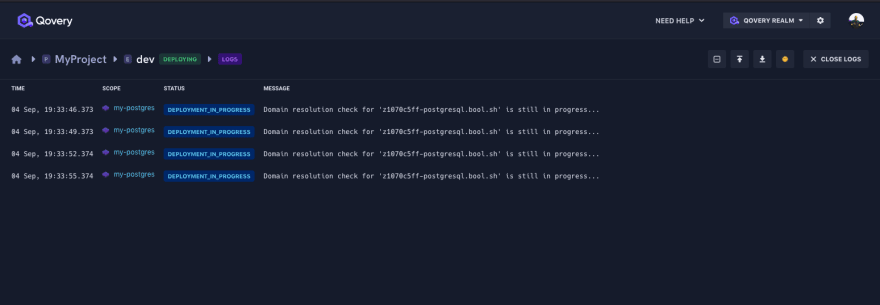
Qovery handles everything for you. Note: by default, the database is a container, but it is possible to change the mode to "managed service" to use a PostgreSQL RDS managed by AWS.
4. Connect your app to your PostgreSQL DB
Your PostgreSQL database is available but not yet connected to your app. To connect it do the following steps:
- Open your database settings
- Link your app to your PostgreSQL database
- Go to environment variables
- Create a secret alias "DATABASE_URL"
- Restart your app
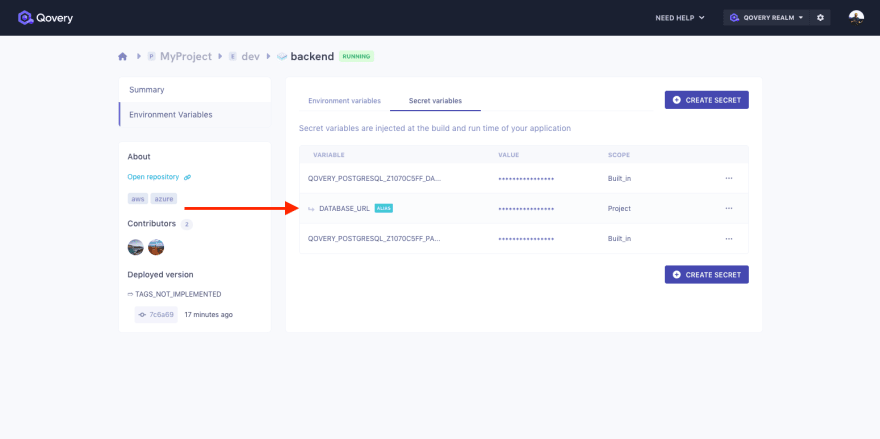
Your app can now use the environment variable "DATABASE_URL" and get access to the database.
5. Add a domain to your app
- Go to your app settings
- Select "Domain" tab
- Add your domain
- Create a CNAME record to link your domain to the provided value.
- Restart your app
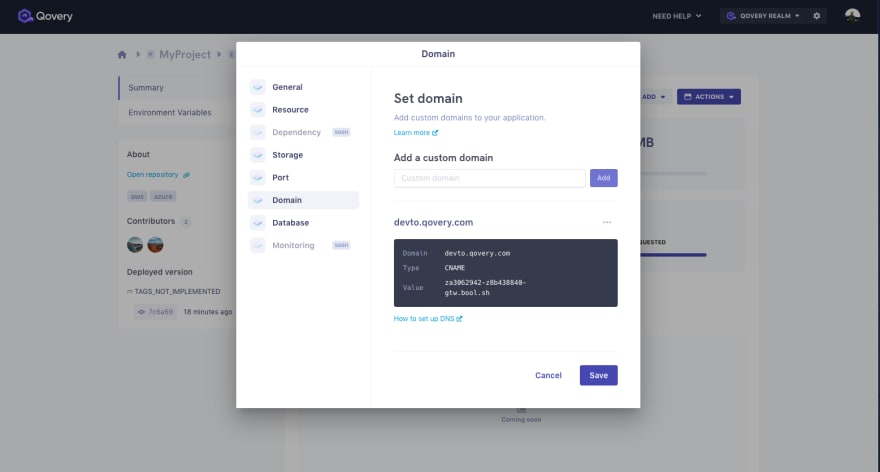
Qovery automatically provides a valid SSL/TLS certificate for your domain 😎
6. Auto-deploy
Qovery also supports auto-deploy when you commit and push your code on GitHub and Gitlab. Check out this video showing how auto-deploy in action 👩💻
That's it! Easy right?
What's next?
It might looks magic, but it is not! Our deployment engine is open source (written in Rust) and you are free to contribute 🙂.
With my team, we plan to support more features and Cloud provider like GCP in the coming months (see our roadmap). We are also hiring 😎.
Happy to have your feedback and questions👇

Oldest comments (0)