When I was planning how I was going to build this blog, one of the features in my to-do list was the subscription form. I didn't want to spend time building my own service, so as anyone else who can use a computer, I went to Google to do my research.
It appears there are plenty of services that will help you with that task, except, some of them are overly complicated and almost all of them cost money. I wasn't willing to spend $20+ a month on an email collection service, especially on a brand-new blog that most likely won't get any new traffic for a while. The only service that offered anything for free was MailChimp. So I registered and immediately got lost. There are way too many options and I couldn't figure out how such a simple feature, collecting emails and then mass-sending some information to the collected emails, could be so overcomplicated.
I do have another blog, which is in my native language, Russian, to which I managed to add MailChimp. But while on the 'Chimp, I saw a button that said "Need something simpler? Try TinyLetter", or something along those lines. I do like simpler, so I decided to give it a shot. And now, I am going to share the process with you.
Steps to Add TinyLetter To Your Gatsby Website
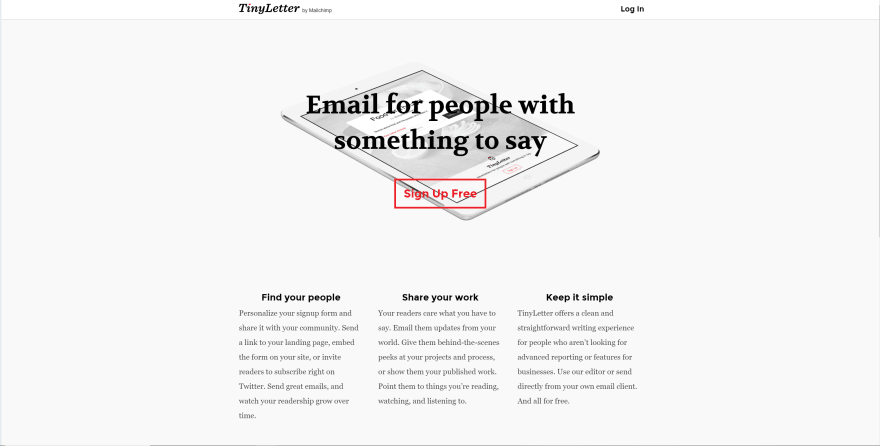
1. Go to tinyletter website and click the big "Sign Up Free" button in the middle of the page.
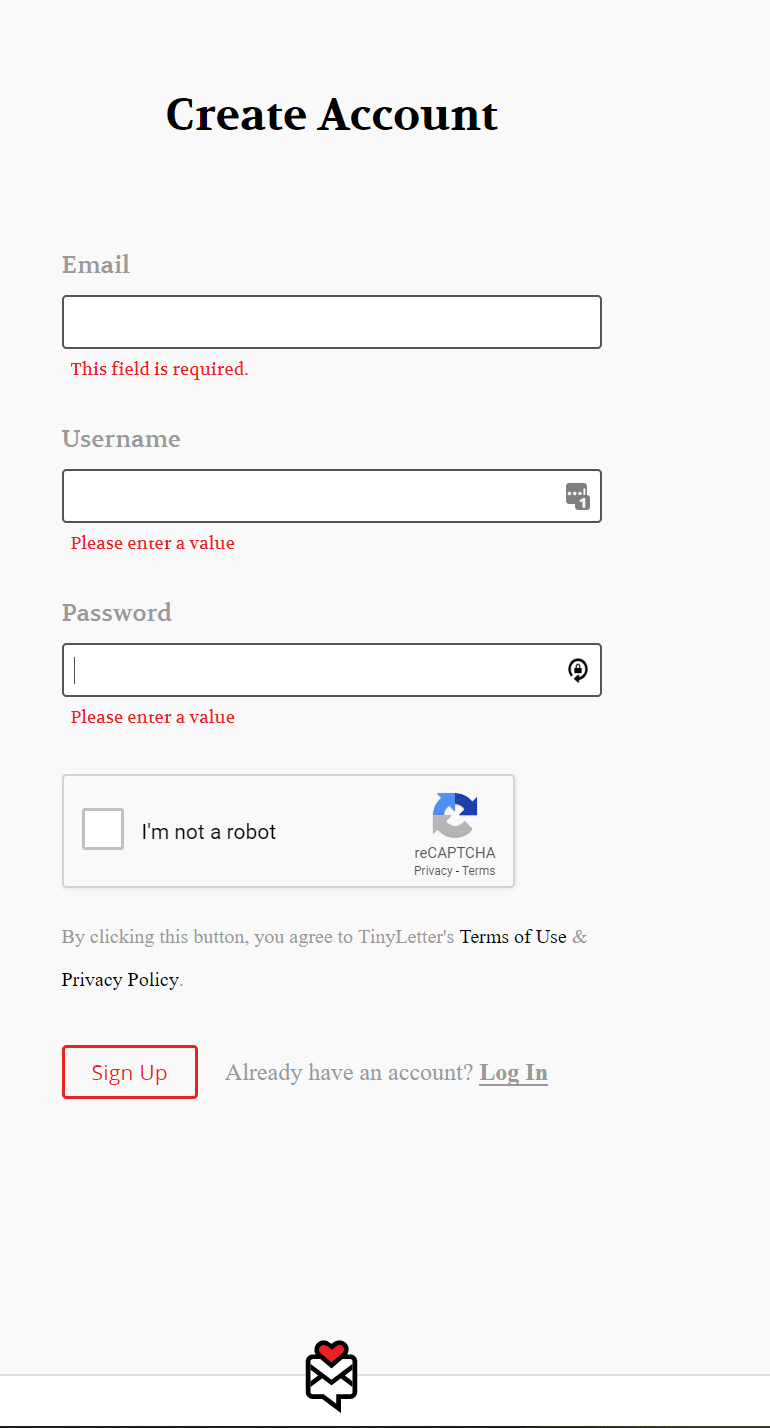
2. Fill in the required details on the signup form and click "Sign Up".
3. Log in with your new account if it didn't auto-login.
4. Depending on the laws in your country, you may need to provide a physical address before you will be able to mass-send any emails.
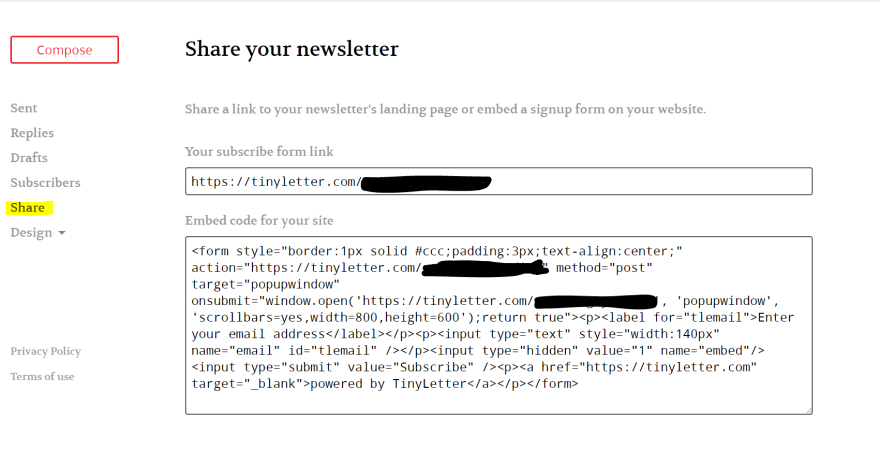
5. This is where I spent some time trying to find the form that I can embed to my website. You can either get a link or an actual form. To do that, click "Share" on the left menu.
If you look at the "onsubmit" method inside the form, you will see that there's some Javascript code inside the quotation marks. ReactJS, and therefore GatsbyJS, will "yell" at you with different error messages, from the "style" prop expecting a mapping from properties to values, to asking whether you meant "htmlFor" and not "for". So let's ignore this form but note the subscribe link.
6. Now it's time to open an editor and create a new component for your website. I called mine "SignupForm".
And here is the code that I have in there:
signup-form.js
import React from 'react'
import './signup-form.css'
require('dotenv').config({
  path: `.env.${process.env.NODE_ENV}`,
})

const handleSubmit = e => {
  window.open(
    `${process.env.GATSBY_TINY_LETTER_URL}`,
    'popupwindow',
    'scrollbars=yes,width=800,height=600'
  )
  return true
}

const SignupForm = () => {
  return (
    <form
      action={`${process.env.GATSBY_TINY_LETTER_URL}`}
      method="post"
      target="popupwindow"
      onSubmit={handleSubmit}
      className="SignupForm"
    >
      <h2>Subscribe for more!</h2>
      <div className="Wrapper">
        <input
          aria-label="Email address"
          placeholder="Enter your email..."
          name="email"
          type="text"
          required
          id="tlemail"
        />
        <input type="hidden" value="1" name="embed" />
        <button type="submit">OK</button>
      </div>
    </form>
  )
}
export default SignupForm
signup-form.css
.SignupForm {
    display: flex;
    flex-direction: column;
    background: #f2f2f2;
    color: #2a2a2a;
    padding: 2rem;
  }
  .SignupForm h2 {
    margin-top: 0;
    margin-bottom: 1rem;
  }
  .SignupForm .Wrapper {
    display: flex;
    flex-direction: row;
    overflow:hidden;
  }
  .SignupForm input {
    color: #2a2a2a;
    width: 75%;
    border: none;
  }
  .SignupForm button, .SignupForm input {
    padding: 1rem 1.5rem;
  }
  .SignupForm button {
    display: inline-block;
    border: none;
    background-image: none;
    background-color: rgb(0, 122, 204);
    color: white;
    letter-spacing: 1px;
    transition: all 0.1s linear;
  }
  .SignupForm button:hover {
    cursor: pointer;
    background: #920303;
  }
7. If you're not using environment variables, feel free to replace
{`${process.env.GATSBY_TINY_LETTER_URL}`}
with the subscribe link from TinyLetter.
Otherwise, you will need to add "GATSBY_TINY_LETTER_URL=YOUR_SUBSCRIBE_LINK" to .env.development file locally and you'd need to figure out where to add environment variables on your host provider.
8. Now you have a component that you can add to different pages of your website. Just render <SignupForm/> inside a page and you will have a simple subscription form that didn't take you any time to build. And the best part, it's free! (Or at least looks that way to me, until I get my first few thousand readers).
What the final product looks like you can see and test on my website https://russianguycoding.com/how-to-add-tinyletter-to-your-gatsby-website! Obviously, you can play with css styles and make it look better than what I have.
How are you handling email subscription forms on your website?


Top comments (0)