What is Git Clone?
The git clone command creates a copy of an existing Git repository. This repository can be hosted on platforms like GitHub, GitLab, or Bitbucket, or it can reside on a local or remote server. Cloning a repository involves copying all the repository’s data to your local machine, including the entire history and all branches.
Syntax:- git clone
Step 1: Initialize a Local Repository (If Not Already Done)
If you haven't already initialized your local project as a Git repository, you can do it by running the following command inside your project folder:
** cd /path/to/your/project
git init **
This command initializes a new Git repository in your local project directory.
Step 2: Add Remote GitLab Repository
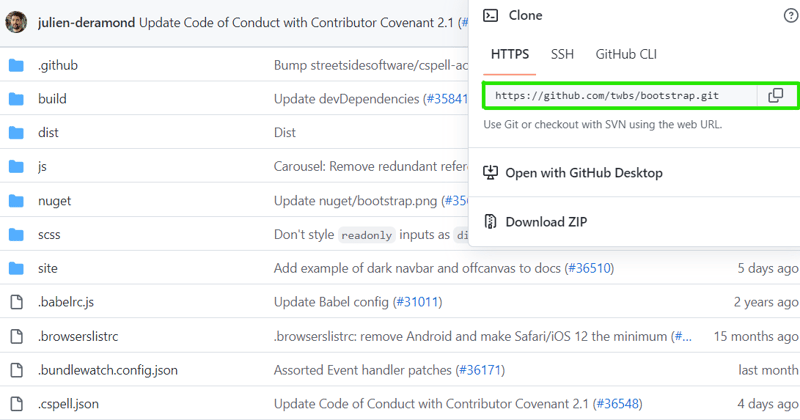
If you have a GitLab repository ready, link your local repository to the remote GitLab repository. First, go to your GitLab project page and find the Clone button (usually on the project page), and copy the HTTPS or SSH URL.
Then, run the following command:
** git remote add origin https://gitlab.com/username/repository.git **
Replace https://gitlab.com/username/repository.git with the actual GitLab repository URL you copied.
Step 3: Check Git Status
Use the git status command to check the status of your working directory and staged files:
** git status **
This shows which files are modified and ready to be committed.
Step 4: Stage Your Changes
Now, you need to add the changes you made to the staging area. To add all changes:
** git add . **
To add specific files, use:
git add
Step 5: Commit Your Changes
After staging your changes, commit them with a meaningful message:
** git commit -m "Your commit message here" **
Step 6: Push to GitLab
what is the push ?
Using the git push command, you can upload your files available on your local machine to the remote repository. After git pushes the changes to the remote repository other developers can access the changes and they can contribute their changes by git pulling. Before pushing it to the remote repository you need to do a git commit to your local machine.
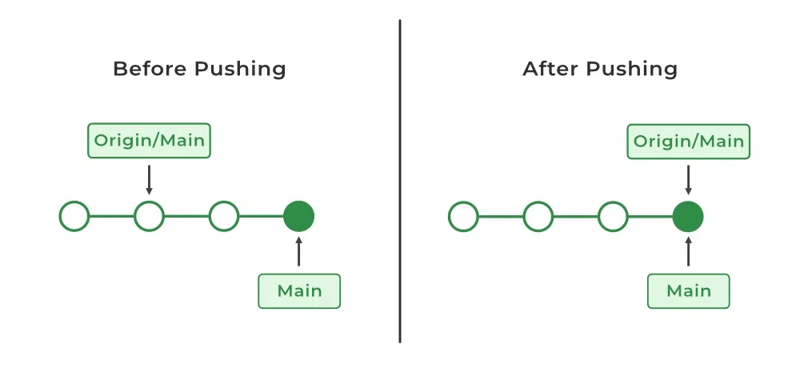
Now that your changes are committed, you can push them to the remote GitLab repository:
** git push origin main **
If you're working on a different branch (not main), replace main with your branch name.
Step 7: Verify Changes on GitLab
After pushing, go to your GitLab project page. You should see your latest commit reflected in the repository!
Troubleshooting.
Authentication: GitLab might ask for your GitLab username and password when pushing. If you use HTTPS, you can also use a Personal Access Token (PAT) for authentication instead of your password.

SSH Key Authentication: If you're using SSH, make sure your SSH key is set up and added to your GitLab account. You can find instructions for that in GitLab’s documentation.

Merge Conflicts: If there are conflicts, Git will let you know. You’ll need to resolve the conflicts and then commit the changes before pushing again.

Top comments (0)