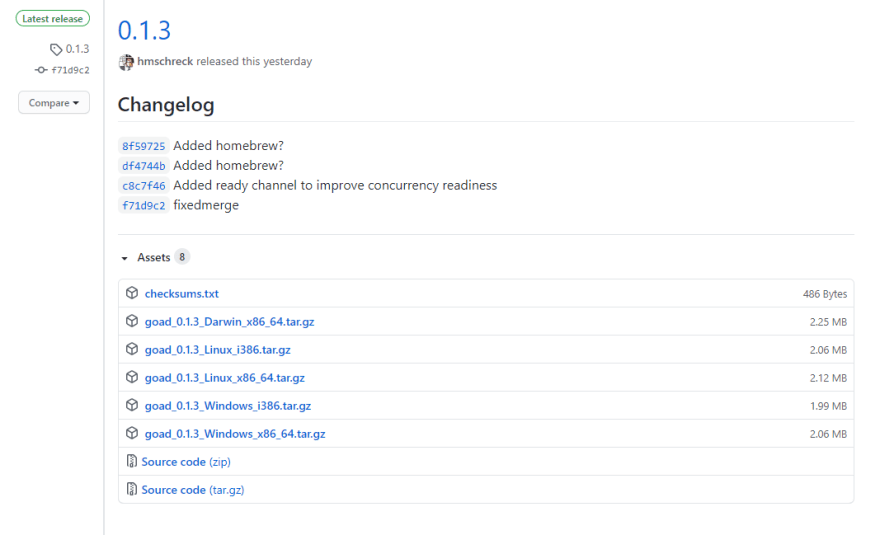
One of the best parts of Go is that you can get a single binary for a given platform that can then be deployed without much fuss. Of course, this simplicity exposes another issue - doing all those builds is maybe a little finicky and it's hard to make a cross-platform way to do all of them at once, and then you have to release them on GitHub, and it's, ugh, a mess.
I started using goreleaser for my newest project goad, a load-testing tool that I tried to mimic as much of the interface of curl as possible.
It's a good system, I think, though it does have a few peculiarities that might limit it for a narrow range of uses, but we'll get into that later.
Installing goreleaser
Since it's written in Go, goreleaser is distributed as a single binary, so we have a few options for installation.
MacOS
brew install goreleaser/tap/goreleaser
MacOS/Linux
brew install goreleaser
This may be an out of date version, according to the documentation.
Linux
goreleaser is also available as a .deb or .rpm package for whatever distribution you might be on.
Manually
This option works for everything. Go to the releases page for goreleaser and download the appropriate file for your system. Extract it, and place the goreleaser binary (or goreleaser.exe on Windows) somewhere in your PATH.
Initializing goreleaser
Once you've installed goreleaser, you need to initialize it for each project you want to use it on.
Navigate to a project you want to manage using goreleaser, and run
goreleaser init
After this, you will have a file called .goreleaser.yml. This gives us a basic configuration. This will only do GitHub releases, but it does them really cleanly, and it gives us a skeleton to flesh out later.
Adding a GitHub token
Next, we need to give goreleaser a GitHub token to use to access our release uploads. You can create a new token here if you're signed in. You'll need to give it the "repo" permissions. Name the token something useful (like goreleaser, etc), and copy the value you're given. Make sure you don't lose this, because once this value stops being displayed, you can't get it again.
Now, however it works for your environment, add this token value to your environment variables with the name GITHUB_TOKEN. On a temporary basis on Linux or MacOS, you can use export GITHUB_TOKEN=token_string from your command line.
Enable go modules
goreleaser really expects you to be using modules, which were introduced in Go 1.11, and are a default in Go 1.13 on. You may need to run export GO111MODULE=on to do this.
If your project isn't already using them, be sure to initialize the module system using go mod init. This will generate a go.mod and go.sum file. Make sure these are committed to your repo!
Clean up your repo
By default, goreleaser will stop if the git repo is anything other than strictly clean - that means no untracked files, no differences in tracked files. The first few times you do this, you will probably need to add things to your .gitignore.
Tag the release
Goreleaser uses semver for versioning, so make sure your version tags are in line with that. It will fail if you are not following semver!
Just need to run
git tag x.y.z
to complete tagging.
Run goreleaser
From here, we can run goreleaser as a command, and it will build the project, update our releases on GitHub. That's it! We now have our releases completely automated!
Goreleaser's limitations
- Some people may not like that it requires semver. I know there are some cases where semver is possible but at best a hack.
- If you're using older Go versions, you may not want to switch your code to a newer Go that supports modules. While code should Just Work, that's not always guaranteed.
- There are lots of options, and you may overwhelm yourself.
Overall, I've been liking goreleaser. It's made one of my biggest loves of Go even easier to tag advantage of, and it's highly configurable, support homebrew formulas, Docker, and plenty more. If you're in charge of a Go project, definitely check it out!


Top comments (0)