Support our initiative on Gitcoin today!
We are crowdfunding our initiative on Gitcoin! If you believe in diversity and inclusion in tech, paid open source is a way to lower the barriers to entry for underrepresented people. With your support we can help more people break into tech!
Let's cover how to contribute!
We understand not everyone knows how to navigate Gitcoin website so we're going to show you how to do the following things
- Create a Gitcoin account
- Contribute to our Gitcoin grant
Set 1: Create your Gitcoin account
Let's get started with creating your account! Feel free to follow along with our step by step video, our the steps below
Head over to the Gitcoin website to make an account.
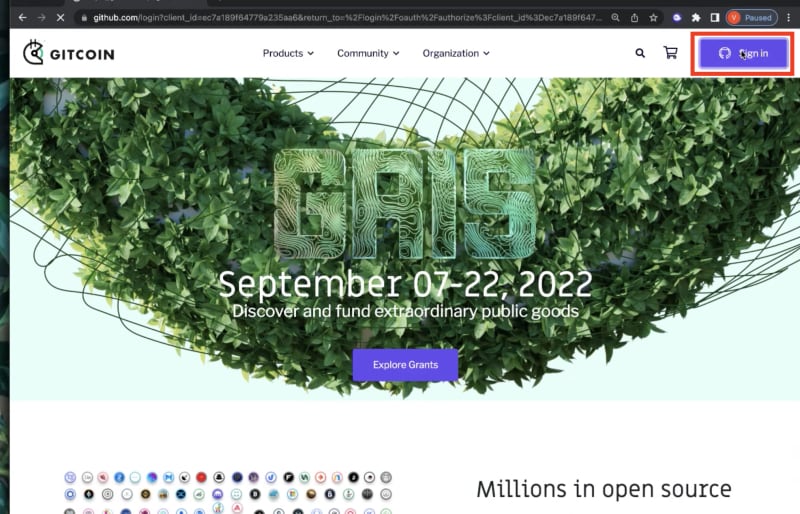
If you have Github account login with your Github account! If you don't have one, that's ok! We will go through the steps to create an account.
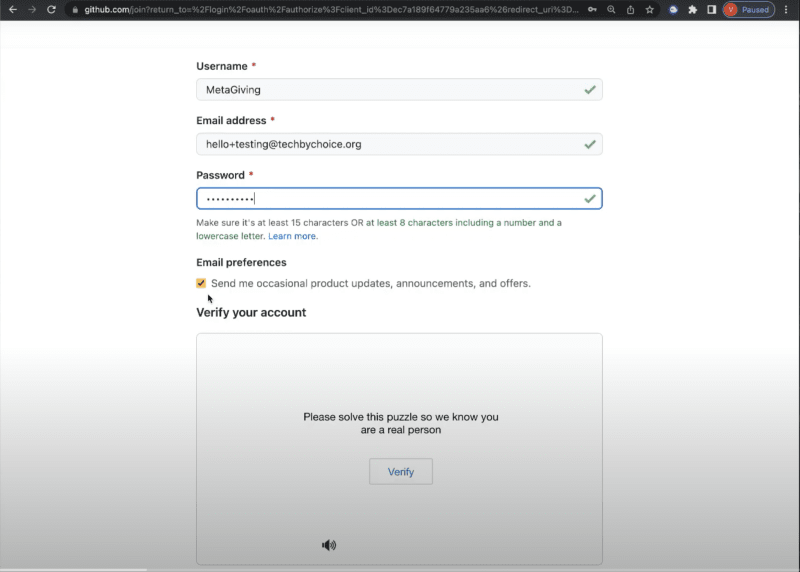
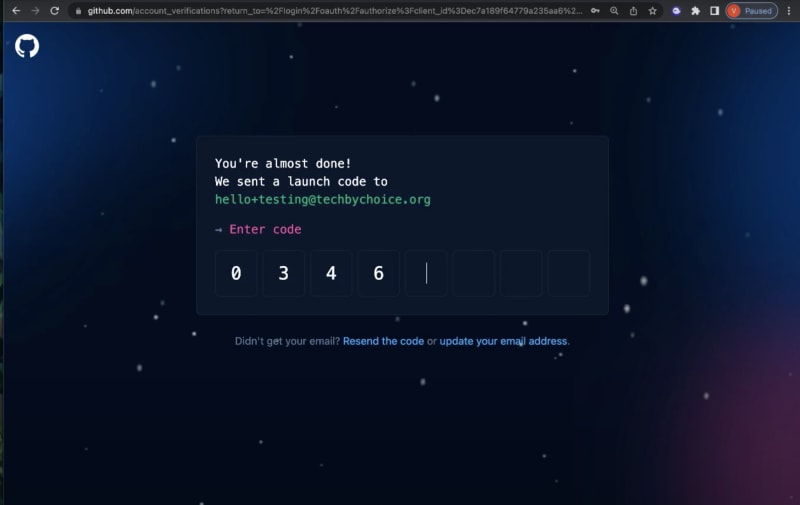
To activate your Github account you'll need to enter in the passcode they email you to verify you are the human that owns the email account you signed up with.
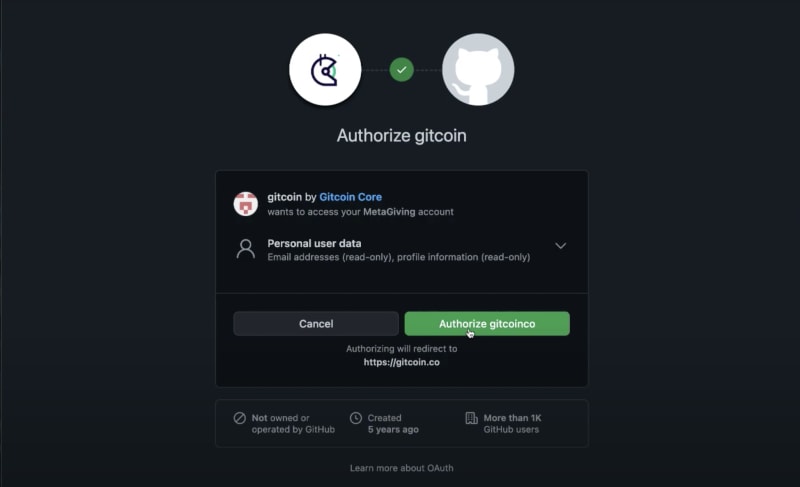
Now the account is created and verified we'll need to give Github access to connect to Gitcoin so click approve!
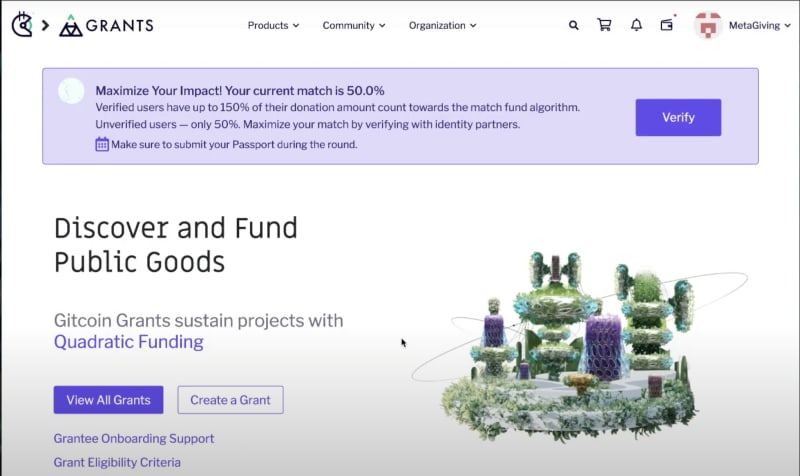
We officially have a Gitcoin account! Now let's head over the the Gitcoin Grants Page. We see this banner at the top that says "Maximize your Impact! Your current match is 50.0%". We want to turn that 50% to 150% so let's get into that! To get started click the "Verify" button.
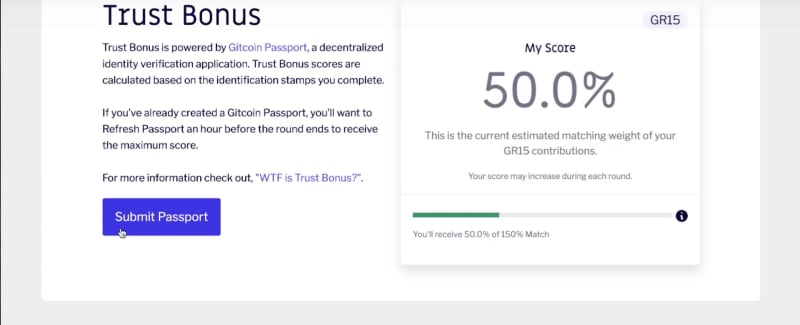
To get that bonus we have to create a Gitcoin Passport. In the Web3 space, we can be whoever we want to be. But when it comes to supporting social good, we need to make sure we are who we say we are. So Gitcoin created "Passports" to connect your crypto wallet to different social accounts to prove you're human. The more accounts you connect to the higher your trust score goes and the higher your match will be. Let's go ahead and click Gitcoin Passport to connect your crypto wallet to the Gitcoin Passport.
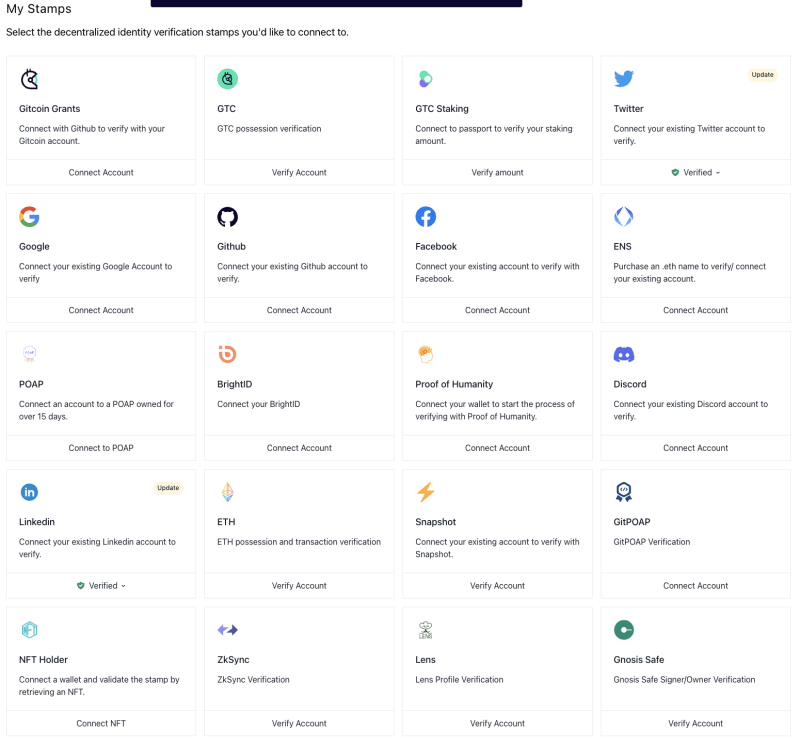
So what accounts could I connect to? You can connect to accounts like Twitter, Google, LinkedIn, and more! You can checkout the full list below.
You may be saying, hold up, I don't have a crypto wallet. And don't worry, we'll go over this too! Head over to out Notion page to learn how you can set up your Meta Mask Wallet
Let's head over to Gitcoin Passport and connect our wallet.

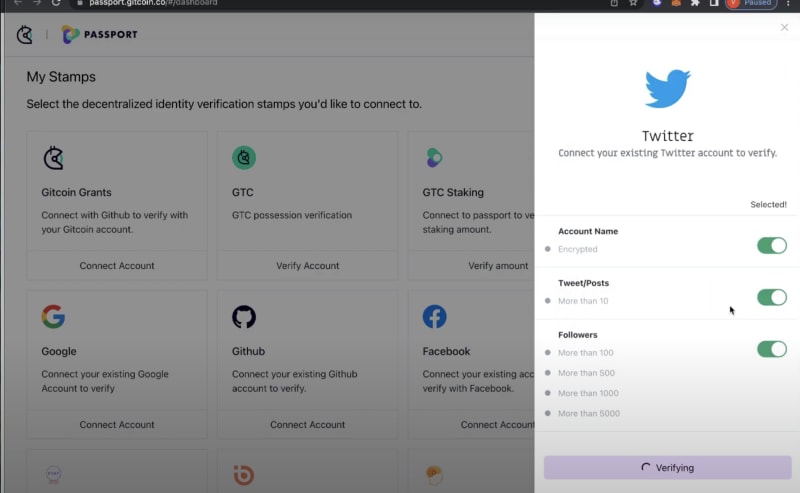
Now that we're here we'll need to connect to a few additional accounts to make our trust score go up. This screenshot show us connecting to 1 account, but let's aim to connect 3 accounts to make our trust score hit 150%.
Now let's head back over to the Gitcoin website to reconnect our website to check our trust score with the same wallet we connected our sites to.
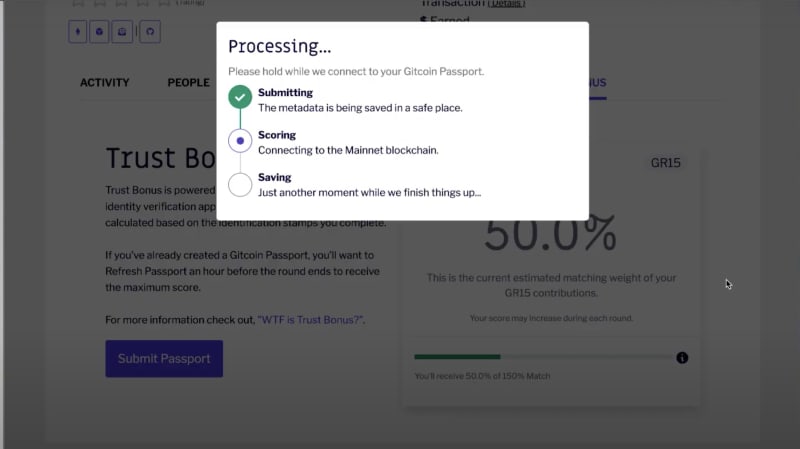
Our Trust score has gone up and our contributions will be match by 150%!

And like that we're done setting up our account! Now let's learn how to support!
Set 2: Contribute to our Gitcoin grant
We created our account and we're ready to support our grant. Feel free to follow along with our step by step video, our the steps below
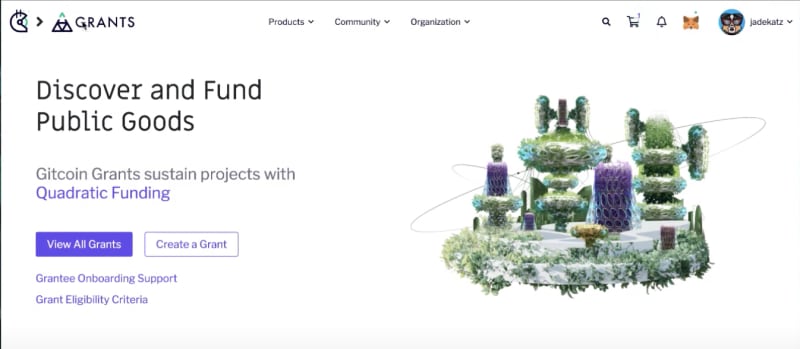
Let's head over the the Gitcoin Grants page and click the View All Grants button.
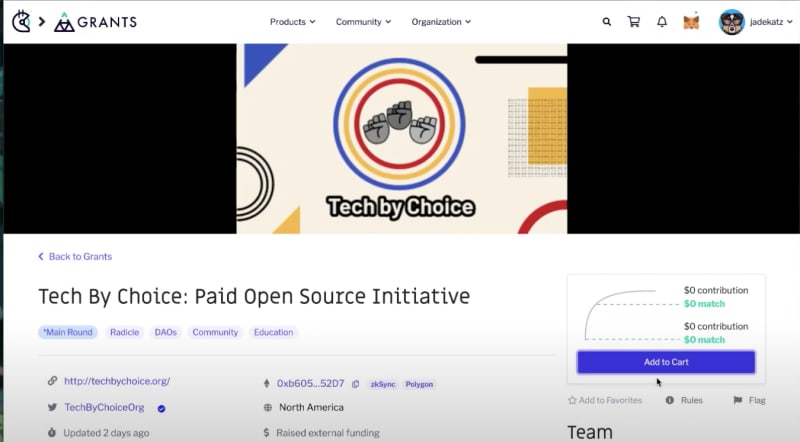
In the search bar, we want to type in Tech by Choice to find our grant.

From the grants home page, we'll need to click on the Add to Cart button.
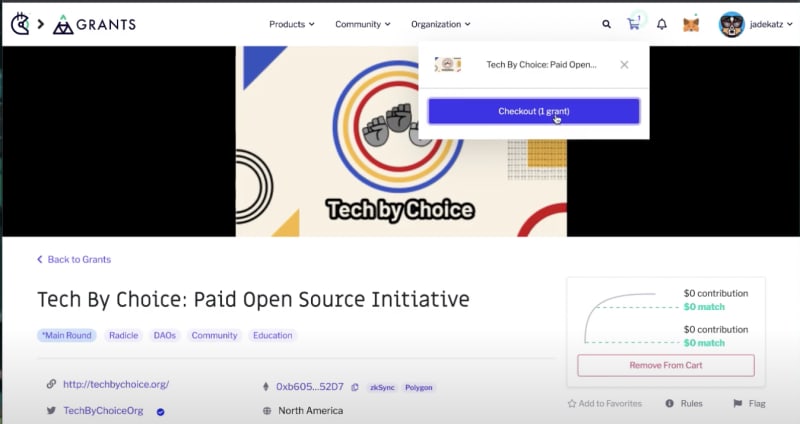
Once the item is in the cart, we can go to check out to contribute.
Click on the shopping cart item in the top right corner.
In the dropdown, click on the Checkout button.
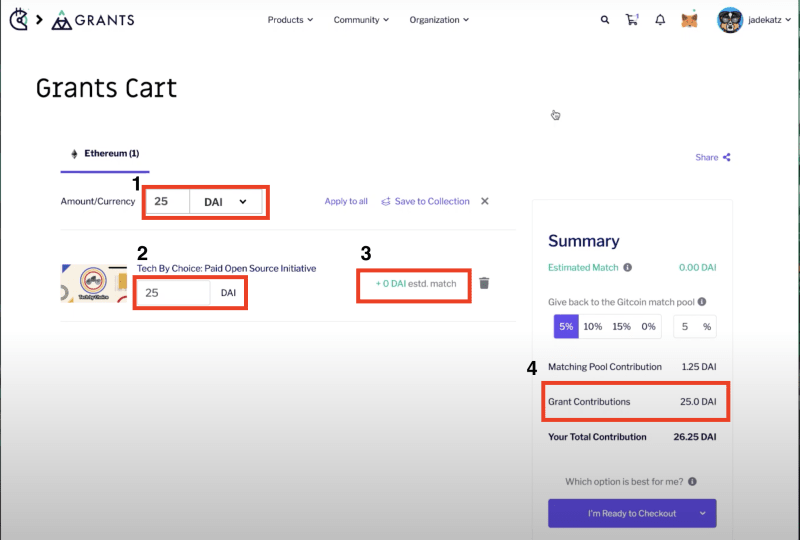
In the checkout page there's a few things I want to point out.
- Section 1: In this part of the website we can change the crypto currency that we want to use for this donation. For this example we will keep it at DAI
- Section 2: This part shows us how much we're giving to the grant
- Section 3: This shows how much the match will be. The match we be calculated based on how many people gave to this account already, & the amount we're giving. (This image shows 0 because we grabbed these screenshots the moment our grant went live. Matches at the time of this article is $31 to every $1)
- Section 4: Shows how much you're spending to support the grant in your cart. The Your Total Contribution is the impact you're making for this one grant!
Once everything looks good let's click I'm Ready to Checkout!
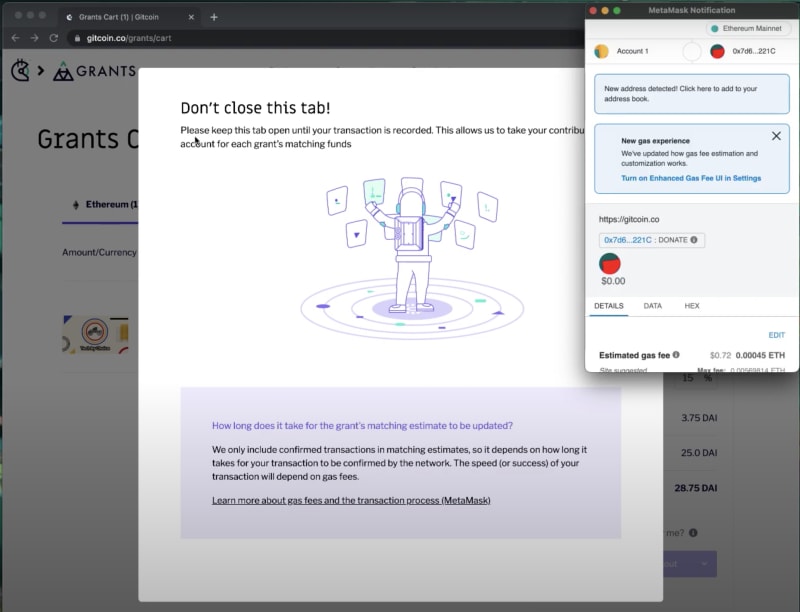
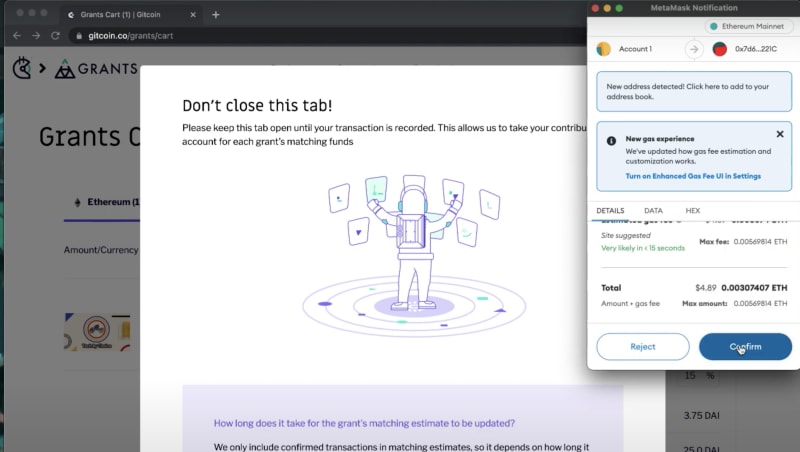
To complete the checkout we need to approve the transaction from our wallet. You'll get a number of prompts that you'll need to read through and approve. Make sure you don't close the tab while things are working on the backend!
And just like that you're done! You've supported diversity in Tech.
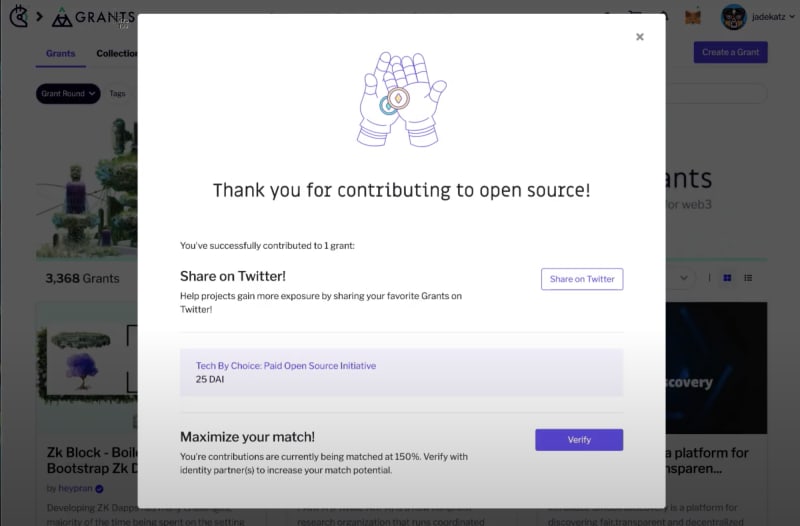
Thank you for supporting diversity in tech!
Please share this article and our active Gitcoin grant: Tech by Choice: Paid Open Source Initiative far and wide to help us make an impact for the Tech by Choice community.

Top comments (0)