Overview
This guide will walk you through the process of building a webMethods.io Integration workflow that stores your Typeform form entries in Google Sheets or Excel Online sheet and notifies you through Cisco Webex Teams.
Prerequisites:
- Typeform account
- Excel online or Google Sheets account
- Cisco Webex Teams account
Steps
- Login to your webMethods.io Integration tenant or sign up for a free trial if you’re new (use the advanced sign up form for more options).
- Create a new project or choose an existing one.
- Go ahead and get started by creating a blank workflow. If you need a refresher on how to get to this point, this guide can be a great introduction.
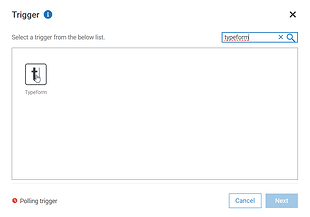
- Click on the small setting icon on the Start step and choose the Typeform trigger.
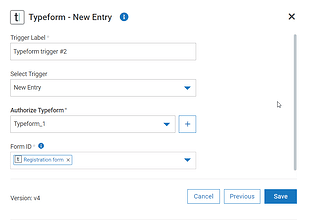 Select New entry as a trigger and complete the authorization – connect webMethods.io Integration with your Typeform account. Select a form ID from the dropdown menu.
Click Save. You should see the test trigger window.
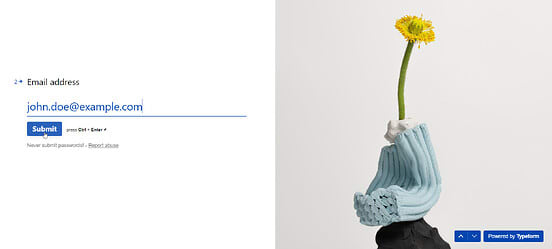
To test your trigger, you need to perform the trigger action – submit your Typeform form:
Select New entry as a trigger and complete the authorization – connect webMethods.io Integration with your Typeform account. Select a form ID from the dropdown menu.
Click Save. You should see the test trigger window.
To test your trigger, you need to perform the trigger action – submit your Typeform form:
 Go back to the webMethods.io Integration workflow and click Test. You should see the output data from the trigger which webMethods.io Integration will use to configure and test the rest of the workflow. Click Done.
 - Choose one the following ways to store the form submissions’ details:
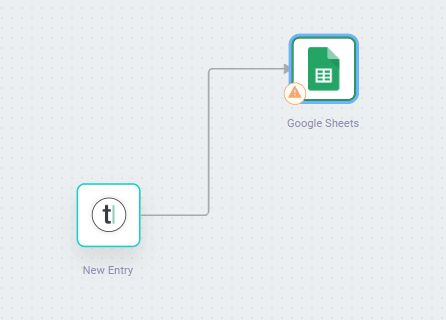
5.1. Add the Google Sheet connector to the canvas with the drag and drop feature. This automatically connects with the trigger action.
 Click on the small settings icon on the Google Sheets connector, select _ Add row _ as action and complete the authorization – connect webMethods.io Integration with your Google account (check the following Tutorial - Using Google services with webMethods.io Integration).
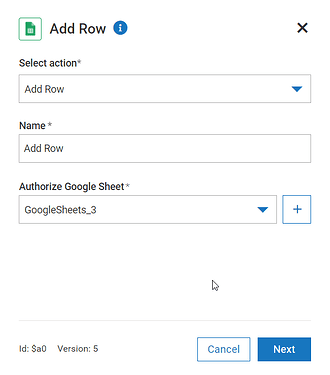 Click Next.
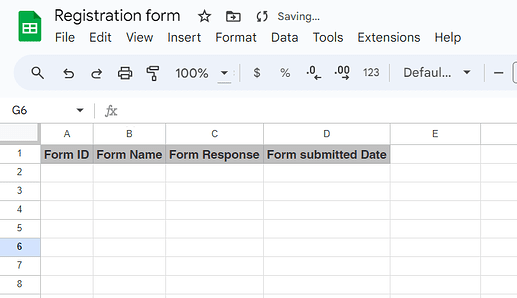
Before you can proceed with the action configuration, you need to make sure you have already created a sheet containing several columns where you will store information about your form’s submissions:
Click Next.
Before you can proceed with the action configuration, you need to make sure you have already created a sheet containing several columns where you will store information about your form’s submissions:
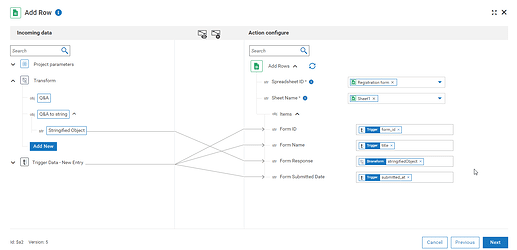
 Now go back to the webMethods.io Integration action configuration and choose the spreadsheet ID and the sheet name. Use the Incoming data panel and the drag and drop feature to fill out the form information for each table column:
 You can use the Transform Data option to extract the form response:
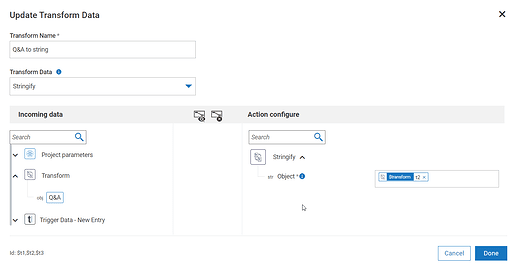
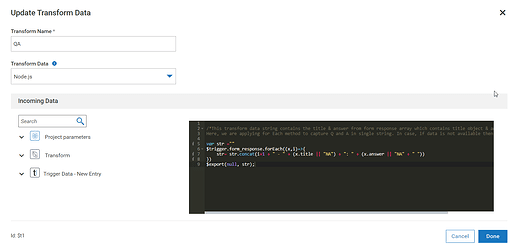 and then turn the object result into string with one more transform data action:
 Click Next, Test and then Done.
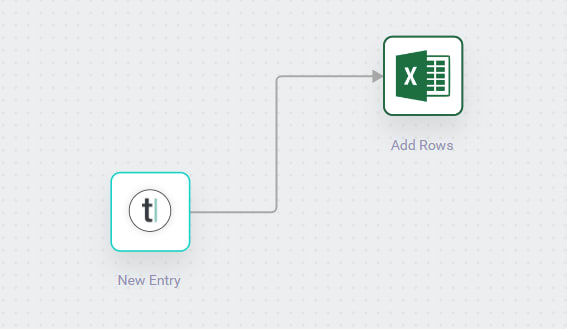
5.2. Add the Excel online connector to the canvas with the drag and drop feature. This automatically connects with the trigger action.
Click Next, Test and then Done.
5.2. Add the Excel online connector to the canvas with the drag and drop feature. This automatically connects with the trigger action.
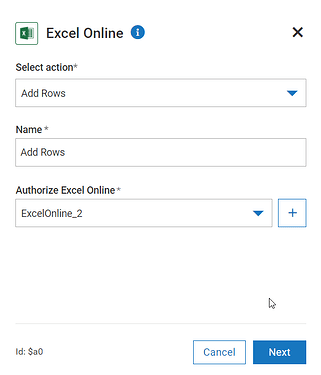
 Click on the small settings icon on the Excel online connector, select _ Add Rows _ as action and complete the authorization – authorize Excel Online.
 Click Next.
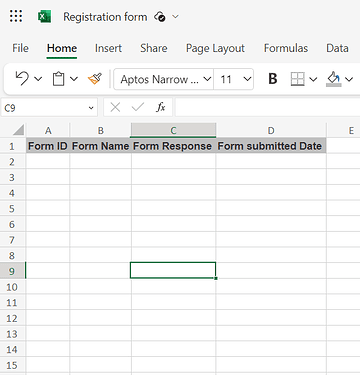
Before you can proceed with the action configuration, you need once again to make sure you have already created a sheet containing several columns:
Click Next.
Before you can proceed with the action configuration, you need once again to make sure you have already created a sheet containing several columns:
 Now go back to the webMethods.io Integration action configuration and choose the folder name, workbook ID and sheet ID of your file. Select Single Row Entry as entry type and use the Incoming data panel and the drag and drop feature to fill out the form information for each table column:
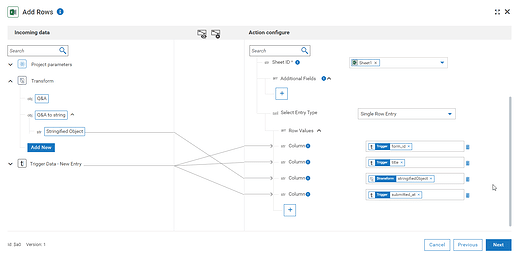 You can use the Transform Data option to extract the form response:
and then turn the object result into string with one more transform data action:
Click Next, Test and then Done.
You can use the Transform Data option to extract the form response:
and then turn the object result into string with one more transform data action:
Click Next, Test and then Done.
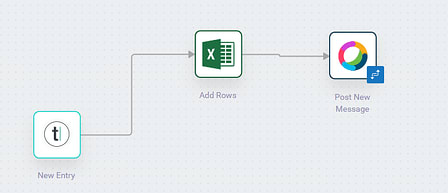
- Add the Cisco Webex Teams connector to the canvas with the drag and drop feature. This automatically connects with the previous step.

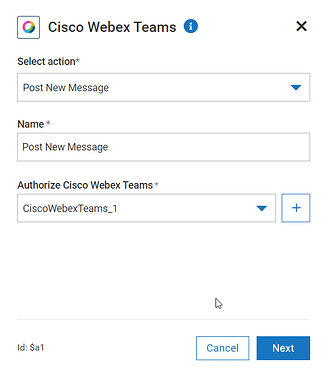
 Click on the small settings icon on the Cisco Webex Teams connector, select _ Post new message _ as action and complete the authorization – connect webMethods.io Integration with your Cisco Webex Teams account.
 Now you can proceed with the action configuration – choose the Space ID where you want to post the message. Type the message body – use the Incoming data panel to include form information received from the trigger output, for example:


{{$trigger.title}} form is submitted at {{$trigger.submitted_at}}.
Check the form response:
{{$transform.t3.stringifiedObject}}

Click Next and then Done.
- Connect the Cisco Webex Teams connector to the Stop step. Don’t forget to save your workflow.
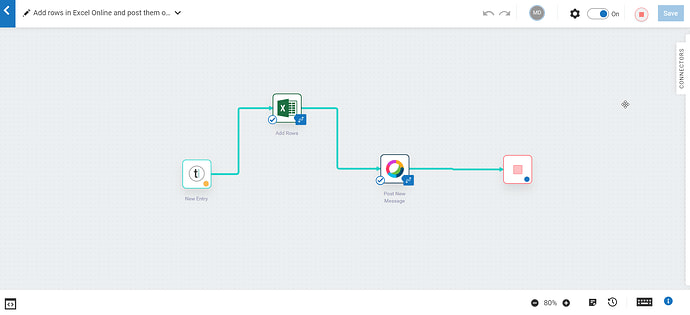 You can now run the workflow using the play button in the right upper corner and review the result. If you have configured the workflow correctly, you should see the newly created row added to your Google Sheets or Excel Online as well as a notification sent to your Cisco Webex Teams space:
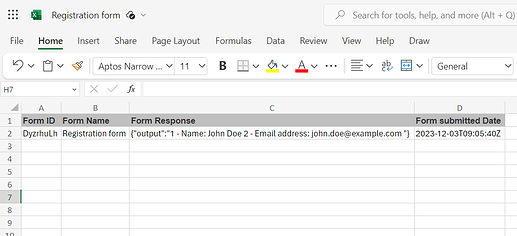
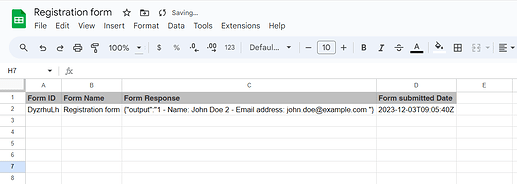
 Now every time your Typeform form is submitted, a new row will be added to your Google Sheets or Excel Online and notification will be sent to Cisco Webex Teams. Please note that this may take some time.
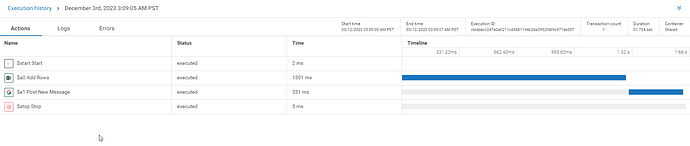
 - At the bottom-left corner of the screen you can find the Execution history of the workflow:
 From here you can monitor the execution status and view error details if needed:
 Please note that workflow execution logs must be enabled from the workflow execution settings:


Top comments (0)