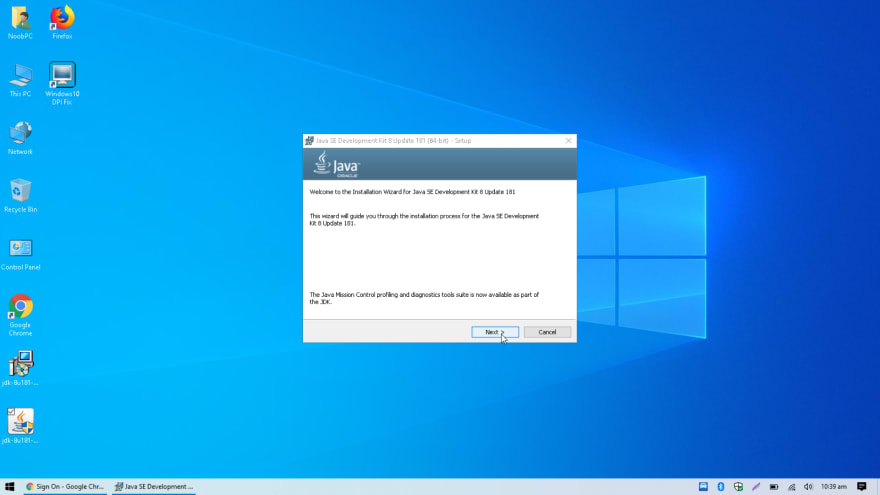
Great Guys, so we finally have a clean bloatware free windows at our disposal, let get into setting up the basic development environment, therefore necessitating our needs. First and foremost, we want is JAVA. Now getting it from Oracle.com, they have added some sign up first and then they give the link. It's just bogus, so I found another place where you can directly download it, although if you want to go through the hassle you can go to oracle.com. I will be sticking to JDK8, because i find it just adjusts better with most applications we use later on.
**Java Development Kit 64-bit **8 Update 181 \
https://filehippo.com/download_java_development_kit_64/86378/
Download and install it.

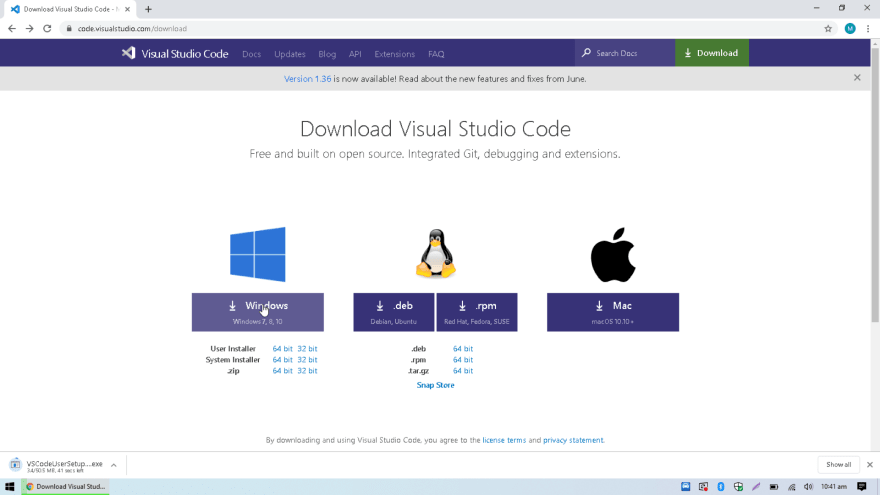
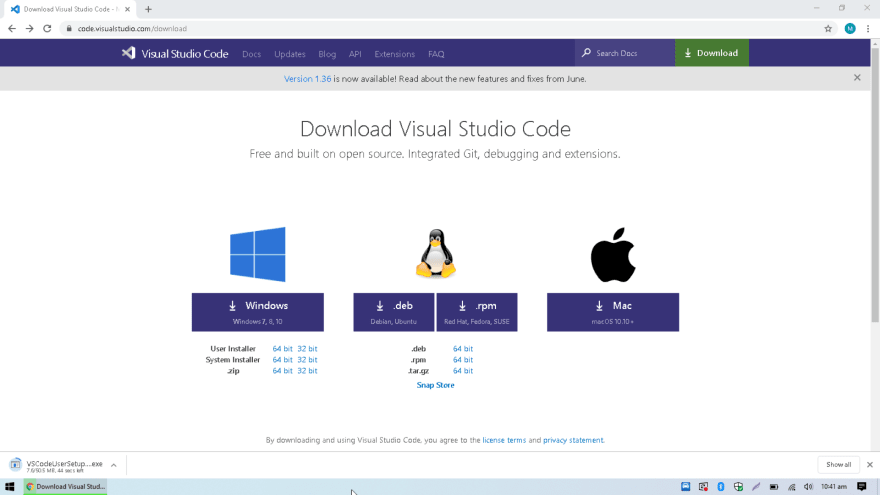
Now we are going to install an editor, i personally recommend visual studio code.
https://code.visualstudio.com/
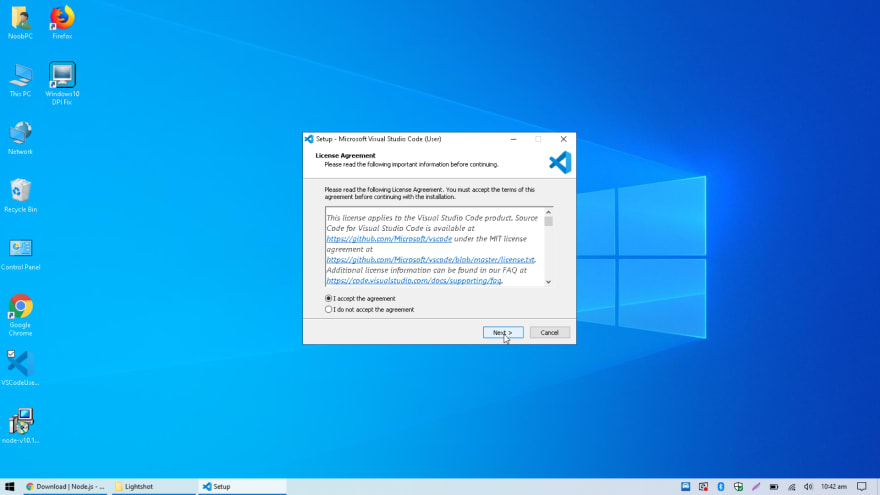
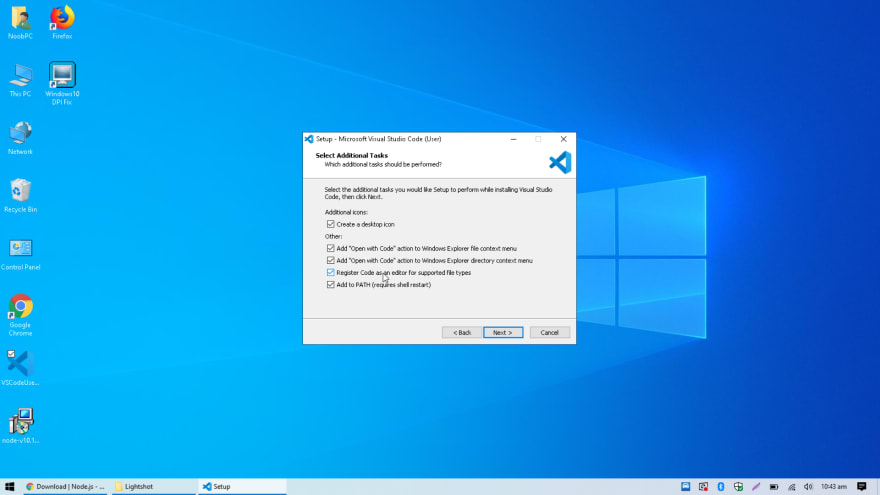
Download and install it.

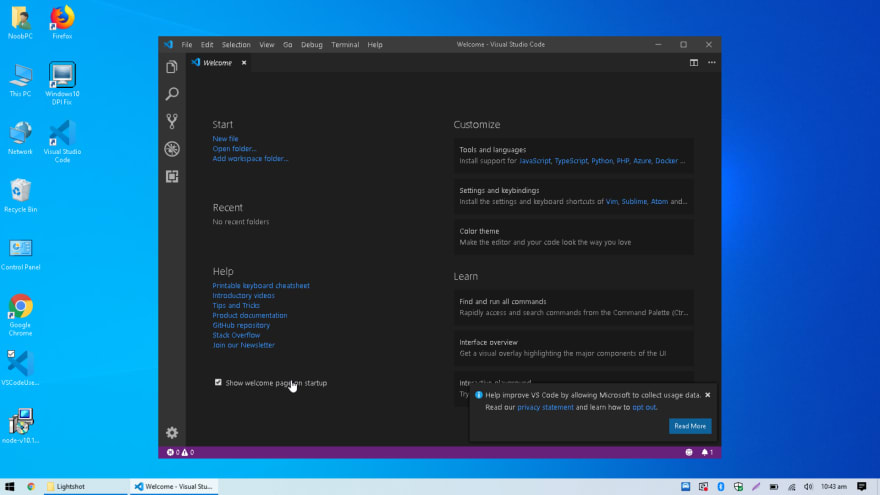
Once you have installed it, run it, lets customize it a bit. The first screen that you come up with is the welcome screen with the dark mode. A lot of people do like it, but I have always had a liking the white background, so I will be changing the theme.
Click on File → Preferences → Color Theme
Shortcut: Ctrl + K
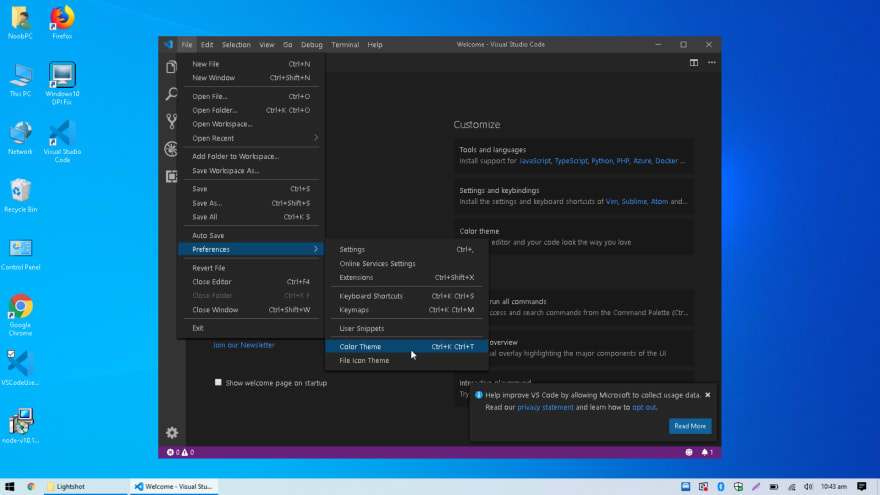
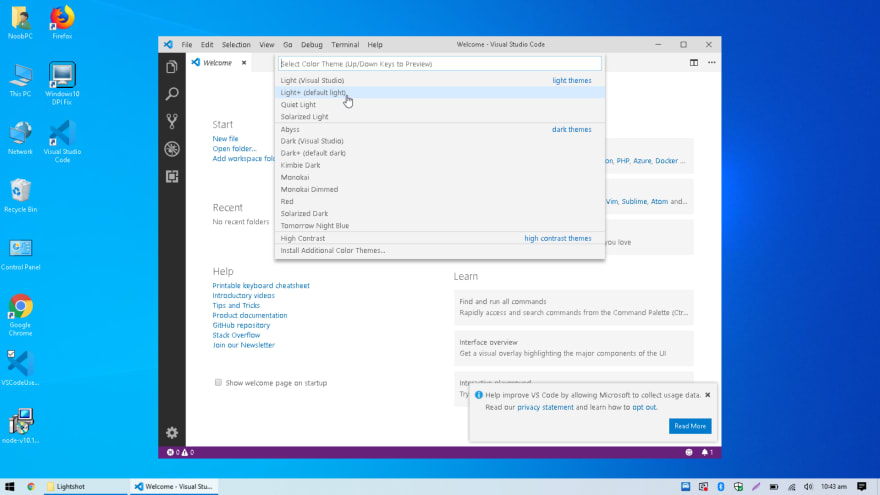
Now from the dropdown list, select Light + , remember the plus else you wont get the fancy highlighting.
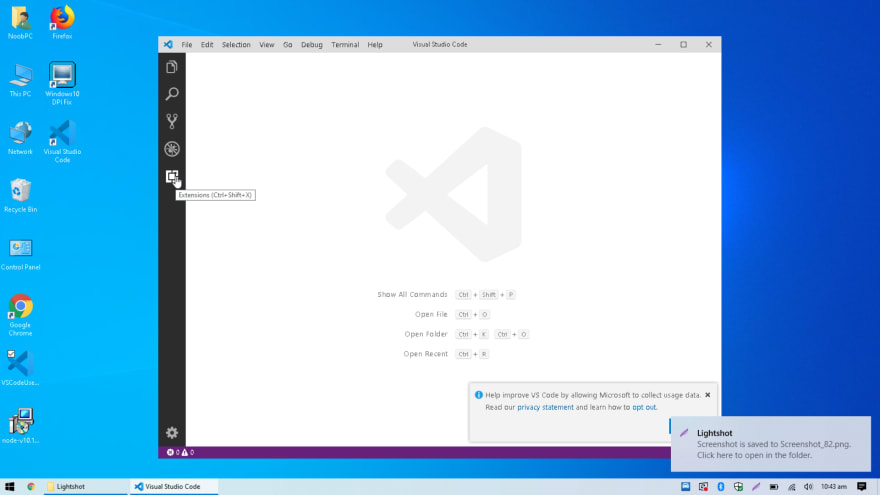
Next we will install some extensions which are a must. Click on the Box withing a Box icon on the left hand side, this is where all extensions are installed for vscode.
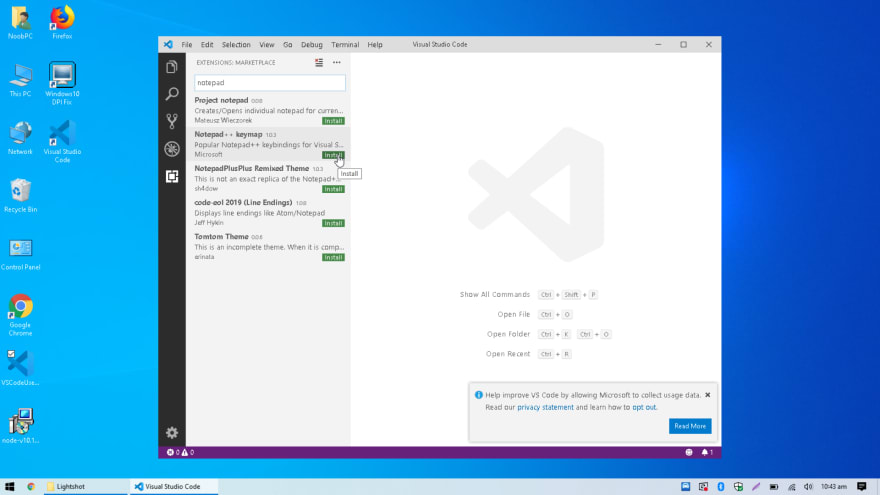
Now search for Notepad, and click on Notepad++ keymap and Install. Now i came from Notepad++ a great editor of its time, and i am really used to its keymapping which really helps me accelerate my work.
Ex.
Duplicate Line: Ctrl + D
MultiLine Select Mode: Alt + Shift + Arrow Down
And much more…

Next Search for Beautify and install it, another great tool for making your code more cleaner to read and eventually debug if something wrong happens. The thing I found with most people is that if you keep your code clean you can easily find and fix bugs but a bad graphical version of the code is really hard to fix.
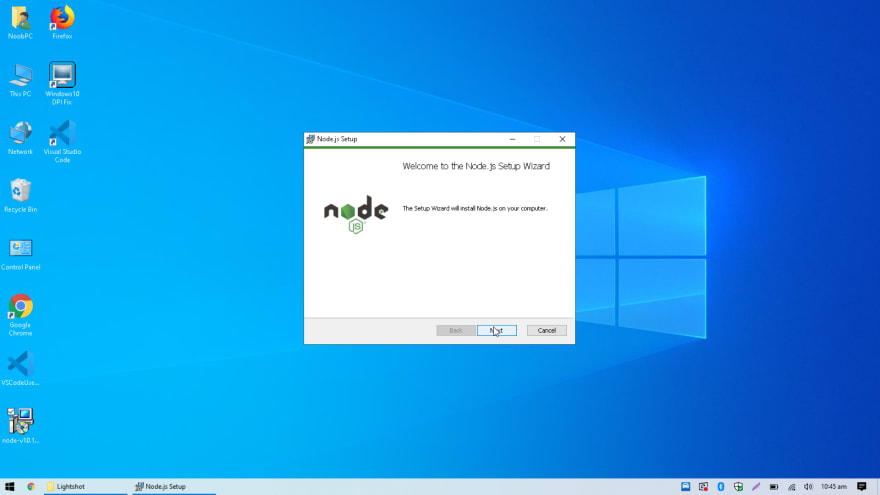
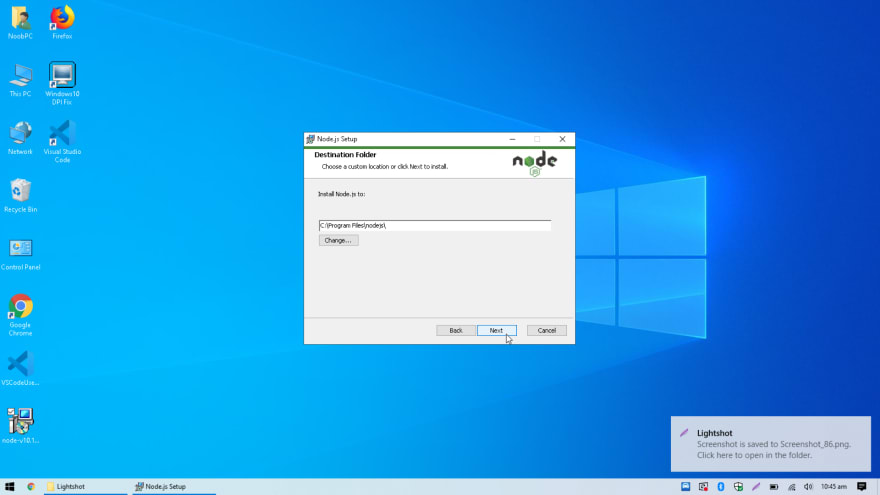
Now we are going to install Node. Yes Node.
Direct Link
https://nodejs.org/dist/v10.16.1/node-v10.16.1-x64.msi
Now start the installation and check all the boxes, we want the documentation shortcuts and important Add to Path, else it won't be available globally.


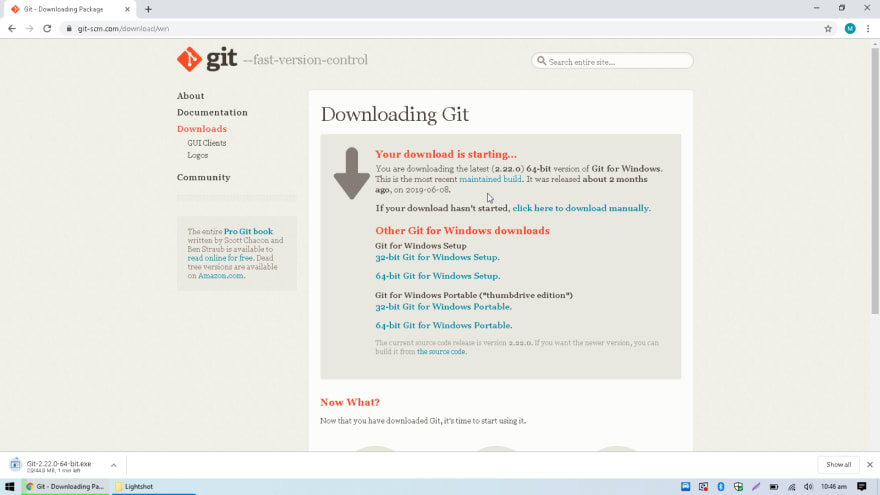
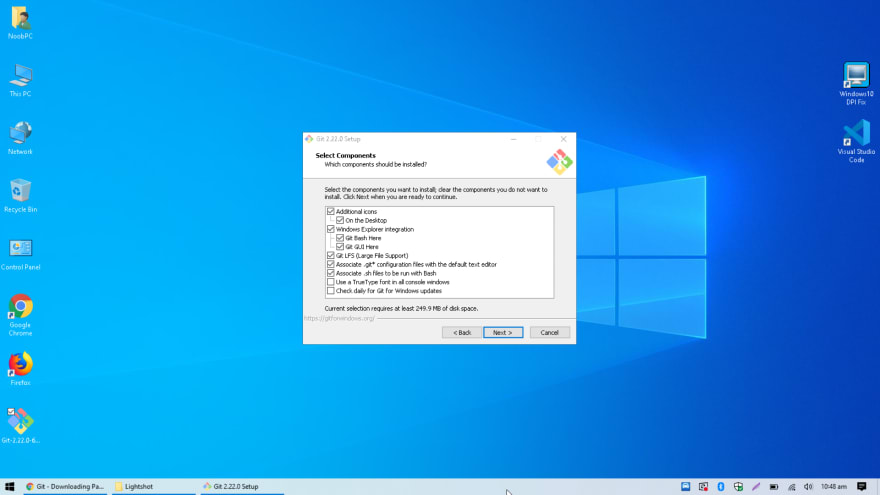
Next we need is Git for windows.
Direct Link
https://git-scm.com/download/win
Follow the installer and check box all as you see in the screen.
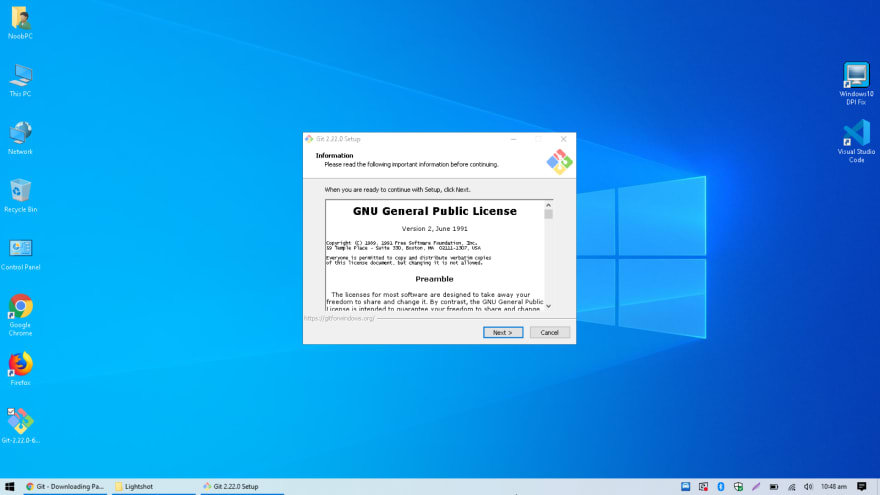
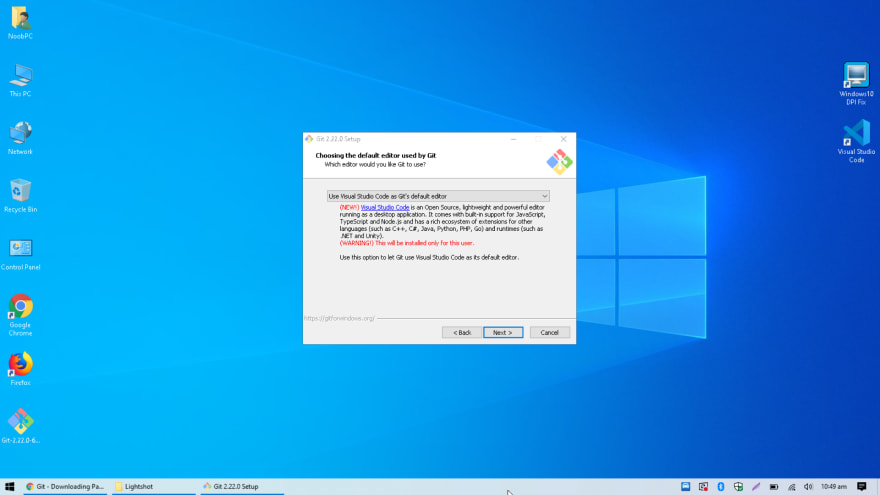
Next we need to set visual studio code as GITs default editor, so select drop and select the Use Visual Studio Code as Gits default editor.
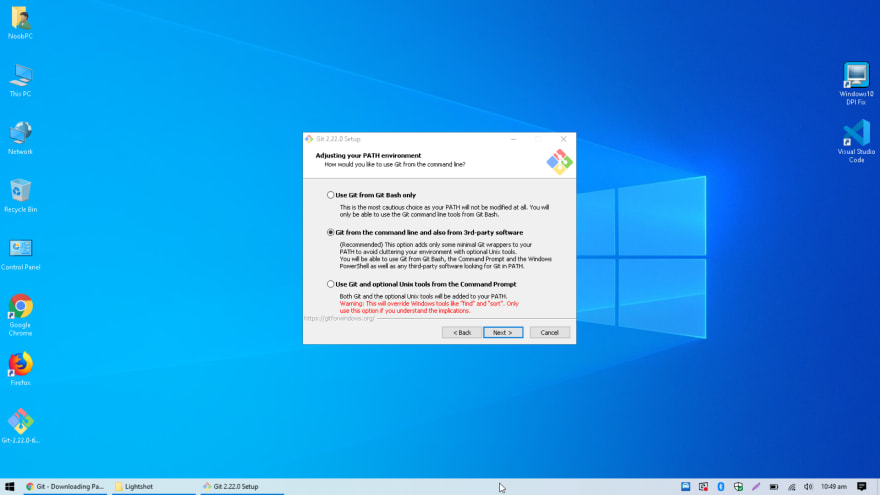
Everything else is the thumb rule with installers, Next, Next Next, Finish.
Now lets test if all is good. Go to start Programs → Windows System → Command Prompt
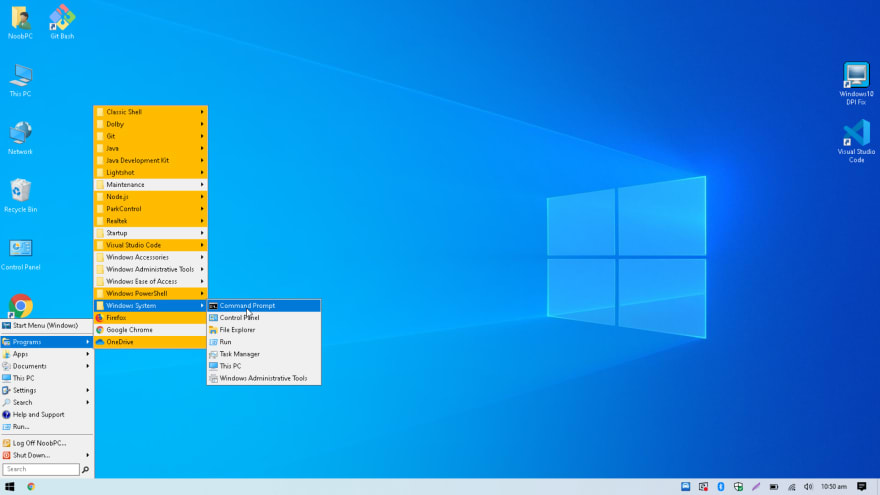
c:>git
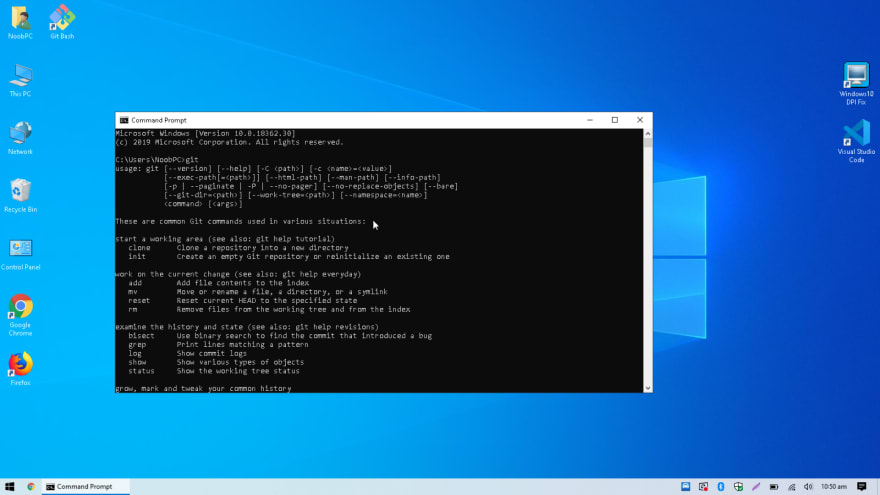
And it should show you its documentation, you should go through it.
Next type in the following;
c:>node -v
Shows the node version
c:>npm -v
Shows the npm version

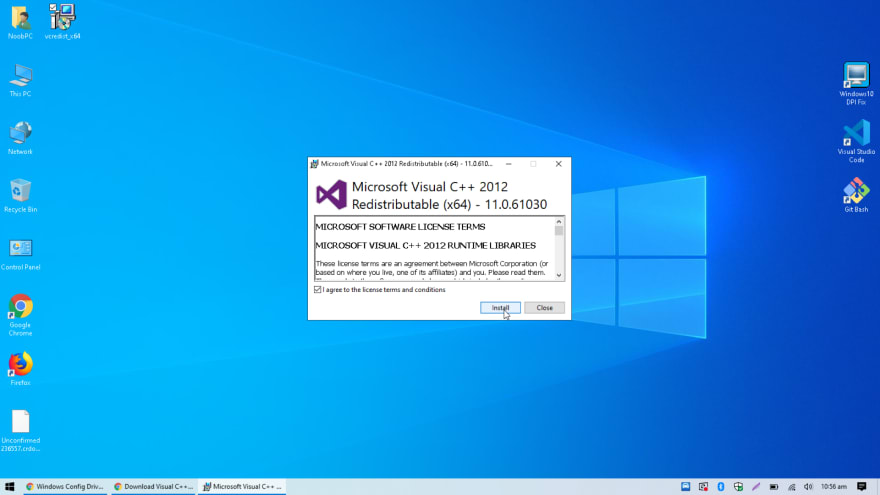
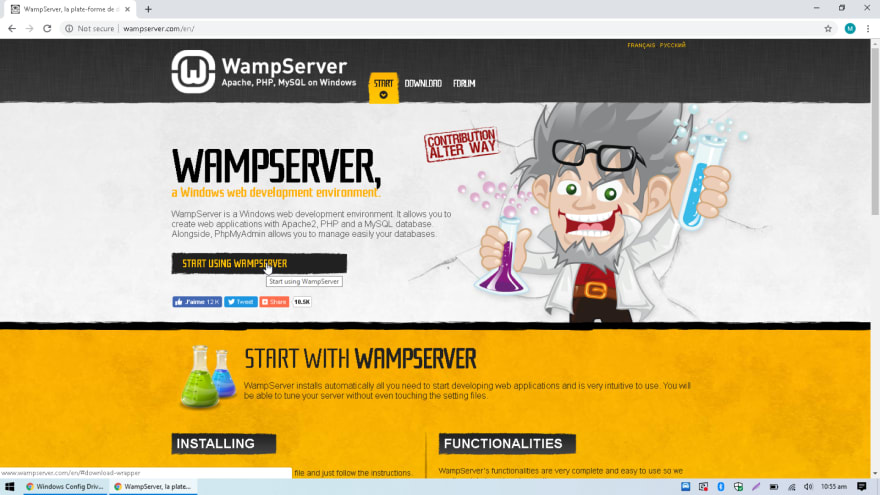
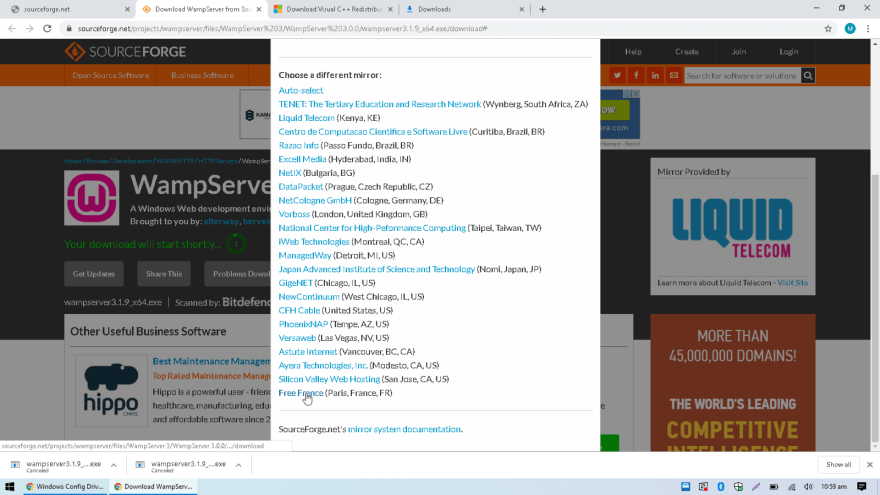
Next we need to make our computer a temporary webserver, so we are going to install the famous Wamp Server. Now wamps server is sometimes a pain in the you know what, so to fix that we need some runtime libraries from windows to get that running. Download each of the following and install them. I have included all the libraries in this git link. Some you will have some will just install, so dont worry.
https://github.com/th3n00bc0d3r/wamp-vcruntime-installers

Next we download wamp server
Ok, now lets start the installer and move on with it.
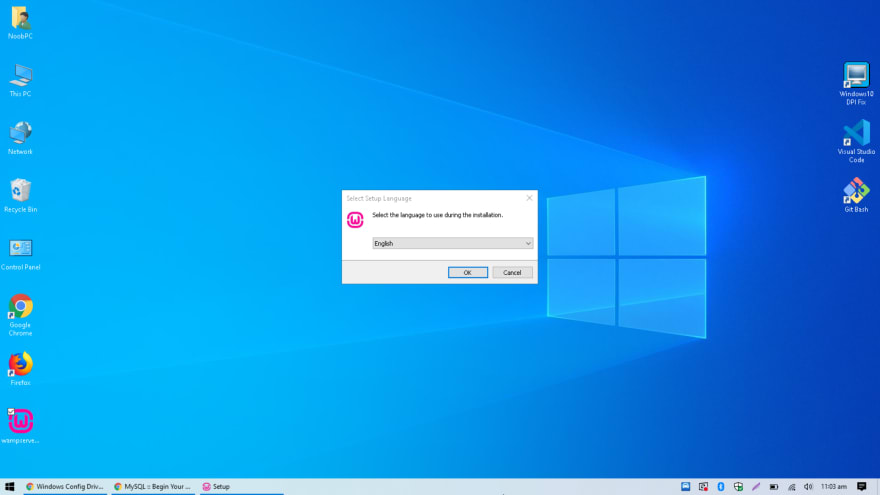
Yes, we will keep it in c:\wamp64

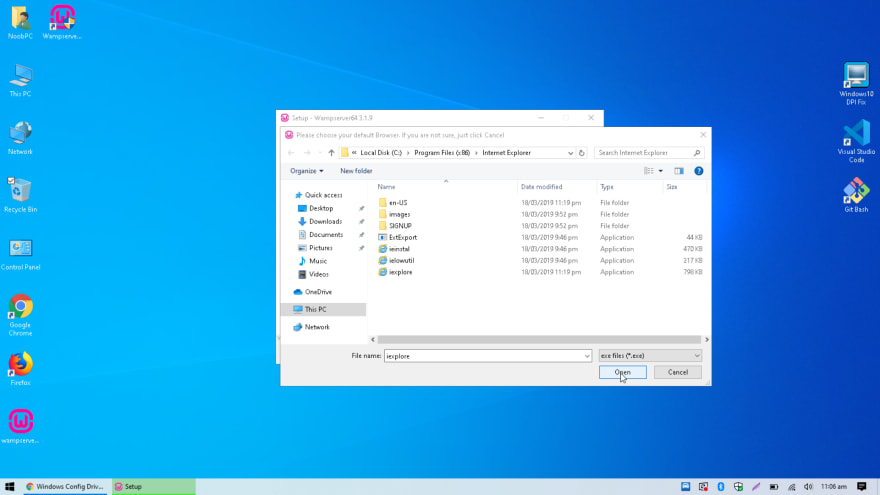
It will ask for default browser you can specify chrome, i just like to hurry up with it so just click open.
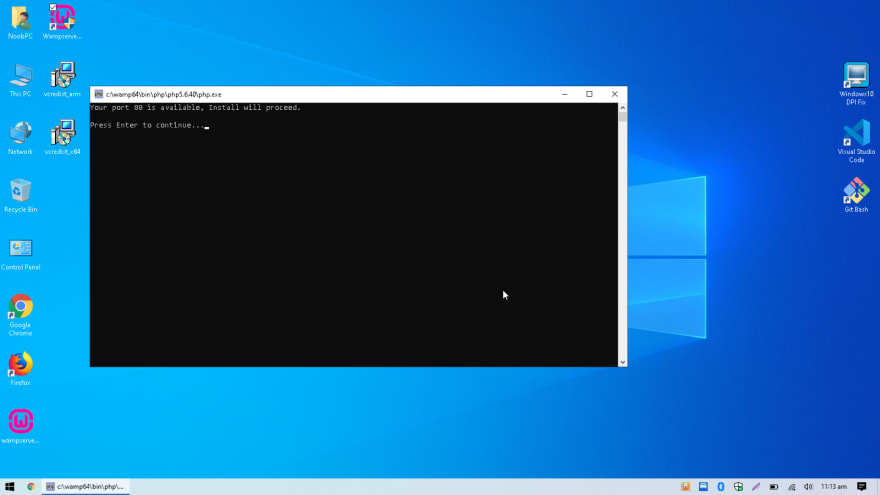
Ok, now double click and run the WAMP icon and lets start the server. Now once you start it you might see an orange icon, don't worry, lets try to fix it. Left click in the icon and a menu will appear, use that menu to go to Apache → Service administration → and click on Install service. If it pops some issue, click on stop service and then Install Service A command prompt will pop up, you just have to press enter to continue.
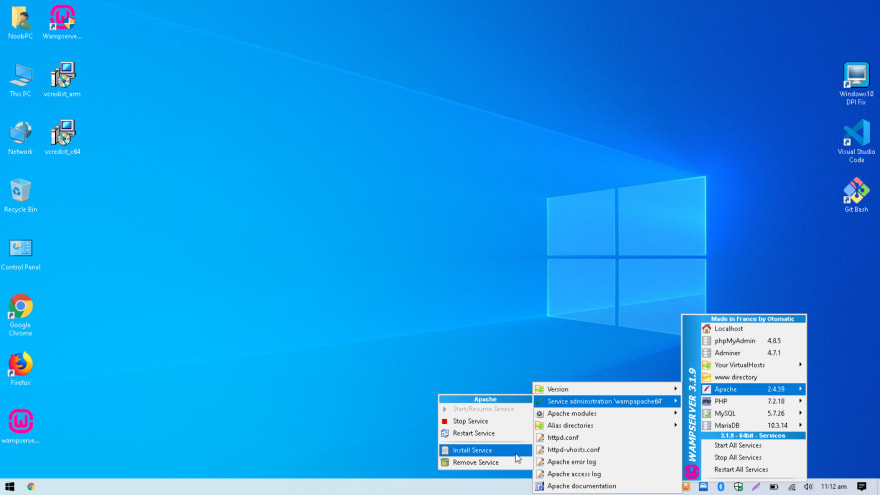
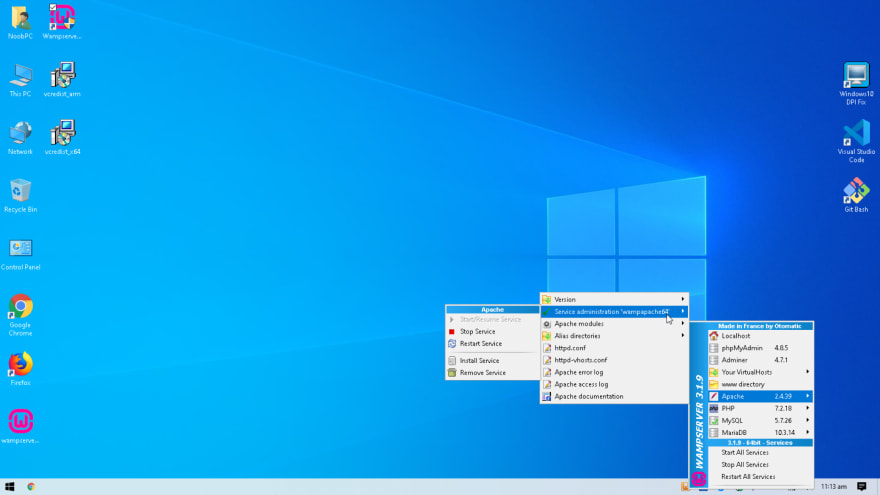
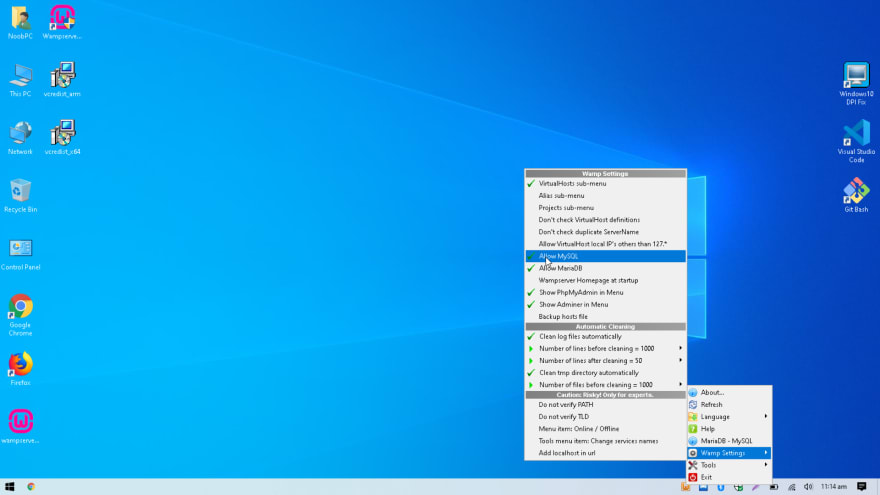
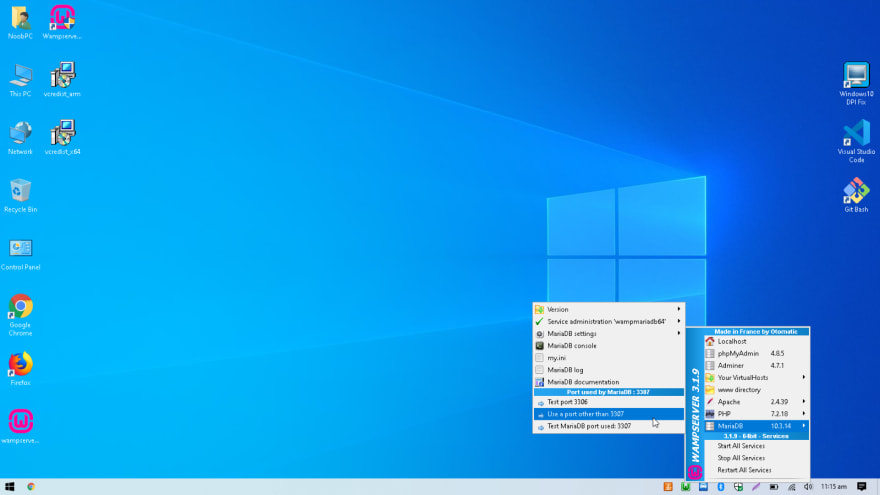
Next we are going to select the icon again but this time, right click it and in the wamp settings click on Allow MySQL. This will disable MySQL for we are going to be using MariaDB.
Now click on the click and go to MariaDB and click on test port 3306. It should show a command prompt stating that 3306 is not in use. We are good to go.
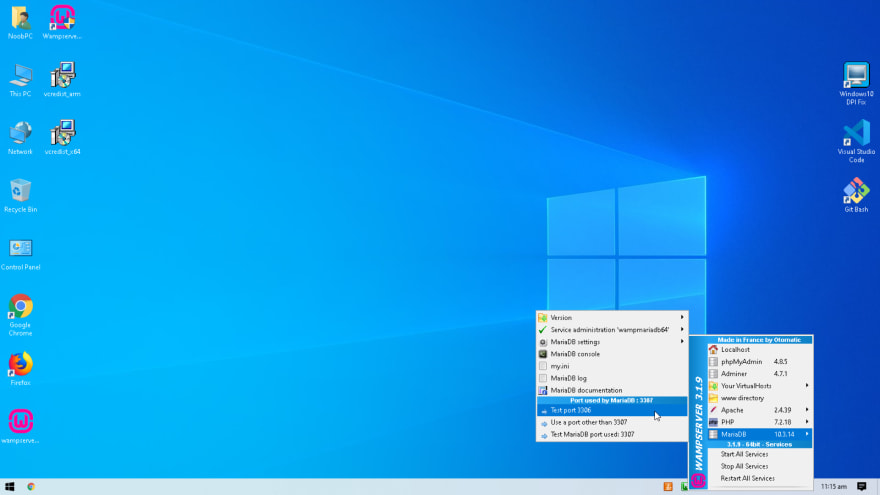
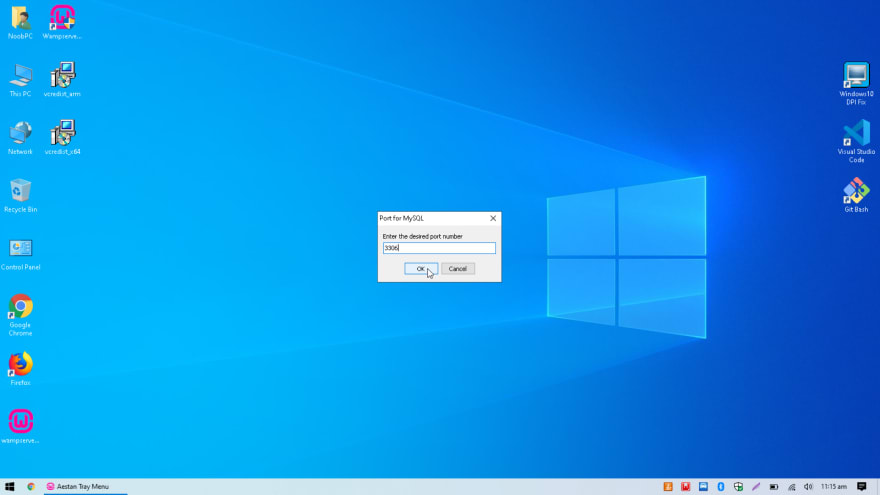
Now click on the menu again and in MariaDB click on Use a port other than 3307 and set it to 3306. These are basically the default values on which all other things are set at , once set to default everything works like butter.
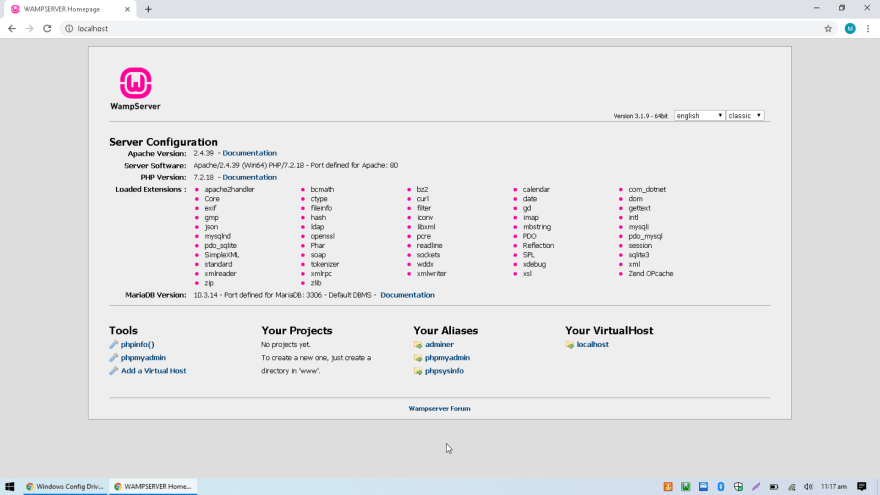
Now if you open up a browser http://localhost/ you will be greeted by the page, the server is running.
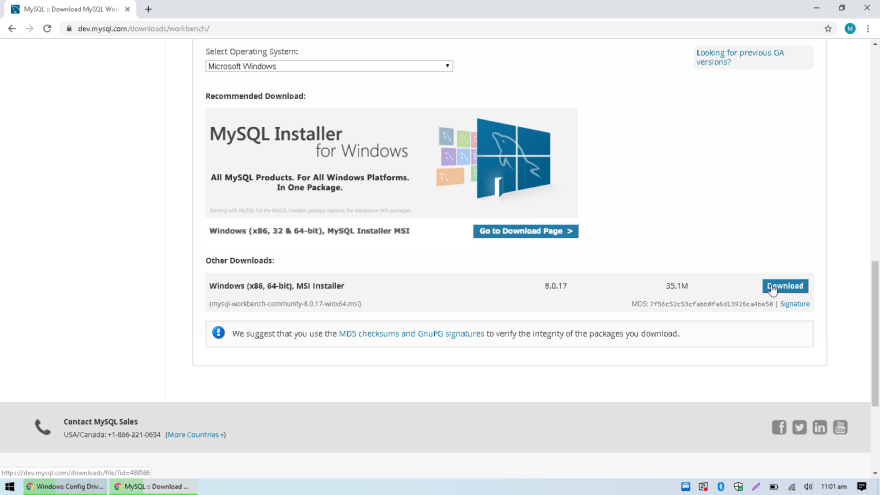
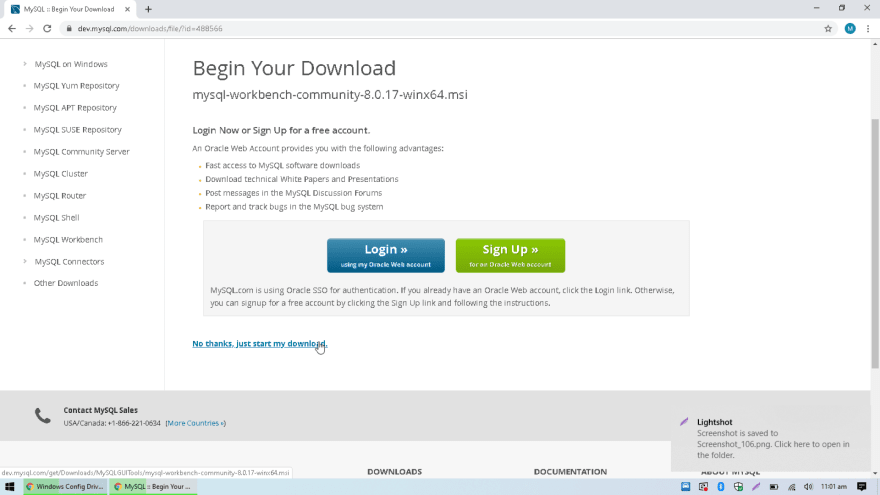
Another thing we will be downloading is the MySQL Workbench, all time favs,
https://dev.mysql.com/downloads/windows/installer/8.0.html
Go to the link and click Download.Run and install using the installer.

Latest comments (1)
Hi Dear, I like your post style as it’s unique from the others. I’m seeing it on the page.
track view app download crack
iboysoft data recovery crack
easybcd crack download
element 3d free download