In this Content, we will see how to develop a component in react.
Installation
To start a new Create React App project with TypeScript, you can run:
npx create-react-app my-app --template typescript

# or

yarn create react-app my-app --template typescript
After installation is done, open this project in your Code Editor, I prefer to use VSCode.
For styling component I am using styled-component.
yarn add styled-components
yarn add @types/styled-components
Next Step
Create a tsx file in your src folder named DotNavigation.tsx
export const DotNavigation = () => {
  return (
    <div>

    </div>
  );
}
the above Component will be responsible for handling the all dots.
🤔 How can I add circular dots?
💡 let me create a new styled component.
///1
import styled from "styled-components";

///2
export const Dots = styled.button`
  /// 3
  outline: none;
  border: none;
  width: 20px;
  height: 20px;
  margin: 8px;
  border-radius: 50%;
`;
- First import styled from
styled-componentspackage. - Create a constant for creating dots.
- Adding some
cssproperties to theDot
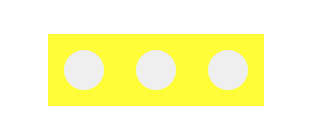
Lets use these dots in DotNavigation component.
export const DotNavigation = () => {
  return (
    <div>
      <Dots />
    </div>
  );
}
The above snippet will creating only single circle with default background.
Let's add more feature on Dots.
///1
interface IDotState {
  active: boolean;
}

///2
export const Dots = styled.button<IDotState>`
  ....

  ///3
  background: ${(props: IDotState) =>
                (props.active ? "blue" : "gray")};
`;
- Created a custom prop interface with a bool value that will track the current dot is selected or not.
- Pass the Props type in the Dots component.
- Set the background color based on the
*active props*state.
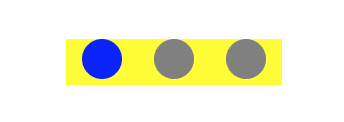
Now use this prop in DotNavigation.
export const DotNavigation = () => {
  return (
    <div>
      <Dots/>
      <Dots active/>
    </div>
  );
}
Next Step is add more dots:
export const DotNavigation = () => {

  /// 1
  const count = 3;

  /// 2
  const data: Array<{ id: string }> = [];

  /// 3
  for (let index = 0; index < count; index++) {
    const object = {
      id: index.toString()
    };

    /// 4
    data.push(object);
  }

  /// 5
  const [activeDot, setActiveDot] = React.useState(0);

  return (
    <div>
      /// 6
      {data.map((item, i) => (
        <Dots
          /// 7
          onClick={() => { setActiveDot(i) }}
          /// 8
          active={i === activeDot}
          key={i.toString()}
        />
      ))}
    </div>
  );
}
- Set the total count of Dots that want to display.
- Initialize a data array.
- Iterating the loop for array creation.
- Pushing each element in the array.
- Using hooks to track the current dot element.
- Iteration and creating the Dots in react render.
- Addin
onclickof each Dots so that will track the selected dots. - Set the current dot activated.
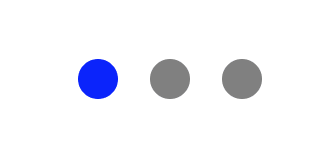
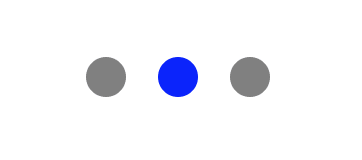
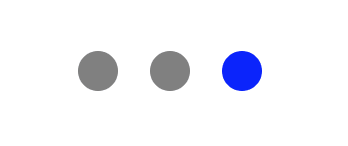
🎉 It's working !!!
Many thanks for reading this content.
Umesh

Top comments (0)