A story about my attempts and struggles for creating a website and hosting it.
Goal of the website:
To demonstrate my knowledge of building stuff (software).
To show my projects.
To show my blog posts that I write here [dev.to].
First, I decided that I want to have a sort of blogging website that will update automatically when I write posts here [dev.to]. Those posts will appear on my website. My website should also include an about me section, my projects, this blog, and a contact form.
I wanted my website to have my name as the domain name: vladsolokha.com. So I went to hover.com and registered that name.
I started exploring the different stuff I could do with my name now by clicking around the tabs:

The not useful tabs included: email, advanced, connect tabs. Since I wasn't going to take the easy route by just using a website builder, I wanted to use something that required more programming experience and flexibility in designing a website. I already had a stackbit set up and ready to go on my GitHub.
To get to that point I simply went to dev.to settings and found this:

I clicked to create a new stackbit site. Signed in using my github account. Then I used the following stack to have the website build. I honestly don't know fully what each layer is doing and that I what I will attempt to describe below. I will do the research and try to explain each item the best I can.
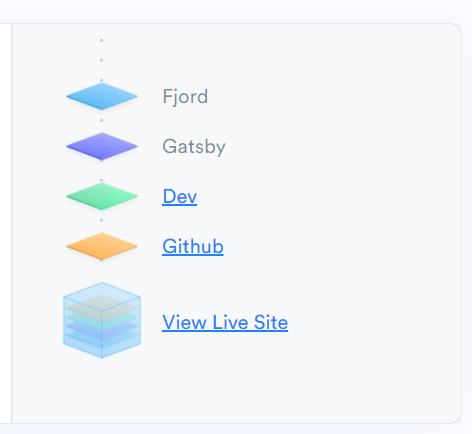
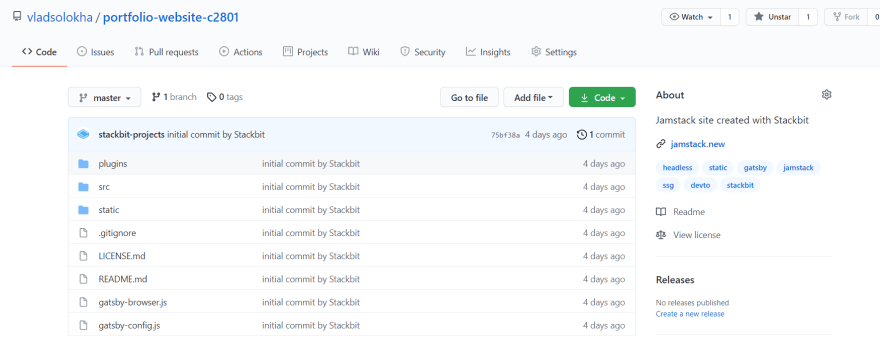
I know github is where the code is being held or stored:
Dev layer is where the source of information is coming from (these blog posts). When I click on the dev layer it takes me to my dev.to dashboard where all my dev posts are stored.
The next layer is Gatsby and from their documentation it is easy to see that their framework (code library) is what is building the site:
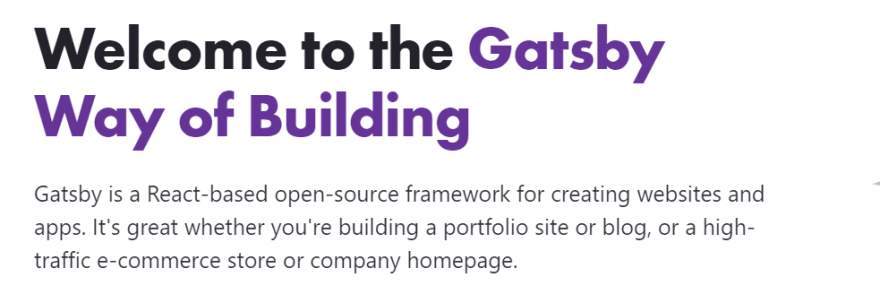
I'm tempted to go through the tutorial on how to code using Gatsby, but I do just want to pull or clone the code in my github to vscode and play with it from there.
The last layer is "Fjord" which I Googled:

That's not what I'm looking for so I added "Fjord programming"
and the first link that came up was a github page and Fjord is a "A strict, linearly typed functional programming language that compiles to JS." That was from the about section.
Edit: Totally got this wrong. My first search was right, this seems like the name of the template or theme Stackbit assigns the website template to.
My next step was to host the stackbit code stored in github to Netlify. I go ahead and log into my Netlify account and create "New site from Git".

Next, I want to play with some settings and assign my registered domain name from Hover to Netlify. The build and deploy settings look fine, so I move on to the "domain management" tab and add my domain name from there.
It now looks like this:

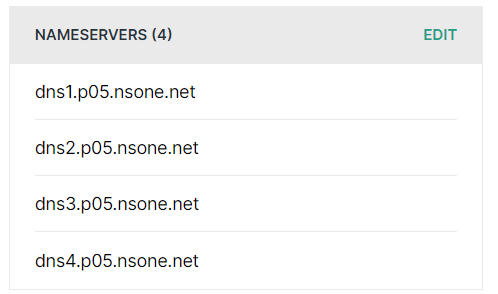
After that, I received a window that asked me to use Netlify's nameservers to be used instead of Hover's.
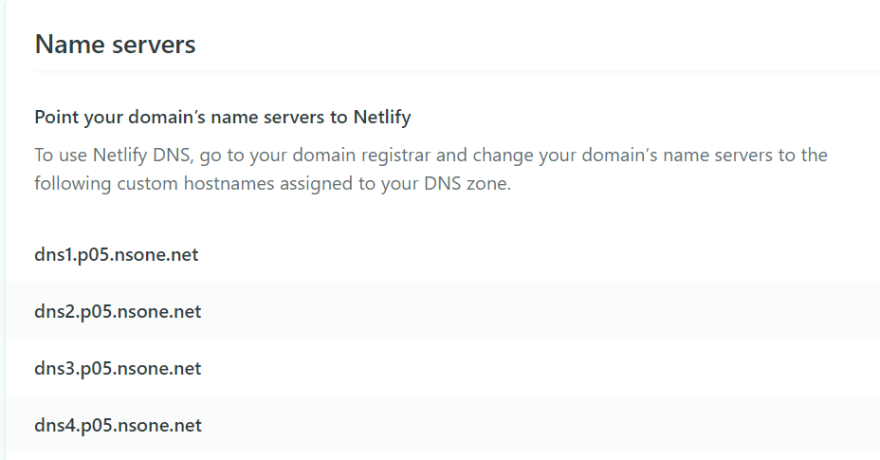
I copied those names to Hover name server space:
And this is where I leave off all the setup to focus on actually manipulating my website to show all the stuff that I want.
Namely, an 'about me' page that also contains some design details and other fun stuff.
Thanks to Ken Rogers from LYPD who helped me with the process. As well as Terabyte Tiger and his post about connecting Netlify and Hover together.
Let me know if there can be improvements I can make to this process or changes that should be done. Maybe I missed something. Leave a comment below!

Top comments (0)