Mick (my other half 🥰) pointed out this open-source 3D printing press called the "Zine Machine".
 gestalte-design
/
zine-machine
A compact 3D-printed block printing press
zine machine is a compact 3d-printed block printing press.
Convert images into blocks, try friends' blocks, or use the supplied type to set a page.
All files and instructions necessary to print and use a zine machine are open to the public and available on this website.
Zine Machine is an experiment in guerilla digital fabrication by Gestalte Design
Table of Contents
Step-by-Step Instructions
Supplies Not Included
- Brayer — a kind of roller you would use for a lino plate.
- Ink — any kind of ink, the kind you would use for block printing.
Zine Machine Basic Setup
- Print out the parts for the zine machine. You'll need access to a 3D printer, of course. Or, if you want you can send the stl files to a 3rd party for printing
- Note that you will need…
Of course, we are excited and nearly dropped everything to try it out.
I ordered lino printing ink, and a roller (and might as well order actual lino and lino cutters, haven't made are with lino since I was 15/16yo, that's nearly 3 decades ago 😭).
Memories of stabbing my hand, and warming my Lino Block on the heater to warm it up so it's easier to carve. And I'm not the only one...😆 (BTW, great video, tips and tricks from Jazza)
If you are curious, I ordered the materials from Vibes and Scribes who are based in Cork. Got my mats within days.
- 2 small Soft Cut Lino Block (never used this one before)
- 2 larger Lino Block - this is the one closer to what I used way back
- Lino block printing ink - got black, red and yellow
- Roller
- Lino cutter tool kit - Pretty basic kit to get you started
Mick printed out the printing press over several days on our Prusa. They used Prusa MK3S+ and that's the one we have as well.
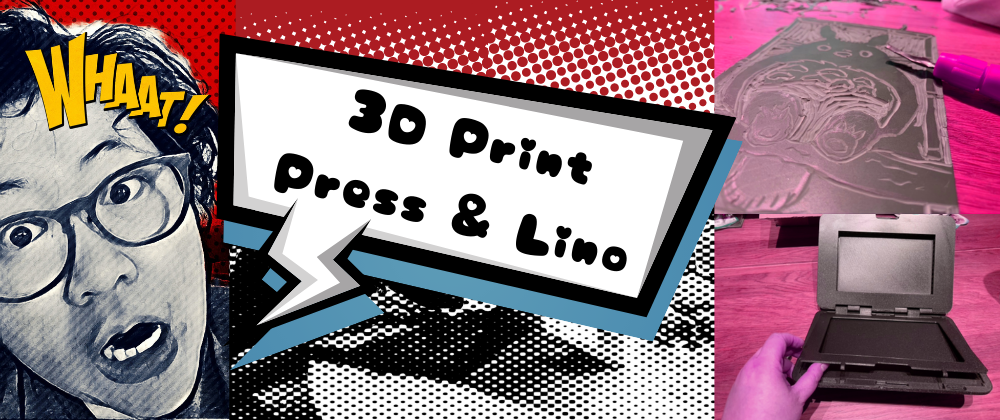
While that was happening, I tried my hand a lino cutting. All I remember when I did it so many moons ago was stabbing my left hand with the lino cutter. Thankfully that didn't happen. I decided to us Soft Cut Lino Block as it looks softer and thinner than the normal Lino Block. And it was a lot easier to carve into. So I picked Totoro (toss up between it and a character from Animal Crossing New Horizons 😆).
And the completed lino cut, my basic lino v-shape cutter was not fine enough, so as I cut deeper into the groove, it took off the details of the nose, which makes Totoro look weird 😅:
Now to get some ink on:
I filled in one with black ink to as close as what I wanted from the lino cutting, still, no bad for 1st attempt! 🙌

3D Printed Print Press
I didn't get pics of it being put together, but you can find it via https://gigazine.net/gsc_news/en/20210226-zine-machine/ if you are curious.
We used Prusa's Galaxy Black PLA.
That 3D printed custom plate
Next I wanted to make some basic line art, or get something online and edit it and see if I can turn 2D to 3D model to print out on our prusa for the print press.
I found this black cat vector art and modified it for 2 of my other cats on Affinity Designer.
When I exported to SVG, and tried to import it into TinkerCAD, it kept coming up with an error.
It looks like you need to remove width and height parameters from SVG. 🙄
It imported but inverted to what I wanted. So I went back to Infinity Designer and see if I can create a background (rectangle) and subtract my cat image, re-export it. It kinda worked but had a frame around it and not cat on its own. 🤔
Did a bit of searching (incl. videos), probably best way was to export to PNG and use an online convertor like https://convertio.co/ to export to SVG. So I did that, export each of my kitties to PNG, converted to SVG online and imported them to TinkerCAD. And guess what, it worked!
I then followed the Zine Machine's instructions to get it ready for 3D printing.
Sent that on to Mick, and he used Prusa's Slic3r to put it together with the plate.
By the way, Prusa themselves have a page on how to convert 2D image to a 3D model ready for printing: https://blog.prusaprinters.org/from-2d-to-3d-how-to-turn-a-picture-or-a-photo-into-a-3d-model_8882/
Now to get it printed...


Oldest comments (0)