
In the previous tutorials of the 'Create a recipe page' series, we went through several methods to display it using the Meta Box in combination with several page builders. Today, we're going to use Meta Box and Bricks to find another way to do it.
The image below is a specific example.

Video Version
https://www.youtube.com/watch?v=ev24jQJTgCY
Before Getting Started
In this case, the recipe page is the single page of a post type. The recipe's name and the dish picture are the titles and the feature image of the post. Besides, the remaining detailed information will be saved in custom fields.
To get started, we need the Meta Box core plugin to have the framework for creating custom post types and custom fields. It's free, and you can download it directly from wordpress.org. For advanced features, I use some extensions of Meta Box as follows:
- MB Custom Post Types & Custom Taxonomies: It helps to create a custom post type that we need for recipes.
- Meta Box Builder: It has a UI for creating custom fields right on the back end.
For the last one, we use Bricks to build the page. Remember to update to the latest version to have full integration with Meta Box.
Step 1: Create a New Custom Post Type
Go to Meta Box > Post Types > New Post Type.
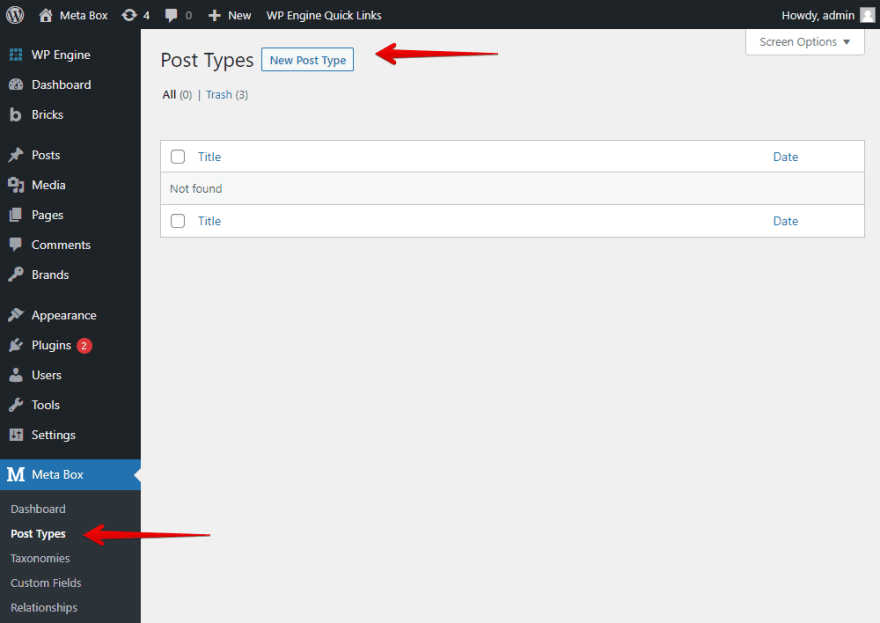
After publishing, you will see your new post type displayed on the admin dashboard.

Step 2: Create Custom Fields
Go to Meta Box > Custom Fields to create custom fields.
The recipe has a lot of information we need to save in custom fields. For example, prep time, cooking time, total time, ingredients, instructions, nutrition, video, etc.
Here are the custom fields that I created:
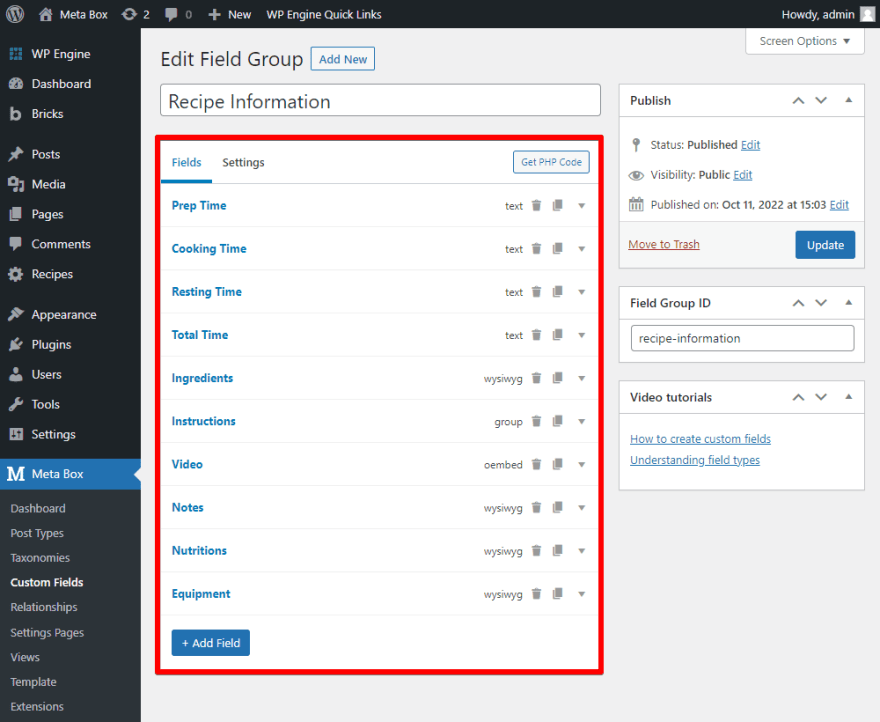
Pay attention to the Video field. Instead of using the URL field to save the video link, as usual, I use oEmbed. This field type allows us to display the video frame directly on the front end.
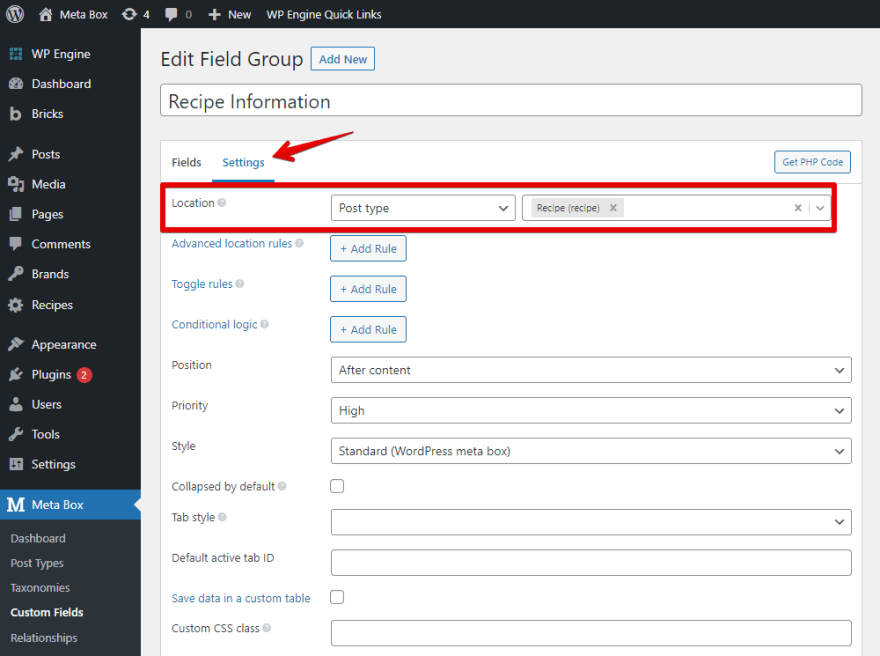
After finishing creating the fields, move to the Settings tab. In the Location section, select Post Types as Recipe to apply these fields to the post type.
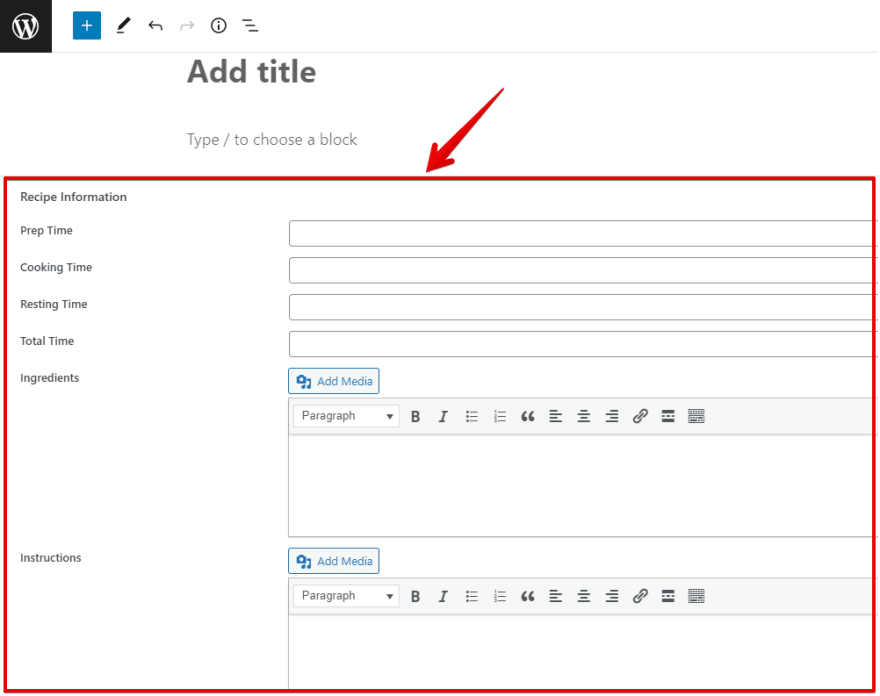
Back to the post editor, you will see all of the newly created custom fields.
Step 3: Create a Template using Bricks
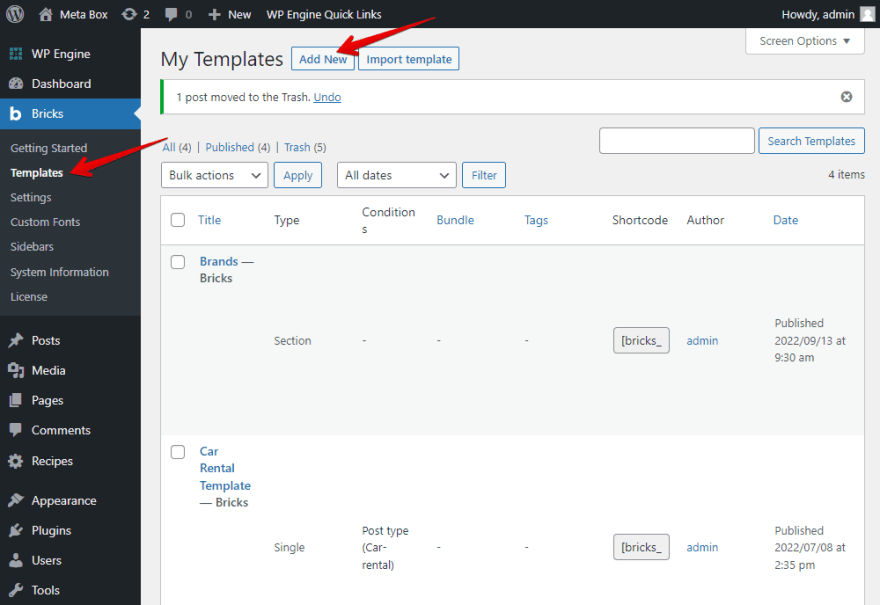
In the dashboard, go to Bricks > Templates > Add new to create a new template.
Then, edit it with Bricks.

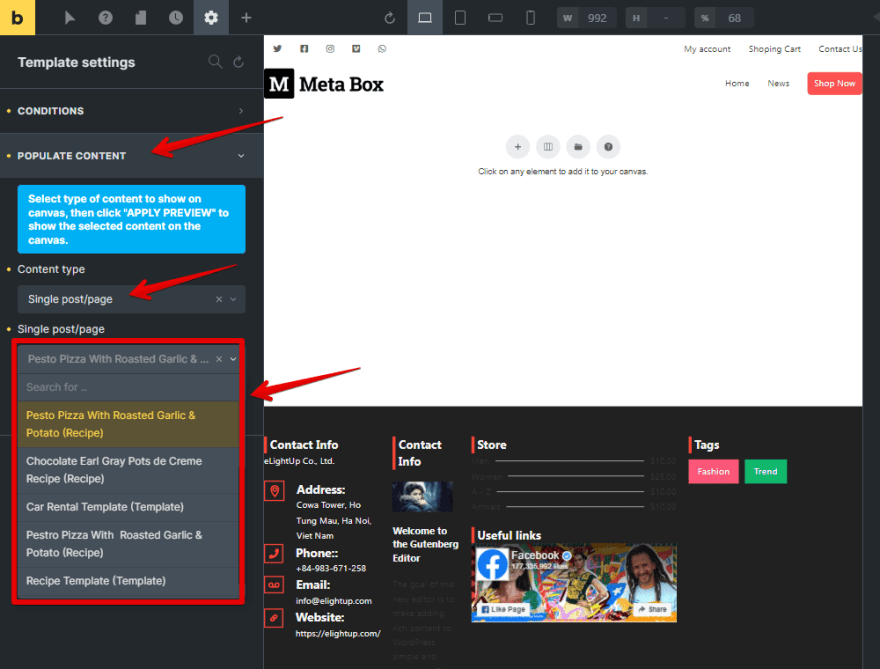
Go to Settings > Template Settings > Conditions > choose Post Type > Recipes in the list of options.

Choose a post in the Populate Content section to see it in the preview.
Now, let's get the data and display the recipe in the template.
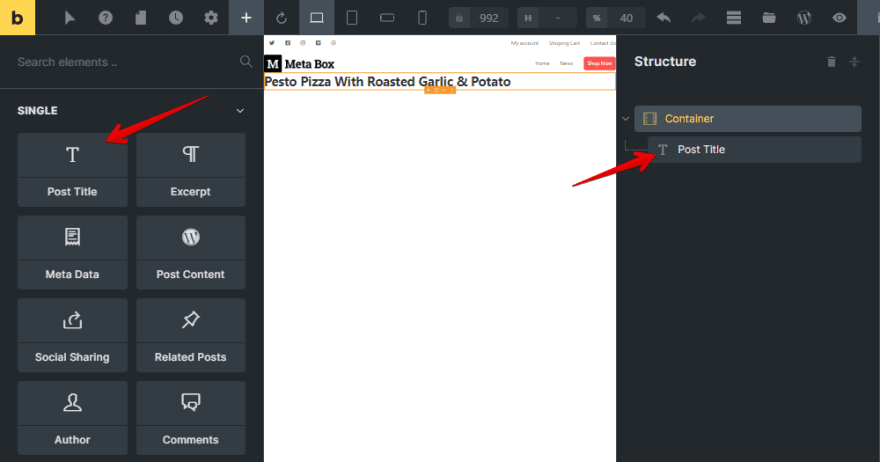
First, add a new Container element to cover all the recipe information.

Then, add a Post Title element to display the recipe's name.
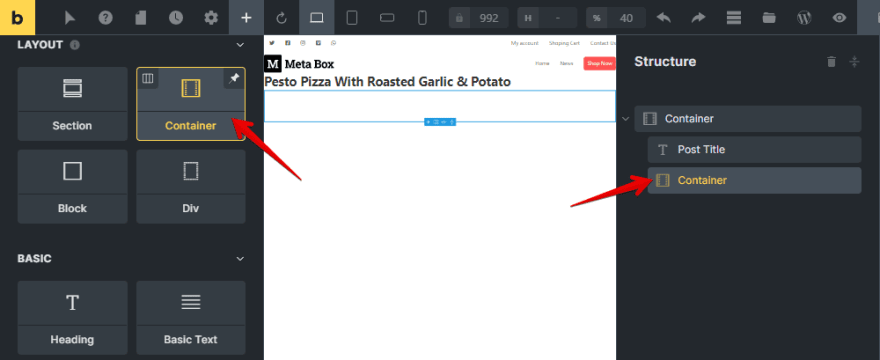
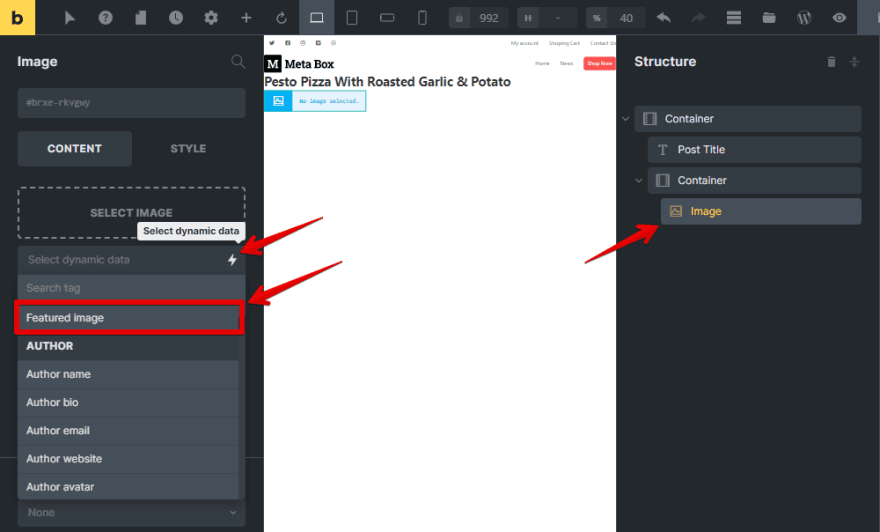
To display the dish image and time, add another Container to cover them.
For the dish picture, add an Image element inside that Container. It is the featured image of the post, so in the settings of the Image element, select Dynamic Data and choose the Featured image option from the list.
For the time section to complete the dish, also add a new container.
Instead of adding Basic Text, I'd like to use the Rich Text element to get information about the time. The Basic Text allows you to get the data from the field only. But, the Rich Text allows you to add the extra text along with the data.

To get data from custom fields, click on the Select Dynamic Data button with a lightning bolt icon. Then, select the Meta Box (recipe) item and choose the field you want to display.

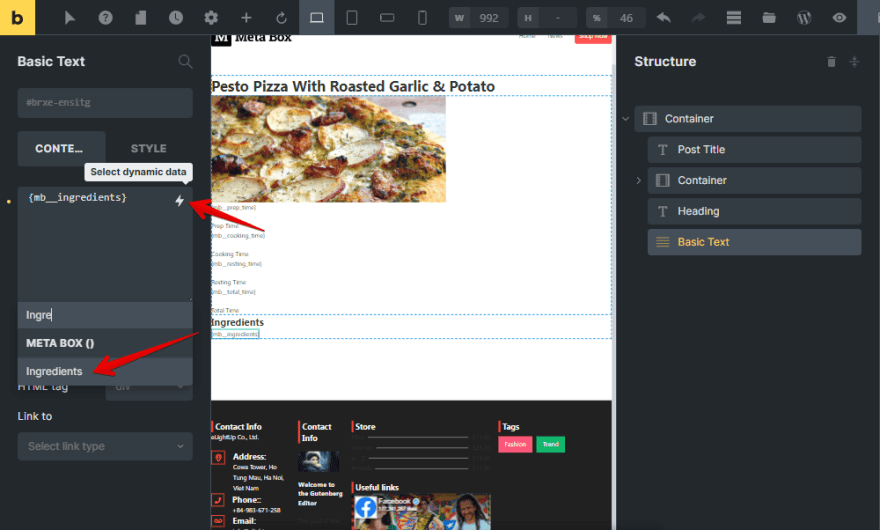
For the Ingredient section, I'll add a Heading. If you want to style this heading, set the HTML tag for it. It also helps you optimize SEO more effectively.

For this section's content, add a Basic Text element. Then, I also add dynamic data to get the data stored in the custom fields. Find the field name you want.
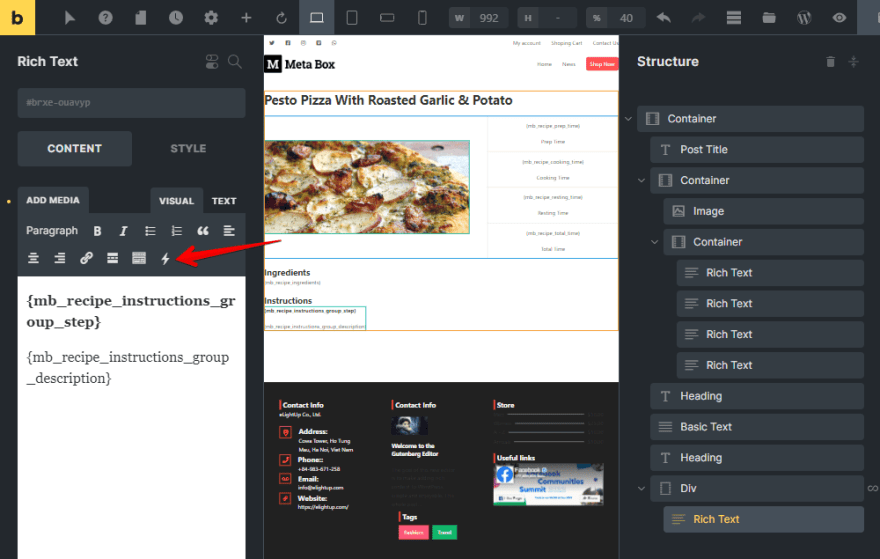
For the Instruction section, I will add a DIV tag to cover all the information in the step and description fields. Then, I will enable a loop to show a cloneable field. In the Query section, get the data that I created in the custom fields.

To display both step and description fields, I use a rich text element. And get saved data from Dynamic Data.
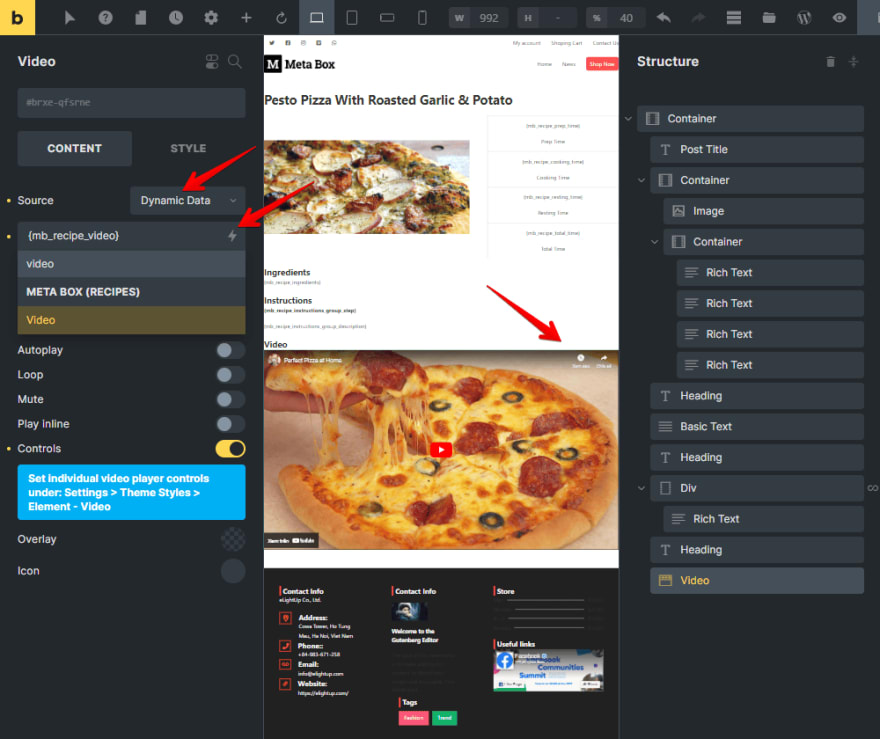
For the Video section, I will add a Heading and Video element.
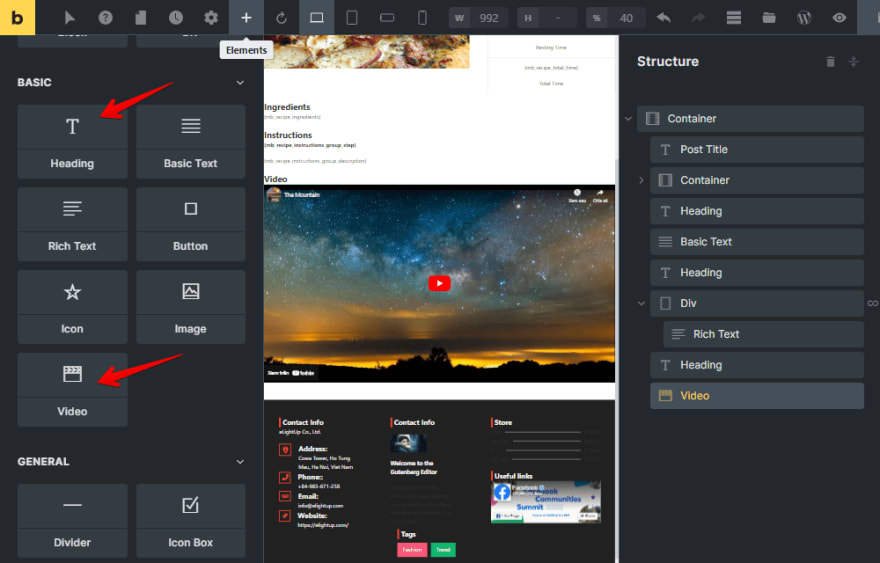
To get the data from the created oEmbed field, go to the Video element, and change the Source section to Dynamic Data. Then, search for the Video field you created.
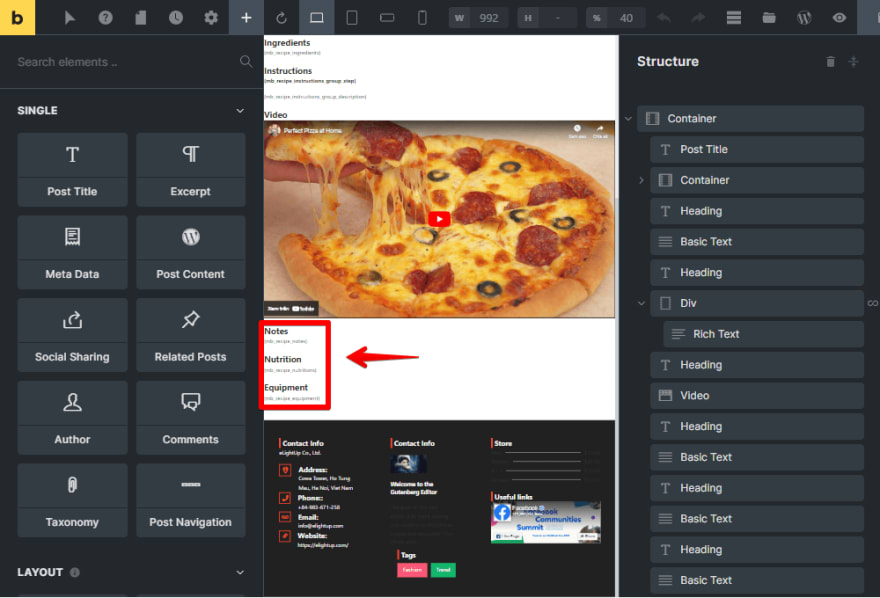
I will do the same with other sets of information.
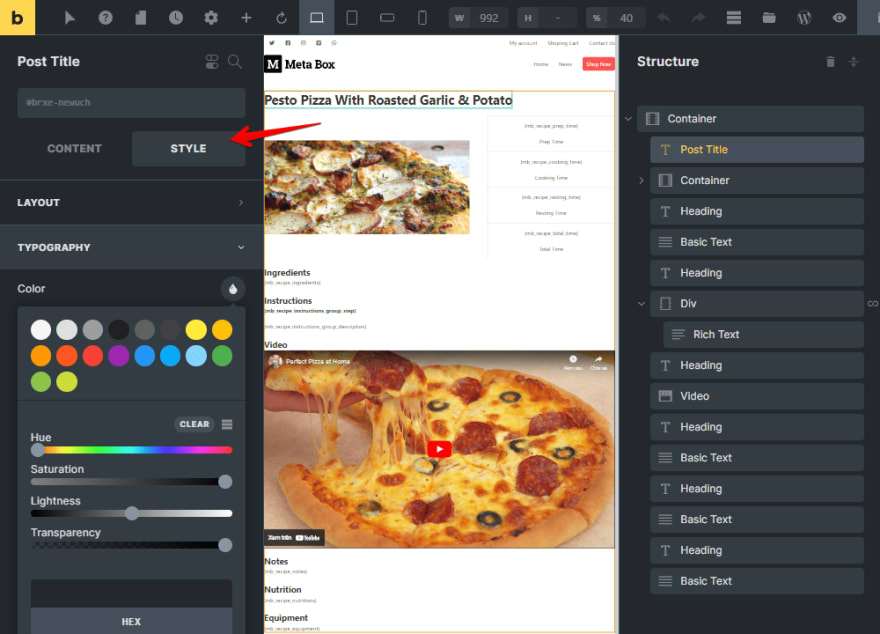
Step 4: Style the Page
Now you can style the page with Bricks' template editor. I'll style some elements a little bit, for example.
Just choose the desired element and change the settings in the Style section.
Here is the result.
Last Words
As you can see, using the Meta Box plugin combined with Bricks to create a recipe is so simple. With custom fields, you can easily save extra information about the recipe and display it in a more beautiful style. Let's try it!
Don't forget to follow our channel to see other interesting tutorials! Good luck!

Top comments (0)