Note: Windows XP or 2003 is not supported.
XAMPP is an easy to install Apache distribution containing MariaDB, PHP, and Perl.
Step 1 - Download the required version of the Xampp from https://www.apachefriends.org/download.html.
Step 2 - After download, open the setup wizard and click Next.
Step 3 - Now select the components you want to install and click Next. (If you are a beginner by default select all the options)
Step 4 - Select a folder where you want to install the XAMPP and click Next.
Step 5 - Select your preferred language and click Next. (XAMPP provides two options English and Deutsch)
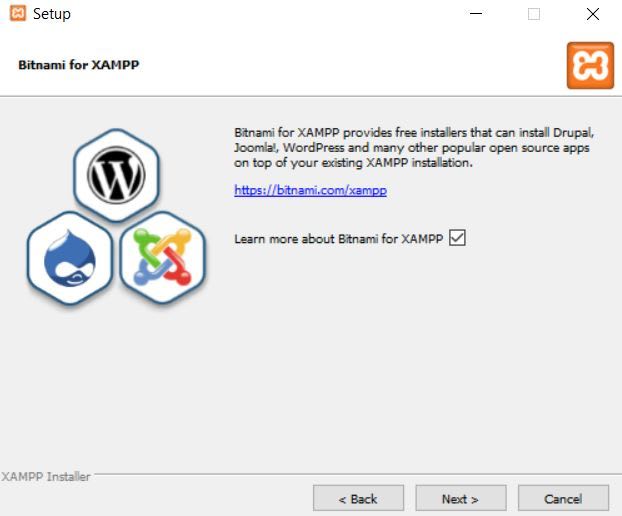
Step 6 - Click Next.(You may direct to a XAMPP website, now return to the setup wizard)
Step 7 - Now XAMPP is ready to install, just click Next and Finish.
Now the XAMPP icon is clearly visible on the right side of the start menu. Show or Hide can be set by using the control panel by clicking on the icon.
- To start Apache and MySql, just click on the Start button on the control panel.
Note: Suppose Apache is not starting, it means some other service is running at port 80. In this case, stop the other service temporarily and restart it.
Making server request: Open your web browser and check whether the XAMPP service has properly installed or not. Type in the URL: http://localhost. If you are able to see the default page for XAMPP, you have successfully installed your XAMPP Server.
To check if PHP is Working: All the website related files are organized in a folder called htdocs and then run index.php file by using http://localhost/index.php or http://localhost.
Note: For every new website or application, its always better to create a different folder inside htdocs, to keep it organized and avoid confusion.


Top comments (0)