
Given its huge impact on businesses, company owners are becoming more interested in learning how to create a live-streaming application.
In this article, I will walk you step-by-step through building the best streaming service using the iOS Live Streaming Kit SDK.
Introduction to iOS Live Streaming Kit
iOS Live Streaming Kit is a brand-new pre-built UIKits by ZEGOCLOUD. It’s the best streaming service. You can use it to complete the development of a live-streaming app within 10 minutes.

As shown in the figure, iOS Live Streaming Kit is responsible for handling all the logic and UI of the stream services function. Include:
-UI and interaction of the live Streaming module
-Message sending and display
-Audio and video data transmission
-Camera and microphone management
-Live Viewer Statistics
You only need to implement business-related logic. For example:
-User login registration
-Live List Management
-Top up and send gifts, etc.
Preparation
-A ZEGOCLOUD developer account — Sign up
-Xcode 12.3 or later
-Devices with iOS 12.0 or later
-Basic understanding of iOS development
Implement live-streaming
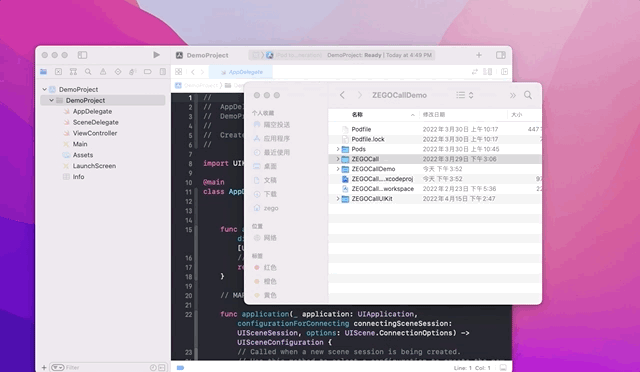
1. Create project
First, Use Xcode create a project.

2. Add ZegoUIKitPrebuiltLiveStreaming as dependencies
2.1 Create podfile
You need to use cocopods to import the SDK. First, you need to execute pod init in your project root directory to create a podfile.
pod init
Then open the created podfile and add pod 'ZegoUIKitPrebuiltLiveStreaming' in the file.
pod 'ZegoUIKitPrebuiltLiveStreaming'
Finally, execute the pod install command to download the SDK.
pod install

3. Open project
After you finish step 2, a .xcworkspace file will be generated in the root directory, double-click .xcworkspace file to open the project.
4. Add Permissions
Next, you need to add permission requests for camera and microphone in the Info.plist file.
NSCameraUsageDescription
We require camera access to connect to a call
NSMicrophoneUsageDescription
We require microphone access to connect to a call
5. Start a live
There are two roles in the streaming service, the host and the audience. The host is to start the streaming services, and the audience is to join the streaming services. Let’s first talk about how the host starts streaming services.
5.1 Import SDK
First you need to import ZegoUIKitSDK and ZegoUIKitPrebuiltLiveStreaming SDKs in ViewController.
import ZegoUIKit
import ZegoUIKitPrebuiltLiveStreaming

5.2 Add SDK authentication parameters
Next, you need to add appID and appSign as SDK authentication parameters, which can be obtained from the ZEGOLCOUD console. However, in practical applications, it is recommended to use token authentication to prevent leakage of authentication parameters.
let appID: UInt32 = YourAppID
let appSign: String = YourAppSign

5.3 Create a live id
you need a liveID, you need create a live ID

5.4 Add user info
Next, user information needs to be set, Live Streaming Kit SDK needs to pass userID and userName as user information. Here, as a demo, use random numbers for user ID and username. In practical applications, you can use the user ID and username used by your business background.

5.5 Start Live
Finally, you can start the live. If it is a Host, use kRoleHost as a parameter. Live String Kit will judge according to the parameters, if it is a Host, it will use the liveID to create a new live room.
@IBAction func startLiveButtonClick(_ sender: Any) {
let config: ZegoUIKitPrebuiltLiveStreamingConfig = ZegoUIKitPrebuiltLiveStreamingConfig(kRoleHost)
let liveVC: ZegoUIKitPrebuiltLiveStreamingVC = ZegoUIKitPrebuiltLiveStreamingVC(self.appID, appSign: self.appSign, userID: self.userID, userName: self.userName ?? "", liveID: self.liveIDTextField.text ?? "", config: config)
liveVC.modalPresentationStyle = .fullScreen
self.present(liveVC, animated: true, completion: nil)
}

5.6 Join live
If it is an audience, use kRoleAudience as a parameter, and Live Streaming Kit will judge according to the parameters. If it is an Audience, it will use the liveID to join the live room. If the live room does not exist, it will fail to join.
@IBAction func watchLiveButtonClick(_ sender: Any) {
let config: ZegoUIKitPrebuiltLiveStreamingConfig = ZegoUIKitPrebuiltLiveStreamingConfig(kRoleAudience)
let liveVC: ZegoUIKitPrebuiltLiveStreamingVC = ZegoUIKitPrebuiltLiveStreamingVC(self.appID, appSign: self.appSign, userID: self.userID, userName: self.userName ?? "", liveID: self.liveIDTextField.text ?? "", config: config)
liveVC.modalPresentationStyle = .fullScreen
self.present(liveVC, animated: true, completion: nil)
}

Run a DEMO
https://www.youtube.com/watch?v=TXoIJXTGjEA
That's it. You are ready to take action.
Download the sample demo source code of this article, or consult us 24h technical support.

Top comments (0)