![Cover image for [AWS Experiment] 8 - AWS ECS Deep Dive (Part.2)](https://media2.dev.to/dynamic/image/width=1000,height=420,fit=cover,gravity=auto,format=auto/https%3A%2F%2Fdev-to-uploads.s3.amazonaws.com%2Fuploads%2Farticles%2Fwziose5b9wcerai719qg.jpg)
1. Useful Resources & Links
2. Experiment Implementation
Docker Image Explanation
I created a custom Docker image for this tutorial. I briefly mentioned its specs below.
Base Image:
python-alpineImage Name:
exit21sb/ecs-demo:taskrole-test-
Python Scripts
-
script_session.py: Start the job. Download all necessary images. -
script_session_process_images.py: Process the images. -
script_session_move_images.py: Move the images to/olddirectory.
-
-
Libraries:
- boto3 (AWS SDK)
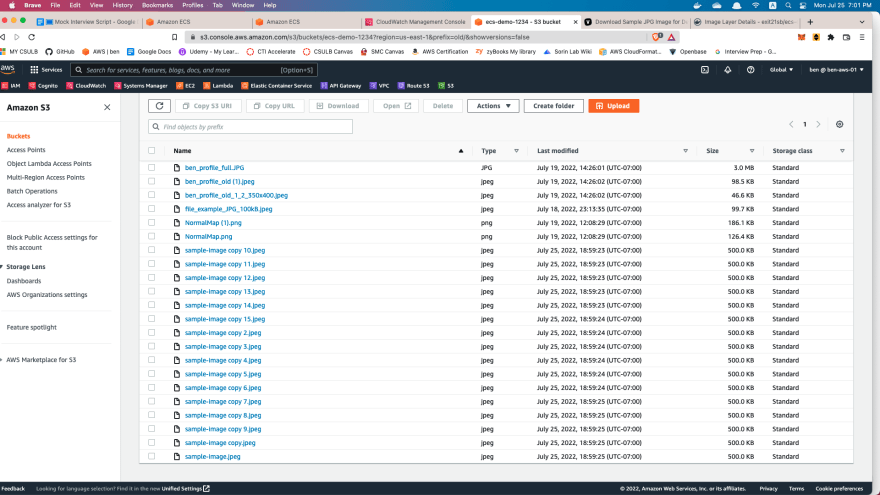
Uploading sample images to the S3 Bucket
Create a bucket and create two folders which are
/oldand/newThe application will download all files in the
/new, then process the images, and will move the images to the/oldfolder.Upload some images to the
/newfolder.


Make sure the bucket is not public. It won't affect following the tutorial, but just for your sake.
We don't need to worry about the Bucket Policy since we are going to use
S3FullAccesspermission.
Task Role
Go to IAM console and create
DemoRoleForECSandS3Add Elastic Container Service (ECS) as Trusted Entity of the role.

- Add
AmazonS3FullAccesspermission (AWS managed policy).
Perfect! We are going to attach the role to the ECS Task later. Attaching the role to tasks is very convenient since we now don't need to worry about how the application inside of ECS container authenticates to AWS services.
Not we can move on to the Task Definition part.
Task Definition


- Name: Any
- Image URI:
exit21sb/ecs-demo:taskrole-test - Port Mappings: None
- Environment Variables (required):
BUCKET_NAMEREGION
- App Environment: Fargate
- Operating system/Architecture: Linux/ARM64 (important)
- CPU: 1 vCPU (does not matter)
- Memory: 3GB (does not matter)
- Task Role:
DemoRoleForECSandS3(the one we created beforehand) - ... and leave all optional settings as default
Great! Now we are ready to run the ECS container.
Run the Task
- Go to ECS console and create a cluster.
- Go to
Taskstab and click the "Run new task" button. Service and Tasks are a little bit different. For this tutorial, our ECS container will not last for too long time, we are sticking to Task option. - Specify the Launch type. Choose
FARGATEoption. - Application type is
Task. - Leave desired tasks option as 1.
- Choose the Family and Revision for the Task Definition we created beforehand.
- Launch the Task
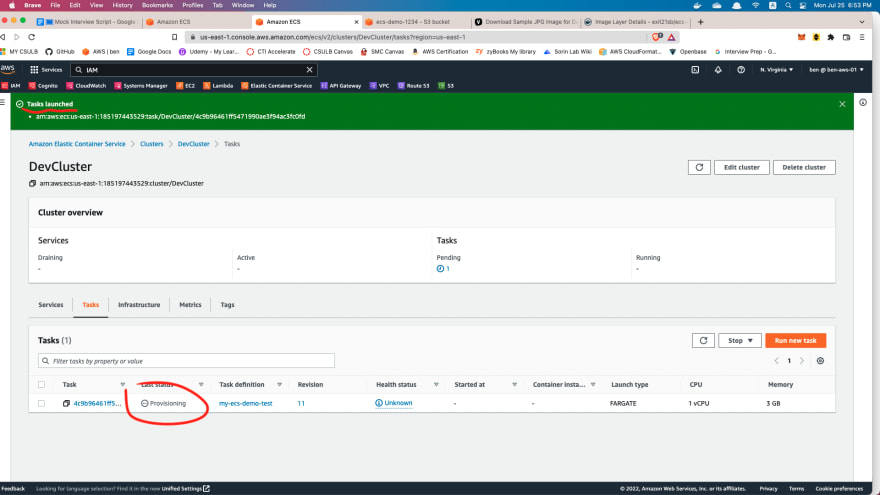
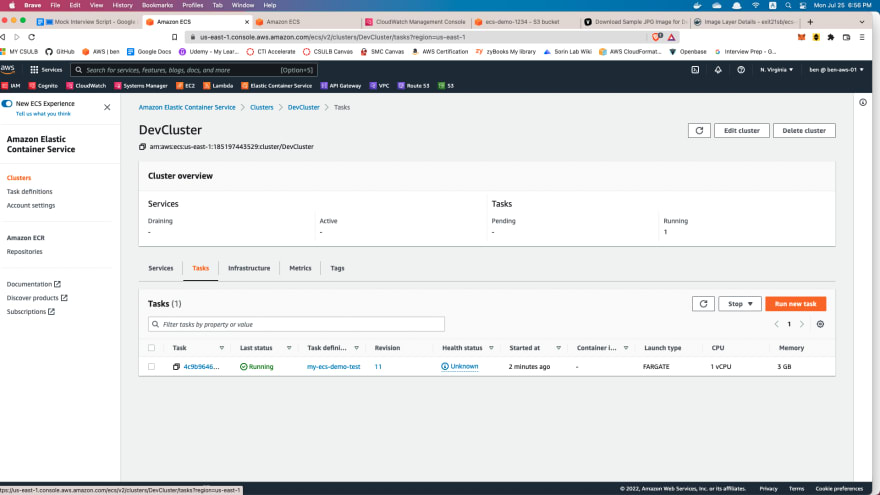
Task Running Process
The application will sleep for 5 mins because of the script script_session_process_images.py. I put sleep function just to demo the behavior. Feel free to update the script and deploy new Docker image if you want to use the application for the real-world project.
After 5 minutes, all the images in /new folder will be moved to /old folder. This can take a little bit of time.
Launched Screen

S3 Screen

Cloud Watch Logs

Notice: The "Image processing is done!" log printed out earlier than the time when actual job gets done. I think this is because of the way how Fargate works. It seems like Fargate runs another threads to process the rest of the jobs while the current thread is sleeping (not really sure if my explanation is right).
3. Conclusion
Using ECS can be very easy with Fargate and Task role. Try use ECS for you batch jobs that take lots of time to process!

Top comments (0)