
What is paymaster? (ERC- 4337)
This project is to onboard developers to Zksync ecosystem utilizing Zksync ethers to build their dapps with nextjs. In this technical tutorial, we developed a simple smart contract which is known as Bank.sol. This tutorial adopted what is known as account abstraction, where we use Paymaster to pay the gas fee for every transaction the user performs on a dapp.
Paymaster is a mechanism to pay for user's network gas fees, they are executable sets of codes that pay for users' transaction which comes from account Abstraction. Account Abstraction is a system put in place where user's assets are stored on smart contracts rather than externally owned account EOA. It improves users' experience which solve the issue where a user lost their private key. Account Abstraction can come in different phases it depends on how they are designed for different purposes. They are backed up by smart contracts, and user's wallets are generated with the smart contract, which allows the user to manage their assets on smart contracts. Accounts generated by the smart contract can also perform transactions the way EOA performs transactions.
Zksync is a layer 2 scaling Ethereum solution that adopts ZK rollups. They help to reduce the congested Ethereum network and reduce the transaction fee on Ethereum. We will be looking at how we can use Paymaster with our Next js, and how to implement Paymaster to pay for each transaction performed by users on the Zksync. Paymaster allows a third party to sponsor gas fees.
IPaymaster interface
EIP4337, our account abstraction protocol supports paymasters: accounts that can compensate for other accounts' transactions execution.Each paymaster should implement the IPaymaster interface. It contains the following two methods:
validateAndPayForPaymasterTransaction is mandatory and will be used by the system to determine if the paymaster approves paying for this transaction. If the paymaster is willing to pay for the transaction, this method must send at least tx.gasprice * tx.gasLimit to the operator. It should return the context that will be one of the call parameters to the postTransaction method.
postTransaction is optional and is called after the transaction executes. Note that unlike EIP4337, there is no guarantee that this method will be called. In particular, this method won't be called if the transaction fails with out of gas error. It takes four parameters: the context returned by validateAndPayForPaymasterTransaction, the transaction itself, a flag that indicates whether the transaction execution succeeded, and the maximum amount of gas the paymaster might be refunded with.
Reference from Zksync Docs You can read More from there
To get started
Run this to create a template from Zksync, this will create a custom paymaster smart contract by Zksync and set your hardhat project direction.
npx zksync-cli create custom-paymaster-tutorial --template hardhat_solidity
You file directory should look like this

Install all the necessary dependencies depending on the package installer you
yarn install or
npm install
Navigate to your Contract directory
cd contract/paymasters
We are going to be utilizing GeneralPaymaster for our gas-sponsoring paymaster, you don't have to worry about writing the full logic it has already created, you can decide to customize it in your preferred way.
We need to compile our smart contract
yarn compile
Create a new file name .env in your root folder to add your private key to deploy.
WALLET_PRIVATE_KEY=
To deploy your GeneralPaymaster smart contract. In your project root direct
cd deploy
Create file name deploy-paymaster.ts to deploy the General paymaster. Copy and paste this code
import { deployContract } from "./utils";


export default async function () {
    const contractArtifactName = "GeneralPaymaster";
    await deployContract(contractArtifactName);
}
To deploy your GeneralPaymaster on your Terminal run
yarn hardhat deploy-zksync --script deploy-paymaster.ts

Copy your paymaster address to a safe place, we utilize it for sponsoring gas fees.
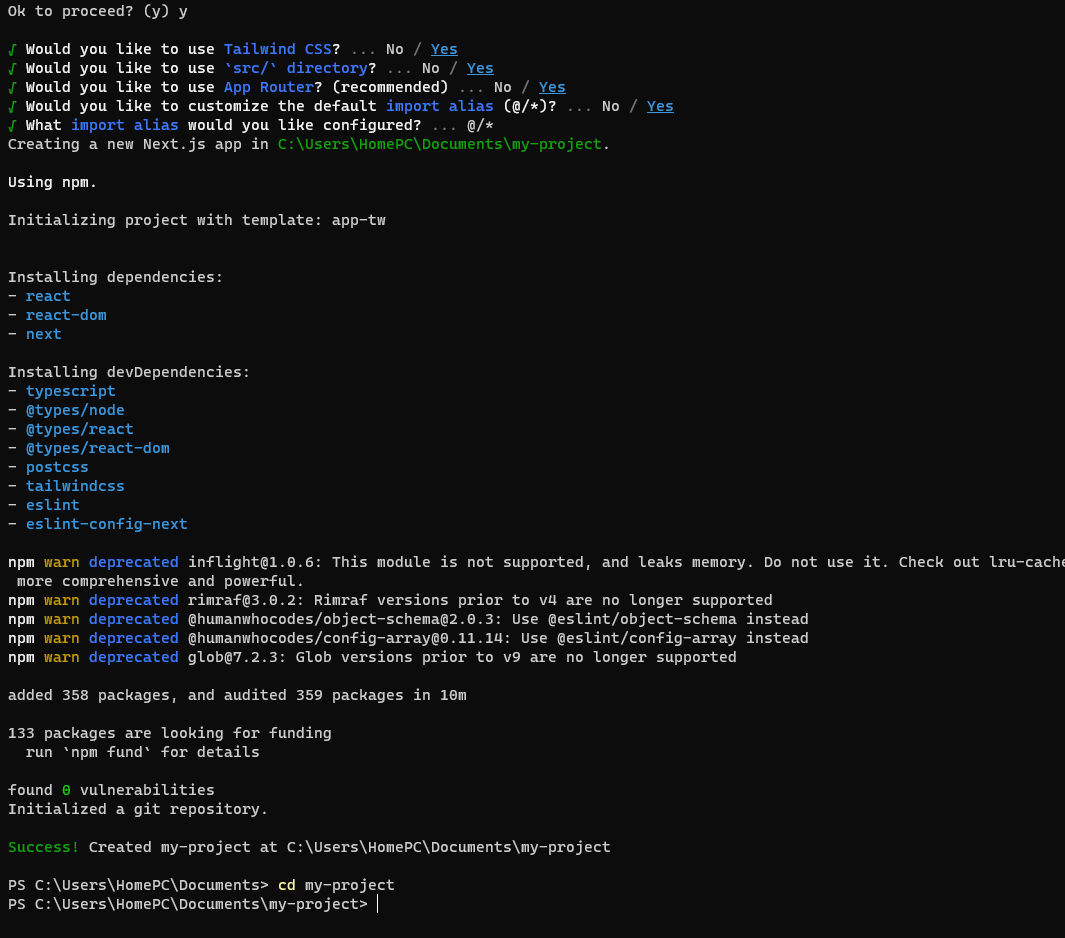
Initialized your next js project.
npx create-next-app my-project
Install these dependencies
npm install @rainbow-me/rainbowkit wagmi viem@2.x @tanstack/react-query @zksync-ethers @ethers @react-toastify
You might want to remove the ones you won't be using just for easy walkthrough I install some dependencies.
I will be utilizing a simple smart contract which you can file in this tutorial which is created in generated template of zksync. You can get it
cd hello-zksync/contract/Bank.sol
In my next js project root directory, I created a folder named abi folder where I placed bank abi and deployed the contract on Zksync sepolia testnet.

In your nextjs root file create .env add your environment variable.
NEXT_PUBLIC_WALLET_PRIVATE_KEY=your_private_key
Do not push your .env to GitHub
cd pages/index.jsx
or in your page.js depends on how you structure your nextjs project folder
That is where we will be interacting with our smart contract and using Paymaster for gas fee transactions. Import all the necessary items that will be used to connect to your wallet and interact with the smart contract

Define your useState from react to handle any balances, paymaster balance changes from the smart contract, and the amount you are sending to the smart contract.
Set your paymaster address, get your wallet and a new provider as well to interact with your smart contract.
Initiate your contract instance
Your code should look like this

Define your paymaster custom data which will be recognized by the on-chain that the paymaster is sponsoring for the smart contract gas fee. It can be ApprovalBase or General, We want it to pay for it generally not approval base.

Define a function to handle the deposit function in the smart contract, which will send ether to the smart contract address

Define a function to handle the withdraw function in the solidity smart contract, which will withdraw ether from the smart contract address to the wallet of the user that deposited.

Define a useEffect from react and a function to keep fetching the balance of the paymaster and smart contract deposited balance

Implement your custom function with your frontend.

To use Viem for Zksync paymaster account abstraction.
Create helper folder in your src directory name a file wagmiconfig.js
Define your wallet client and public client, which we use to interact and connect to our smart contract.
// Check if the code is running in a browser environment and if the 'ethereum' object is available on the 'window' object
export const walletClient = typeof window !== 'undefined' && window.ethereum
  ? // If both conditions are true, create a wallet client using the provided Ethereum provider (window.ethereum)
    createWalletClient({
      chain: zkSyncSepoliaTestnet, // Specify the chain to connect to (zkSync Sepolia Testnet in this case)
      transport: custom(window?.ethereum), // Use a custom transport with the Ethereum provider
    }).extend(eip712WalletActions()) // Extend the client with additional EIP-712 wallet actions
  : // If either condition is false, set 'walletClient' to null
    null;

// Create a public client that can be used for read-only operations on the zkSync Sepolia Testnet
export const publicClient = createPublicClient({
  chain: zkSyncSepoliaTestnet, // Specify the chain to connect to (zkSync Sepolia Testnet in this case)
  transport: http() // Use HTTP transport for connecting to the chain
});
in your index page there you want to implement the paymaster
// import utils to get paymaster params

import { utils } from "zksync-ethers";
// Define 'params' by calling 'utils.getPaymasterParams' to generate parameters for a paymaster
const params = utils.getPaymasterParams(
  paymasterAddress, // The address of the paymaster
  {
    type: "General", // Specify the type of paymaster operation (in this case, "General" or "ApprovalBased")
    innerInput: new Uint8Array(),
  }
);
Define your handleDepositSave to sign the transaction with your metamask
// Define an asynchronous function to handle the deposit save operation
const handleDepositsave = async (e) => {
    e.preventDefault(); // Prevent the default form submission behavior

    try {
        // Request accounts from the user's wallet
        const [account] = typeof window !== 'undefined' && window.ethereum
            ? await window.ethereum.request({ method: 'eth_requestAccounts' }) // Request accounts if in a browser with Ethereum provider
            : [];

        if (!account) {
            throw new Error("No account found. Please connect your wallet."); // Throw an error if no account is found
        }

        console.log("Using account:", account); // Log the account being used
        const convertToEthers = parseEther(amount.toString() || "0"); // Convert the input amount to ethers

        // Simulate the contract interaction
        const result = await publicClient.simulateContract({
            address: bank.address, // Address of the bank contract
            abi: bank.abi, // ABI of the bank contract
            functionName: "deposit", // Name of the function to call
            args: [], // Arguments for the function
            value: convertToEthers, // Ether value to send with the function call
            account, // Account to perform the operation
            paymasterInput: params.paymasterInput, // Paymaster input parameters
            paymaster: paymasterAddress, // Address of the paymaster
        });

        // Log the result of simulateContract
        console.log("simulateContract result:", result);

        const { request } = result; // Extract the request object from the simulation result

        // Log the request object for debugging
        console.log("Request object:", request);

        if (request) {
            // Perform the contract write operation
            const response = await walletClient.writeContract({
                ...request, // Spread the request object into the writeContract call
            });

            console.log("Transaction response:", response); // Log the transaction response
        } else {
            throw new Error("Request object is undefined"); // Throw an error if the request object is undefined
        }
    } catch (error) {
        console.error("Error during deposit:", error); // Catch and log any errors that occur during the process
    }
};
<main className="flex flex-col items-center justify-between p-24">
      <ConnectButton />
      <div className="z-10 max-w-5xl w-full items-center justify-between font-mono text-sm lg:flex">
        <p className=" text-white">Contract balance is {smartBalance}</p>
        <p>Set Paymaster Balance {paymasterBalance}</p>
        <form onSubmit={handleDepositsave}>
          <input type="text" placeholder="Enter Eth amount" className=" text-black font-medium text-[16px] p-4" onChange={(e) => setAmount(e.target.value)} />
          <button className="rounded-md border-2 border-white p-2" type="submit">Send</button>
        </form>
        <button onClick={withdrawSavings} className=" rounded-md border-2 border-white p-2">Withdraw</button>
      </div>
    </main>
For the GitHub source code you can find it here
Source Code
For further references check Zksync Doc

Top comments (0)