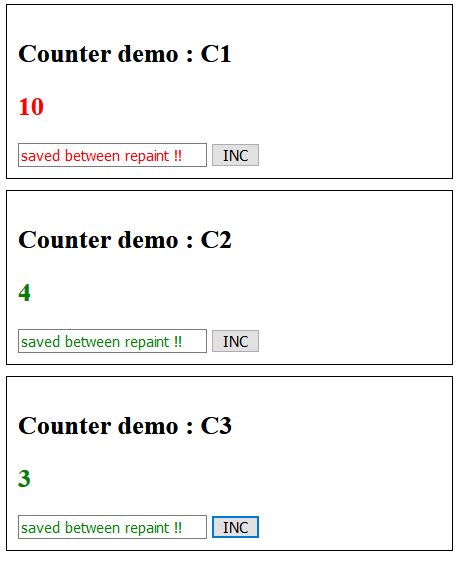
Many frameworks use the counter sample to illustrate how they update the view while changing a counter value.
Look at this sample made with wickedElements and uhtml.
With 'wickedElements' you have all the benefits of custom elements,
without it's complexity
HTML Part
<my-el name="C1"></my-el>
<my-el name="C2"></my-el>
<my-el name="C3"></my-el>
JS Part
You can see how easy it is to define a 'pseudo' custom-element.
No need to extend any Class or Component, simply define it as a simple object with same API as custom-elements and add your own methods and event handlers.
I have defined a 'paint' method, in order to refresh the view.
You can see that the view is not entirely updated.
Thanks to 'µHTML'.
The 'startRequest' is here to demonstrate how asynchronous data can be handled.
If you like micro libraries, then give it try.
let Header = (el) => html`
  <h2>Counter demo : ${el.name}<h2>
`

let Counter = (el) => html`
  <h2 class = ${el.setClass()} >${el.counter}</h2>
  <input class = ${el.setClass()} value="saved between repaint !!"/>
  <button onclick=${() => {el.counter += 1; el.paint()}}>
    INC
  </button>
  <button onclick=${() => el.startRequest()}>RAND</button>
`

let App = (el) => html`
  <div style="border:1px solid black; margin-bottom:10px;padding:10px">
    ${Header(el)}
    Random value : ${el.data === 0 && html`waiting for computation...` || el.data}
    ${Counter(el)}
  </div>
`

we.define('my-el', {
  init () {
     this.counter = 0;
     this.data = 0
     this.name = this.element.getAttribute("name");
  },

  connected () {
    this.paint()
    this.startRequest()
  },

  async startRequest () {
    this.data = await new Promise((res, err) => {
      this.data = "waiting..."; this.paint();
      setTimeout(() =>  res(Math.random() * 100 + 1), Math.random()*1000)
    })
    this.paint()
  },

  setClass() {
    return this.counter < 10 ? "green" : "red"
  },

  paint ()  {
    render(this.element, App(this));
  }
})
You can test it here : WickedCounter


Top comments (0)