Automatic Deployment with GitHub Actions is a powerful and streamlined approach that enables developers to automate the deployment process of their applications directly from their GitHub repositories. GitHub Actions is a continuous integration and continuous deployment (CI/CD) platform provided by GitHub, allowing you to define workflows using YAML files.
In the context of automatic deployment, GitHub Actions can be configured to trigger specific tasks, such as building, testing, and deploying your application, whenever changes are made to the repository. This automation not only saves time but also ensures consistency and reliability in the deployment process.
Developers can leverage various predefined actions and customize workflows to meet the specific requirements of their projects. With GitHub Actions, you can seamlessly integrate deployment processes into your development workflow, facilitating faster and more efficient software delivery. Whether deploying to cloud services, hosting platforms, or custom servers, GitHub Actions provides a versatile and scalable solution for automating the deployment lifecycle.
In this tutorial, I'll guide you on how to setup a Github workflow using Github Actions. NOTE: This is for React applications on Windows.
Setting up the workflow
Initialize a Repository
Start by creating a repository on GitHub and pushing your project to this newly created repository.
Setting up the workflow file
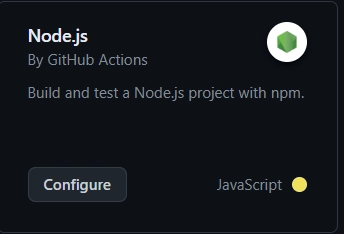
Search for the Node.js workflow in the Actions tab in your Github repo. The specific workflow is shown below

Once you click configure. you will be redirected to a YAML file that you can customize. Some changes are made to the YAML file as shown below:
name: Node.js CI

on: #this tells Github when to trigger the job
  push: #will trigger whenever we push to the main branch
    branches: [ "main" ]
#pull request was removed from here because we will not be dealing with it


jobs:
#this job will be run every single time this workflow file is triggered
  build:
    runs-on: self-hosted #we can specify where it runs

    strategy:
      matrix:
        node-version: [18.x] #You can specify which versions you wanna test against

    steps: #Script for all the steps we want to execute
    - uses: actions/checkout@v3
    - name: Use Node.js ${{ matrix.node-version }}
      uses: actions/setup-node@v3
      with:
        node-version: ${{ matrix.node-version }}
        cache: 'npm'
    - run: npm i
    - run: npm run build --if-present
    - run: npm test
I've commented the file above for more clarity on what each statement is doing. After this, commit the file to the main branch.
Now we will set a runner on our app that is listening to jobs
Setting the runner
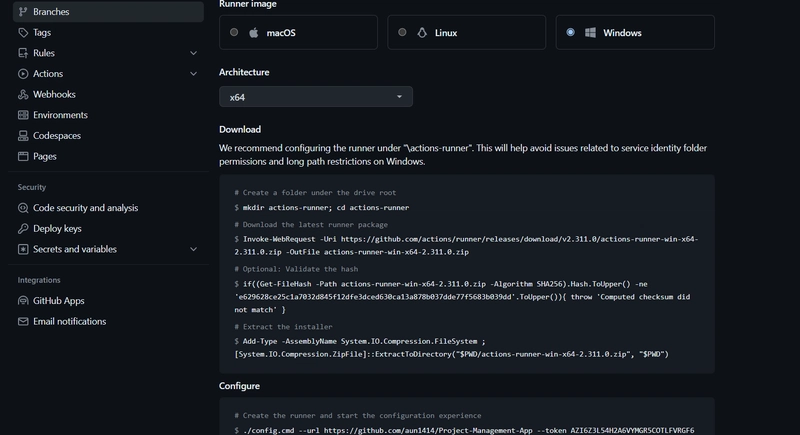
On your Github repository, navigate to 'Settings' > 'Actions' > 'Runners'. There you will see 'New self-hosted runner' on the top right- click this and configure the settings according to Windows. Now open Windows Powershell as an administrator, then on your powershell, run mkdir actions-runner; cd actions-runner then cd actions-runner then type and enter the command Set-ExecutionPolicy -ExecutionPolicy RemoteSigned. Then under 'Download" and "Configure" in your Settings>Actions tab, run the scripts on your Windows Powershell in order exactly as shown.
You can skip the first command i.e mkdir actions-runner; cd actions-runner as we're already in that folder.

Press enter for any default settings where the option is shown on your Powershell. After that, your Powershell should look something like this. It is now listening for any jobs triggered.
Now go back to Github Actions and rerun all the jobs. It should run successfully and pass all the tests. This will be the output

Your powershell should also indicate that the job has succeeded.
This means you have successfully setup the Github Actions Runner and created a workflow.


Top comments (0)