Hello guys,
Welcome back to the third and last episode of this series. In this article, we will setup the Lightsail distribution, which is actually a world-wide CDN service specially designed for web apps to provide a faster experience to website visitors. After distribution setup, we will update our domain records for Lightsail distribution.
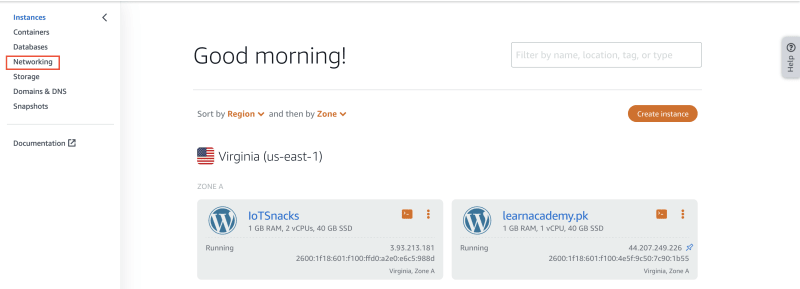
Click on the "Network" menu.
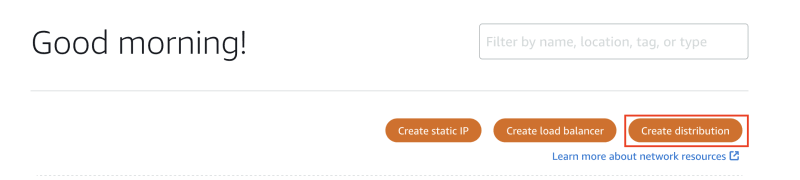
And now click on the "Create Distribution" button. Remember, before moving towards distribution setup, it's mandatory to assign static IP to your LightSail instance, as we did in Part 2.
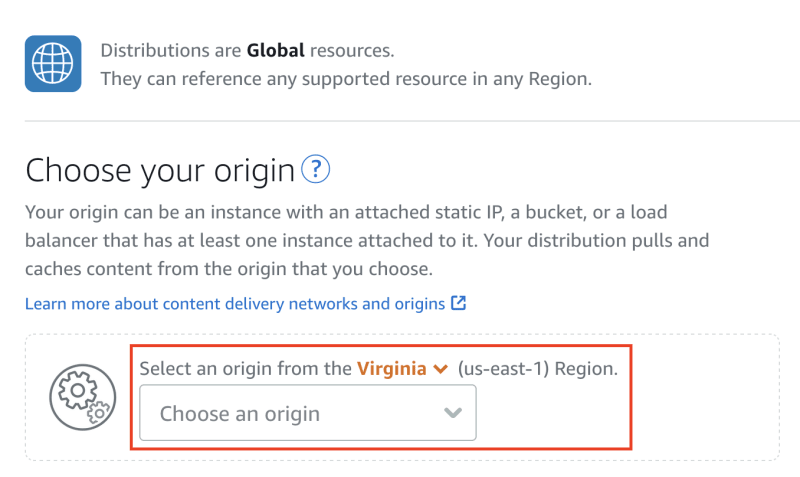
Select origin from the drop-down menu as shown in the below screenshot, which means selecting your Lightsail instance.
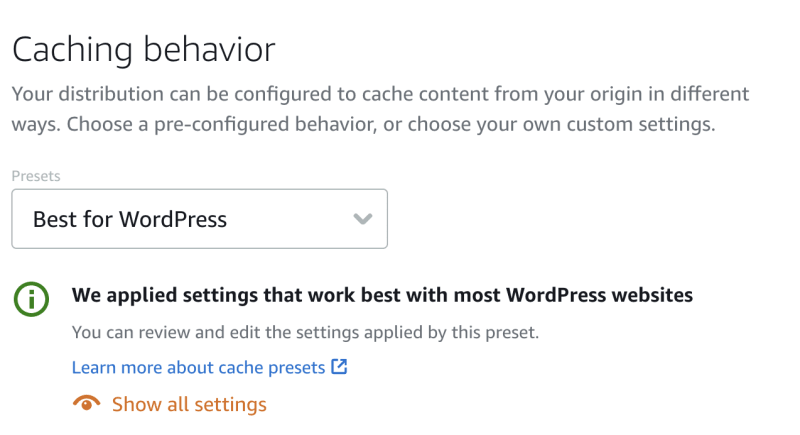
By default, cache behavior is set to WordPress, so you don't need to do anything, but if you are using any other app on Lightsail instead of WordPress, then choose this option wisely.
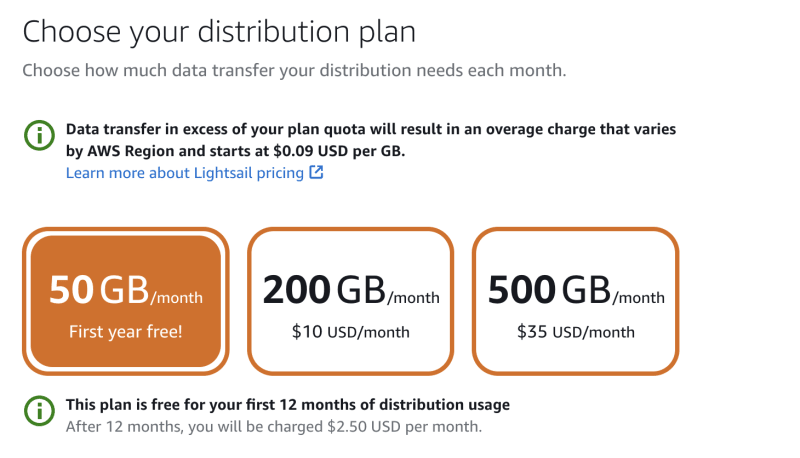
Now it's time to select the distribution plan. Well, I am choosing the 50GB/month plan for testing purposes, and it's also free for one year, but you can choose the plan according to your traffic.
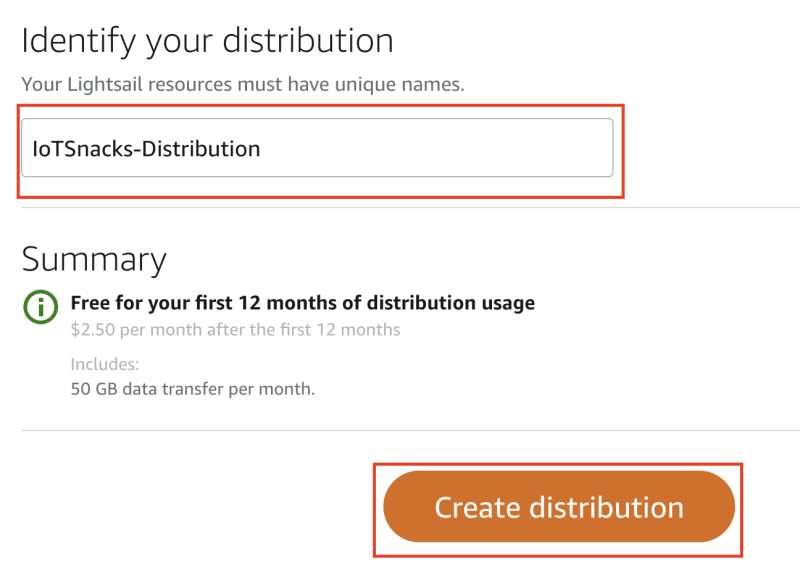
In the final step, you need to assign the name for your distribution and click on the "Create Distribution" button. It will take a little bit of time to create the distribution; just sit back and take a sip of coffee.
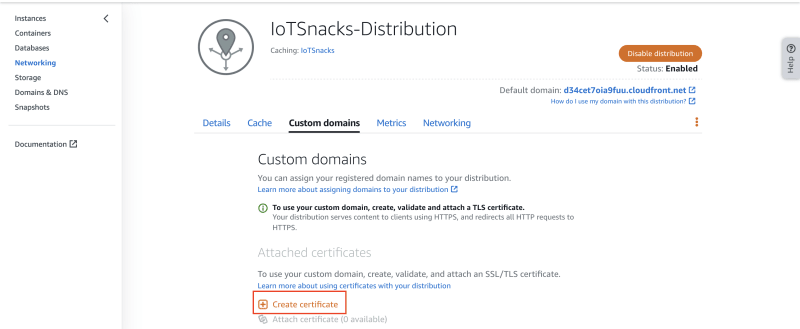
After the successful creation of distribution, it's time to generate SSL certificates for distribution. Click on the "Custom Domains" tab, and then click on "Create certificate**" It will show you the pop-up where you need to enter your certificate name and domain name. I added my domain, including www.iotsnacks.com and iotsnacks.com.
It will take some time, and later it will show you a validation error. Click on "Validation Details," and it will guide you to add CNAME records to your domain. So in our case, we are using Route 53, and we will add these verification CNAME records to Route 53. Later on, it will automatically verify the records.

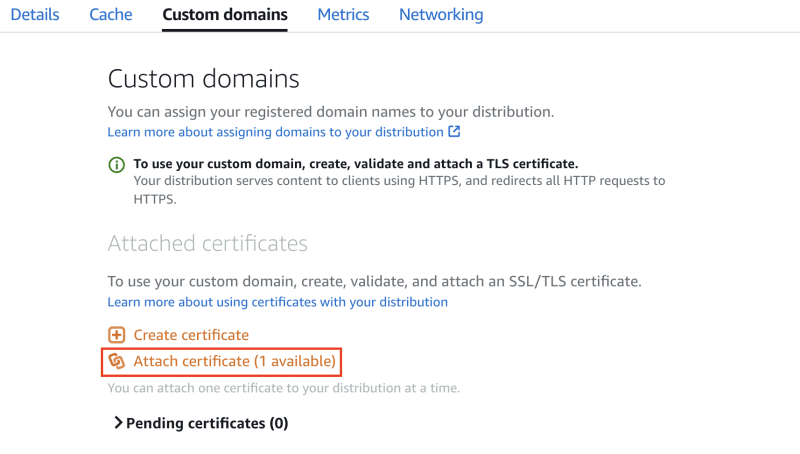
After domain verification, it will show you the "Attach certificate" option. Just click on that and attach the certificates to your distribution.

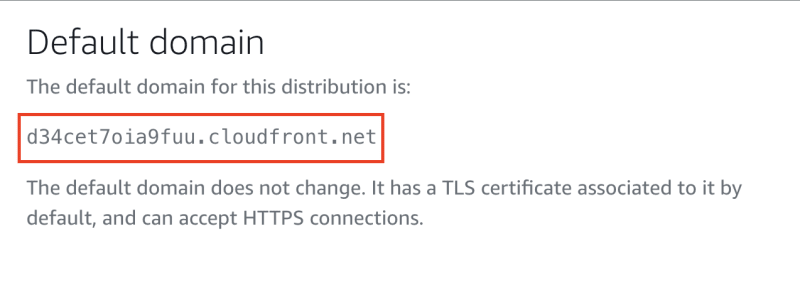
Now, in the final step, we need to route our domain traffic to this distribution. On the same page, at the end, you will see the URL of that distribution. Just copy the URL and navigate to Route 53.
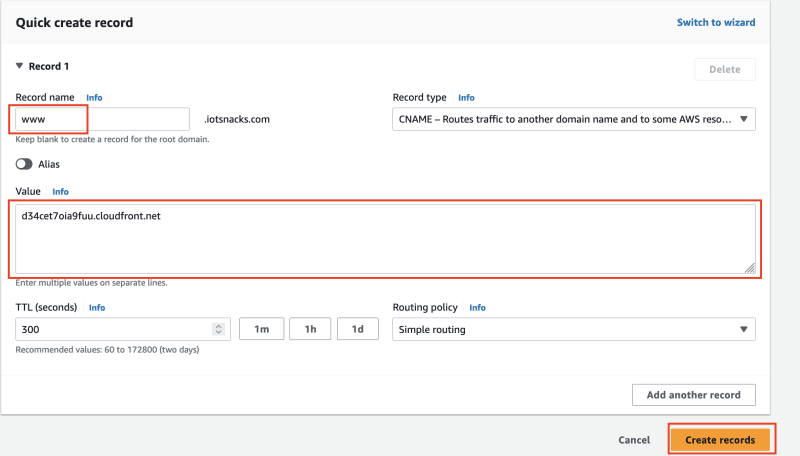
In Route 53, click on "Hosted Zones" and select your domain, then click on "Create Record," and you will see the page just like below. Follow the instructions as per the below image, and you are good to go with the record addition.
Congratulations! You have successfully deployed your WordPress website on AWS using Route 53+ Lightsail and Lightsail Distribution, also known as Cloud Front.

Top comments (0)