In this technical learning post we are going to see how to create a custom SOE Image which can be used in AWS Appstream 2.0
Appstream 2.0 supports both Amazon created images and custom images however organizations Prefer a custom SOE image with required security tools and standards for publishing the line of business applications. Let us see how to create a custom SOE image and publish some business applications like Putty, Visual studio Code etc. to users.
Navigate to Appstream 2.0 service and click on Images -->Image builder.
In the Image builder page, click on “Launch Image builder”.

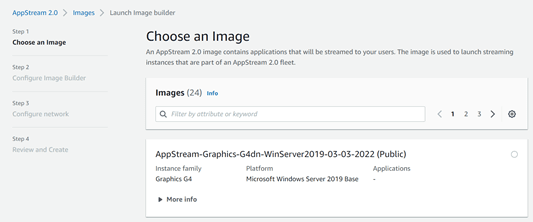
The Image creation wizard will appear. The step 1(“Choose the image”) is to select the base image to be used for creating the SOE image. You can select windows, Linux and even graphics images to start with. You will not be able to import your custom image into image builder apart from the default images listed in the image selection window as AWS has hardcorded the Appstream softwares in the default images and will not be available to download from Internet.
Once you select the Image, the next step is to Configure your image builder.In this step we provide the name and display name for your image builder and selecting the instance type for your image builder VM,IAM roles to communicate to the backend AWS services like S3 where the softwares are installed.
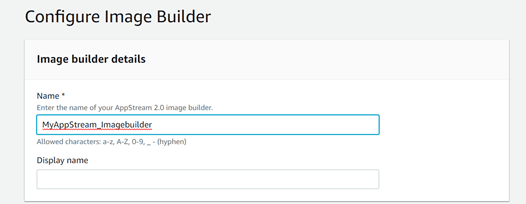
Choose the instance type for your image builder instance.

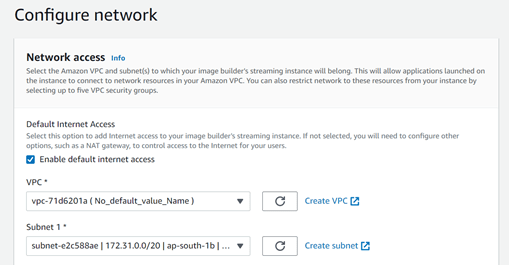
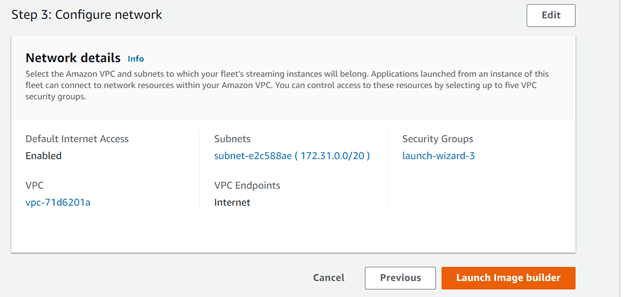
By default, AppStream 2.0 uses a streaming endpoint that requires the user to have access to the internet.

The next step is to configure the network for the image builder instance. Make sure to tick the “Enable default Internet access” tick box if you need internet connectivity for the streaming instance.
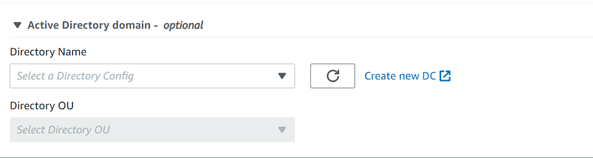
Select the AD domain if you need to add your image builder SOE instance to domain.
In the “review and Create” page, review the settings and click on “launch Image builder”.
The image will take approximately 10-20 minutes to get created.
Once the image is created, click on connect to access the server via HTML5 console. Install all the required business applications and perform the hardening, optimization as defined by your organization. Once you are done with the SOE image build, click on the “Image assistant” to publish the line of business applications via the image.
In the Image Assistant wizard, the first step is to “Add Apps” which need to be streamed to end users via AppStream.
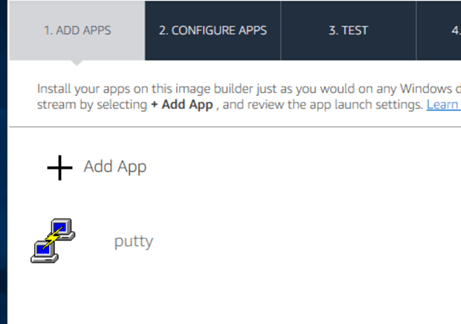
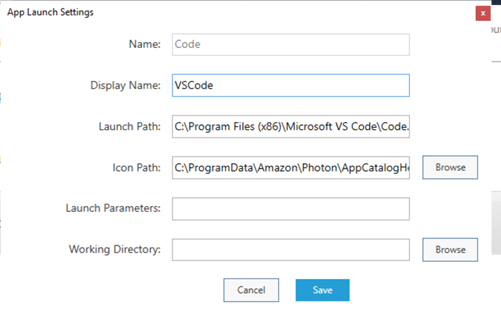
Click on “+ Add App” and select the application Name, path, parameters etc. Click on Save to add the application.

The next step is to configure the default app and windows settings for the end users.
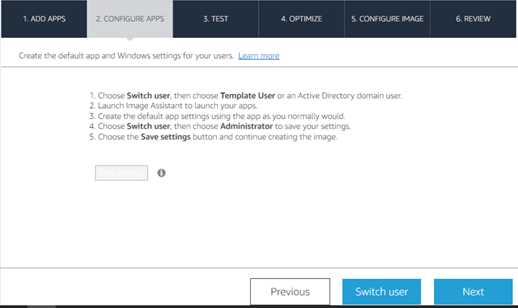
Click on “Switch User” and select “Template User” and perform the app customization.

Once done, switch user to Administrator to continue with the wizard.

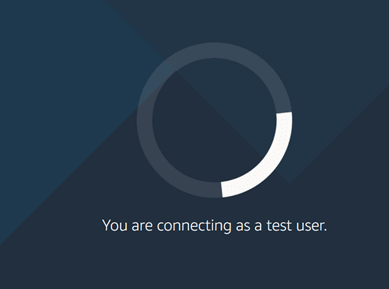
The next step is to test and optimize the Applications. You can switch user again and login as a test user to verify if the applications are working as expected.
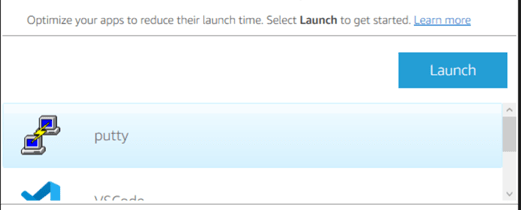
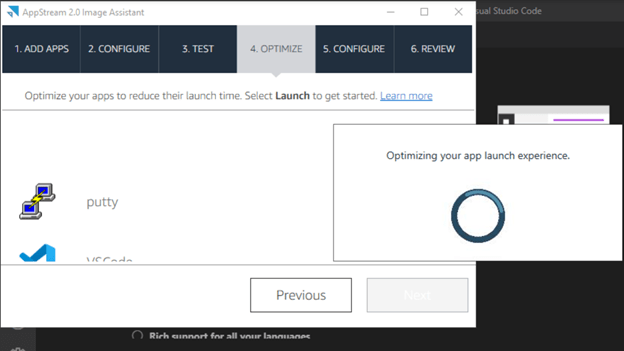
In the Optimize tab, click on launch to launch the Published business applications. Image assistant will precache the application to reduce the launch time of the applications.
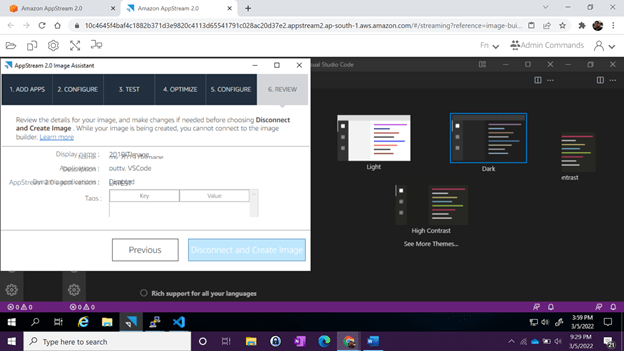
The final step is to configure your image parameters by providing a name for your image, display name, description etc.
Once done, in the “Review” page, click on “Disconnect and Create image” to initiate the Appstream image creation.
The VM snapshot will be auto initiated by AWS and a private image will get created.

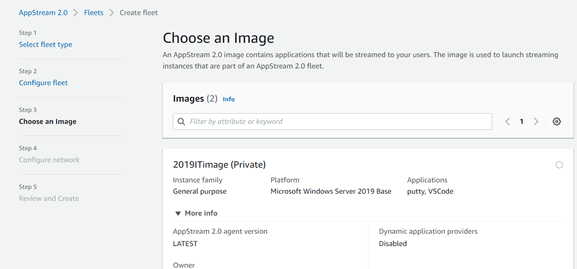
The custom image we created will be available with the published apps in the Image registry.
Please do let me know if you have any questions.

Top comments (0)