First of all we must mention the benefits of AWS S3 from the AWS Documents:
Reliability: S3 guarantees 99.9% uptime and 99.999999999% durability. In other words, your site will be down for at most 45 minutes every month and you will almost never lose any data.

Scalability & Flexibility: S3 gives you unlimited storage. There is no cap on storage space and bandwidth. If your site suddenly receives a lot of traffic, S3 can scale to handle that increase in traffic without impacting user experience.

Pricing: You are charged based on your usage. There are no fixed costs that you need to pay every month. More details about the pricing is available here.

Developer friendly: AWS provides a comprehensive CLI which we can use to interact with all of their services including S3.
After that we can proceed with our blog:
Basics Prerequisites you must have:
Create an AWS Account.
Setup the AWS CLI.
Create your site using Jekyll
What is Jekyll?
Jekyll is a simple tool for transforming your content into static websites and blogs. You can simply create your content in a format such as Markdown and Jekyll can produce a static website which can served over the Internet.
1- Install Jekyll
gem install jekyll
If you don’t have Ruby installed on your machine, you might have to install that first.
2- Create a new Jekyll site
mkdir my-site
cd my-site
jekyll new my-jekyll-site
3- Generate your site
cd my-jekyll-site
jekyll serve
If everything works correctly, you should see output similar to this:
➜ my-jekyll-site jekyll serve
Configuration file: /home/abhishek/Projects/learn-aws/tutorials/my-jekyll-site/_config.yml
Source: /home/abhishek/Projects/learn-aws/tutorials/my-jekyll-site
Destination: /home/abhishek/Projects/learn-aws/tutorials/my-jekyll-site/_site
Incremental build: disabled. Enable with --incremental
Generating...
done in 0.193 seconds.
Auto-regeneration: enabled for '/home/abhishek/Projects/learn-aws/tutorials/my-jekyll-site'
Server address: http://127.0.0.1:4000/
Server running... press ctrl-c to stop.
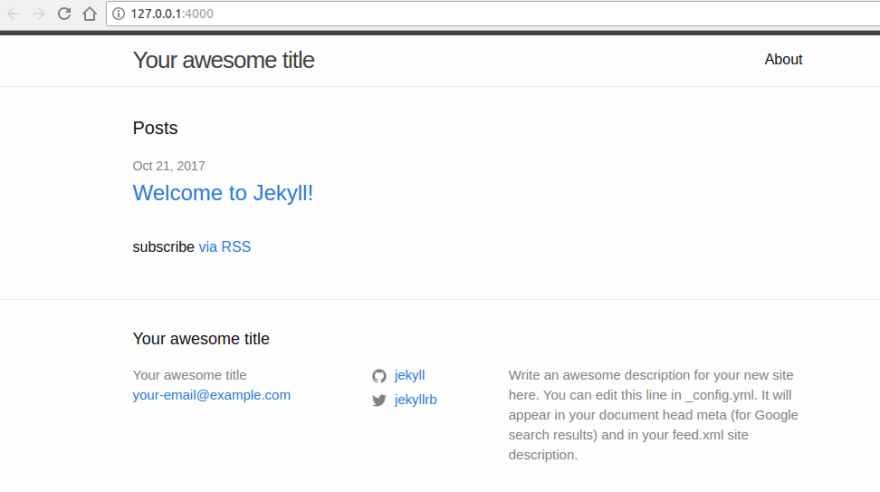
If you open your browser and go to the address http://127.0.0.1:4000/ you should be able to see your site.

Create a bucket in Amazon S3
1- Create S3 bucket
It is good practice to name your S3 bucket the same as your site
aws s3 mb s3://your-bucket-name
2- Enable Static website
S3 buckets can be used for static websites. We need to enable the feature to be able to use it.
aws s3 website s3://your-bucket-name/ --index-document index.html
3- Set public access to the bucket
Any objects added to a S3 bucket are private by default. Since we want to use our S3 bucket as a static website we need to make all contents of this bucket public so users will be able to access the site.
create a file called policy.json with the following content:
 {
"Version": "2021-07-05",
"Statement": [
    {
        "Sid": "PublicReadGetObject",
        "Effect": "Allow",
        "Principal": "*",
        "Action": "s3:GetObject",
        "Resource": "arn:aws:s3:::your-bucket-name/*"
    }
]
}
Don’t forget to replace your-bucket-name in the policy with the bucket you created previously.
Upload to S3
After we have created our S3 bucket, we will go ahead and upload all the required files to S3.
The following command uploads all the static files generated by Jekyll under the _site folder to the S3 bucket you just created.
aws s3 sync _site s3://your-bucket-name/ --delete
Now, if you navigate to http://your-bucket-name.s3-website-us-west-2.amazonaws.com/, you should be able to see our site similar to what we saw in Step 1.
Thank you very much for your time and support.


Oldest comments (0)