I began this project mainly because I was working with a lot of command-line tools "CLI" and I discovered through time that they can be very helpful. Especially when you are looking to automate the task or integrate it with some other cli.
The best example is the loopback cli which can create the whole architecture, generate a model, create a relation between them and a lot more…
Basically, when you master the cli you don't have to code a lot or at least it helps generate a big part of the project with just a few strokes of the keyboard.
The first time that I was reading the code source of loopback, I was interested in their cli and how they generate all these files, and it was there that I discovered Yeoman…
Without further ado, let's learn by coding, but first, we have to install the necessary tools.
All we need is just node and npm that you can install with nvm, after that we can use a generator to generate the minimum code of our generator! Crazy I know, that's how much the Yeoman's peoples love to generate…
npm install -g yo
npm install -g generator-generator
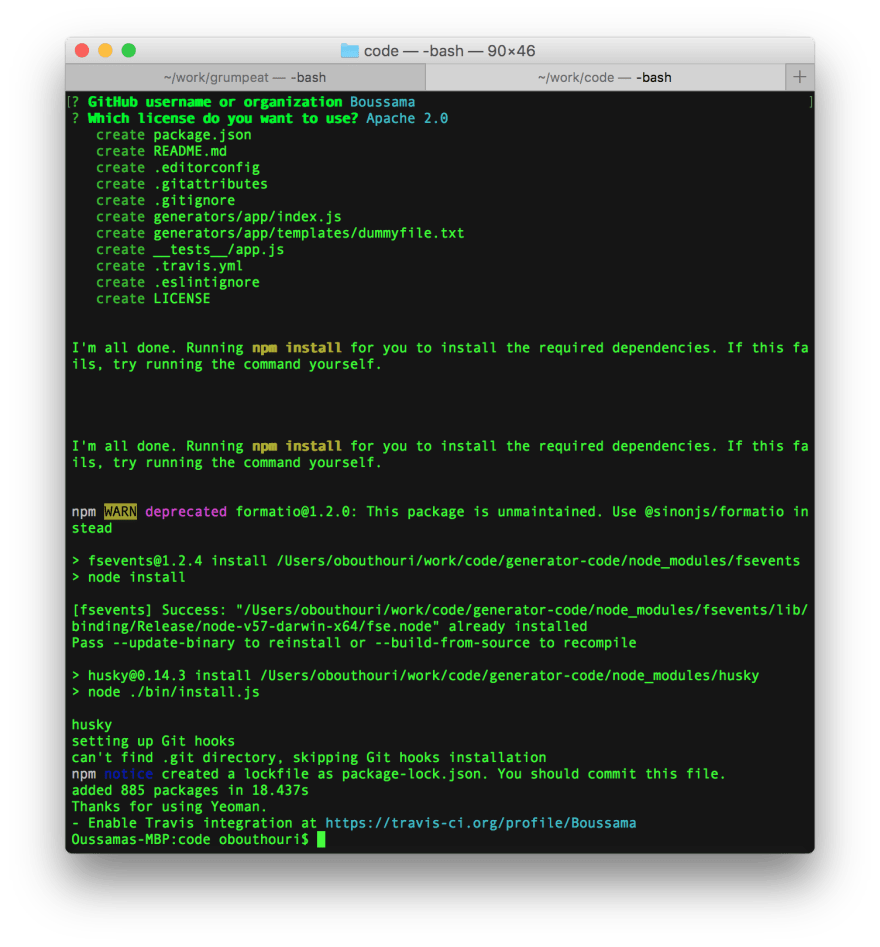
Finally, after installing all the tool we can start:
yo generator
This will ask you a few questions to create the necessary files. There are a few steps that you need to pay attention to if you are going to publish your generator to the pubic.
- The name of the generator must begin with
generator- - Keywords must contain yeoman-generator
- The repo needs to be public
In our case all of that is not important we are creating a generator for local usage at least for now.
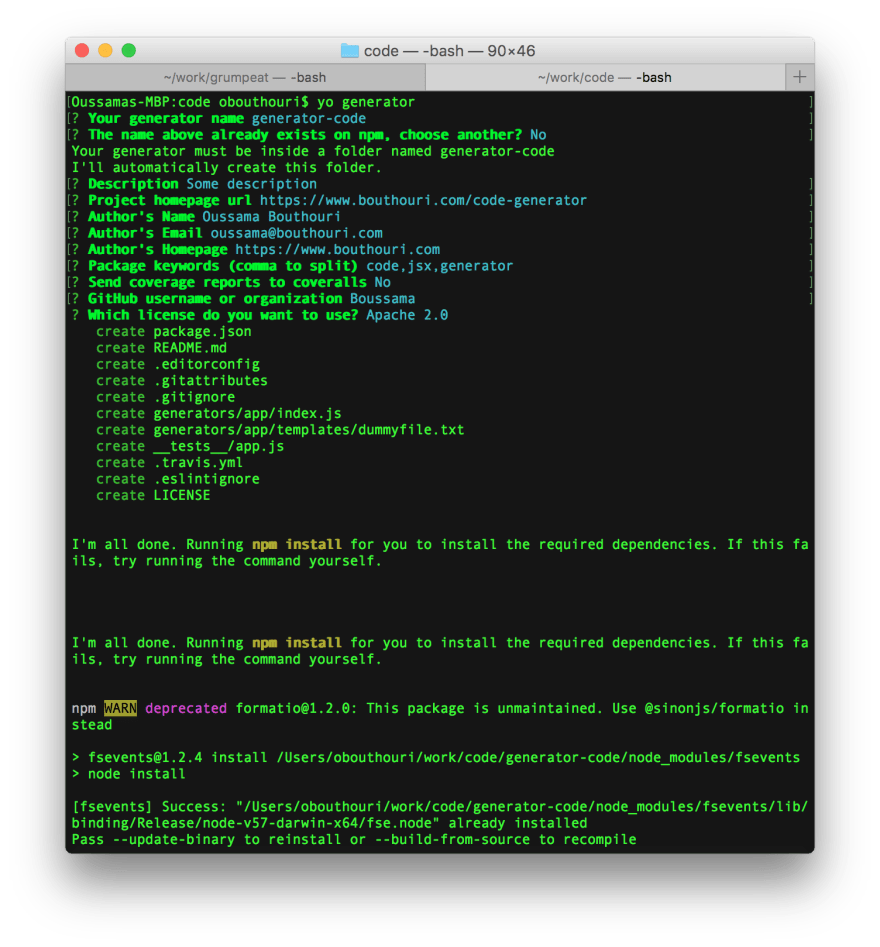
By default, the generator name will be generator-directoryName.
Now is the time to open the newly created folder in our favorite editor and begin some simple coding.
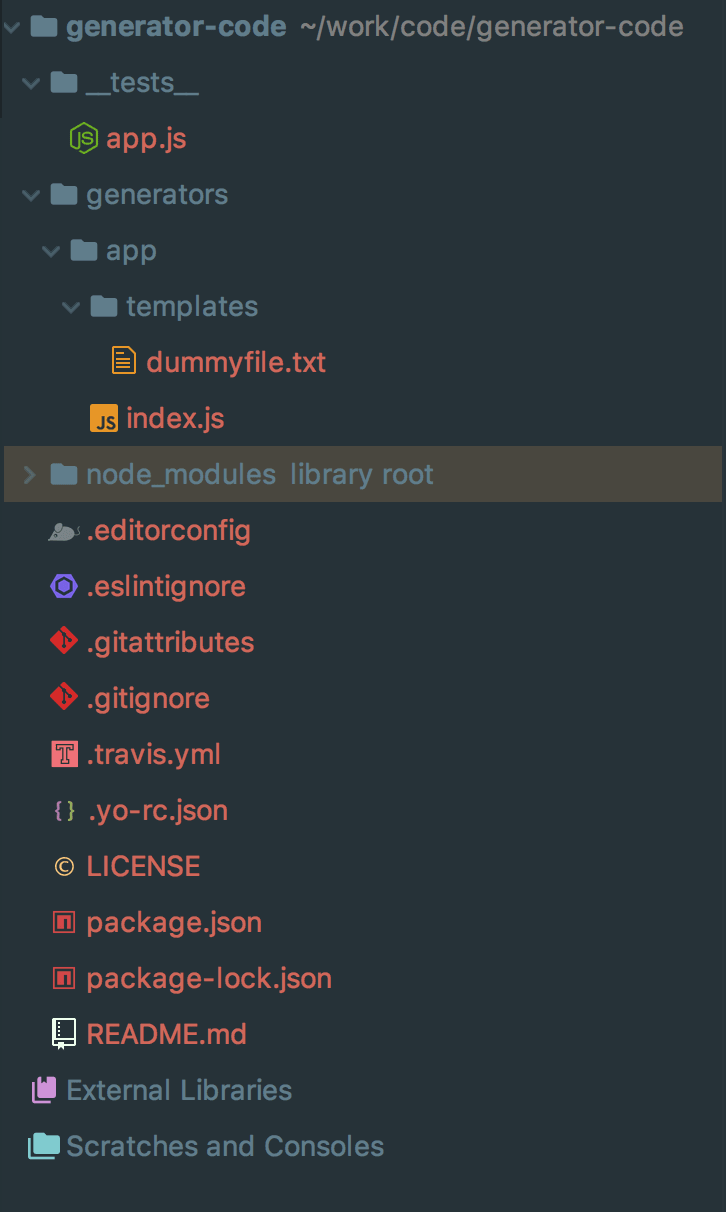
There's a lot of files but we have to pay attention only to the generators folder.
Because one project can contain many generator Yeoman will create a separated folder for each one and the app folder will contain the main generator, in our case generator-code.
generator/app/index.js will contain all the logic of our generator, delete the already existing code and paste this code:
'use strict';
const Generator = require('yeoman-generator');

module.exports = class extends Generator {
  writing() {
    this.fs.copy(
      this.templatePath('dummyfile.txt'),
      this.destinationPath('dummyfile.txt')
    );
  }
};
We are going to copy a file from the template directory to the destination folder, so we have deleted all the unnecessary code and kept the strict minimum.
Inside the writing() method we will copy the file with the this.fs.copy() function which take two arguments the file to copy and a destination.
this.templatePath('fileName') will return the absolute path of the file inside the template directory of the generator and this.destinationPath('fileName) will return the current folder concatenated with the file name.
For example, if our generator is inside some/place , this.templatePath('dummyfile.txt') will return some/place/generator-code/generators/app/templates/dummyfile.txt and if your current directory is other/place the function this.destinationPath('directory/dummyfile.txt) will return other/place/directory/dummyfile.txt .
Other things you have to know about the this.fs.copy() function, is that it will automatically create any folder that doesn't exist and it will warn you if the file already exists and if you want to override it or not.
That's it all the necessary tools and code is here and the last thing we want to do is use our generator, which is basically an npm module that is in development. For that a simple
npm link
Will do the trick and wrap your module and link it.
To use the generator:
yo generator-code
That's it for this tutorial, copying some files is enough. Next time we will learn some other tricks, till the next time, I hope you keep learning more and more.

Top comments (0)