Unleash Your Creativity with Marp Presentation Customization
Introduction
Marp is a powerful Markdown presentation framework that enables you to create stunning slides effortlessly. By using simple text-based formatting, you can easily customize your presentations to suit your unique needs and style. Although Marp provides built-in themes and configurations, the true potential of this framework can be realized by customizing your presentations to suit your unique needs and style. In this blog post, we will delve into some of the key customization options available in Marp and guide you through the process of creating a truly standout presentation.
Built in Themes
Marp comes with three built-in themes that you can use to get started. The three themes, Default, Gaia, and Uncover, are shown below along with the frontmatter to use them and a few inverted examples.
Default
---
marp: true
theme: default
---
Default 
---
marp: true
theme: default
class:
  - invert
---
Default - Invert 
Gaia
---
marp: true
theme: gaia
---
Gaia 
---
marp: true
theme: gaia
class:
  - invert
  - lead
---
Gaia - Lead / Invert 
Uncover
---
marp: true
theme: uncover
---

Directives
Directives are commands that you can use to customize your slides. They allow you to control the appearance, layout, and behavior of your presentation. Many of the directives apply globally to the entire presentation, but some are local and only apply to the current slide. A few of the directives include:
- fit
- backgroundColor
- color
- header
- footer
- class
- paginate
- many more…
To learn more about the directives and see more examples, check out the Marp documentation.
Custom Themes
Marp’s built-in themes serve as an excellent starting point. In the marp-slides-template repo, we demonstrate how you can extend a theme. Let’s take a look at the CSS file, custom-default.css:
/* custom-default.css */
/* @theme custom-default */

@import 'default';

section {
  /* Override default background */
  background: #fff;
}
The crucial aspect for the Marp theme engine is the theme directive: /* @theme custom-default */. This theme name is what you’ll use in your slides. To link it to your Markdown file, apply the theme option in the front matter:
---
marp: true
theme: custom-default
---
In your CSS file, override or extend Marp’s default styles to craft your unique appearance. For instance, you can modify the background color, font, or slide transitions. For a comprehensive list of available style properties, refer to the Marp documentation: https://marpit.marp.app/theme-css.
Backgrounds and Images
Backgrounds
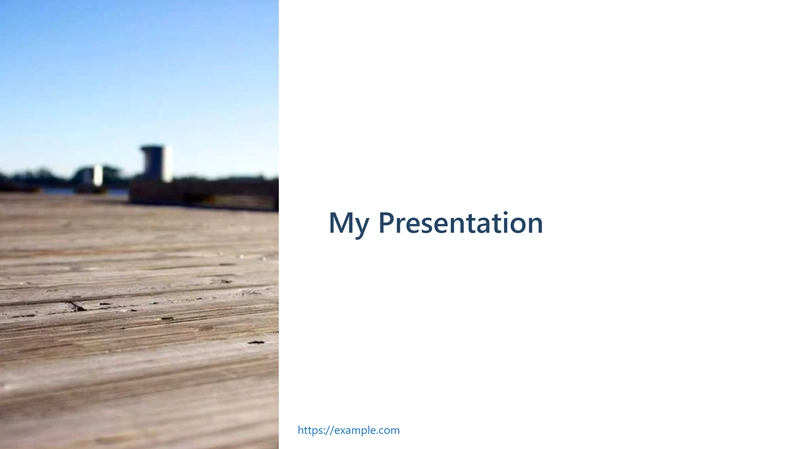
Adding custom backgrounds and images can make your presentation more engaging and visually appealing. To add a background image to a specific slide, use the following syntax:


You can also use keywords to control how the background shows up. For instance, you can you left or right:


or


Another option is to specify a percentage, like if you wanted the image to only take up a smaller percentage.

There are also a bunch of filters that you can apply to your images to get various styles, like grayscale, sepia, blur, and opacity.


These filters apply to not only backgrounds, but regular images. You can also combine them.

You can also add background colors and gradients using CSS.
Inline CSS
Another thing I’ve done is add inline css to my slides. I’ve also enabled html tags in my slides, so I can use divs and classes besides the standard markdown syntax. To do this, you can use the following syntax in your frontmatter.
---
marp: true
theme: default
style: |
  .columns {
    display: grid;
    grid-template-columns: repeat(2, minmax(0, 1fr));
    gap: 1rem;
  }
---
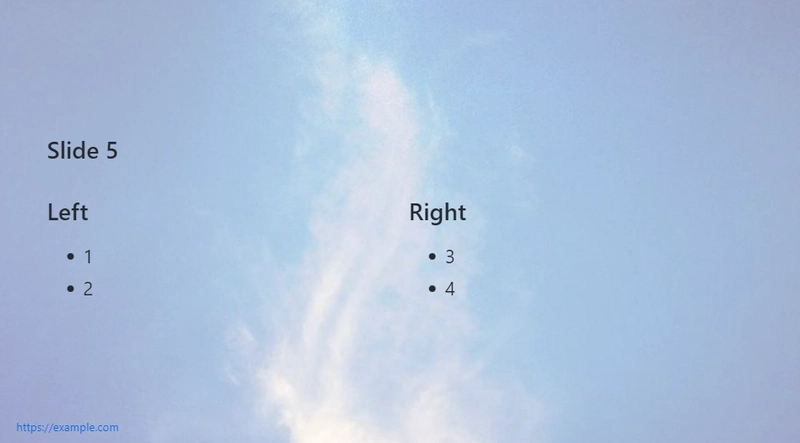
We can then use these classes in our slides and mix and match markdown and html if needed.
---

## Slide 5
<div class="columns">
<div>
## Left
- 1
- 2
</div>
<div>
## Right
- 3
- 4
</div>
</div>
In this example, I’m adding a grid layout to my slides so I have have split columns. You can add any css you want here.
Font Awesome
Font Awesome is a great resource for designers, developers, and content creators who want to add visual elements to their projects without having to create them from scratch. Font Awesome provides a library of over 2,000 free icons that you can use to enhance your presentations.

To do this, you can use the following syntax in your frontmatter to import and style icons.
---
marp: true
theme: default
style: |
  .fa-twitter { color: aqua; }
  .fa-mastodon { color: purple; }
  .fa-linkedin { color: blue; }
  .fa-window-maximize { color: skyblue; }
  @import 'https://cdnjs.cloudflare.com/ajax/libs/font-awesome/6.3.0/css/all.min.css'
---
And then in your slides, you can use the following syntax to add icons.
## Slide 6

<i class="fa-brands fa-twitter"></i> Twitter:
<i class="fa-brands fa-mastodon"></i> Mastodon:
<i class="fa-brands fa-linkedin"></i> LinkedIn:
<i class="fa fa-window-maximize"></i> Blog:
<i class="fa-brands fa-github"></i> GitHub:
Mermaid Support
Marp also supports Mermaid, a JavaScript library for generating diagrams and flowcharts from text. Mermaid provides an easy way to create visual representations of complex ideas and concepts, and it integrates seamlessly with Markdown syntax.
To use Mermaid diagrams in your Marp presentation, you need to add the following script to your Markdown file:
<!-- Add this anywhere in your Markdown file -->
<script type="module">
  import mermaid from 'https://cdn.jsdelivr.net/npm/mermaid@10/dist/mermaid.esm.min.mjs';
  mermaid.initialize({ startOnLoad: true });
</script>
You can then create Mermaid diagrams using the div element with the mermaid class. For example:
# Mermaid

<div class="mermaid">
graph TD;
    A-->B;
    A-->C;
    B-->D;
    C-->D;
</div>
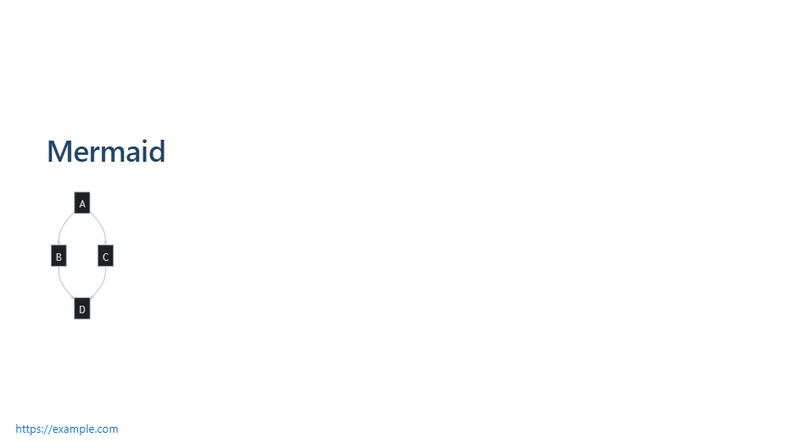
Marp will automatically convert this code into a diagram, which you can then style using CSS. By default, Mermaid diagrams are quite small, but you can adjust their size using CSS. This CSS code will make your Mermaid diagrams larger and easier to read. You can add this code to the frontmatter section of your Markdown file.
  svg[id^="mermaid-"] {
    min-width: 480px;
    max-width: 960px;
    min-height: 360px;
    max-height: 600px;
  }
And we get the following:

Note that out of the box, VS Code doesn’t support Mermaid diagrams with a preview, but you can add this feature using the Markdown Preview Mermaid Support extension. This extension adds support for Mermaid diagrams in the preview pane of VS Code.
Speaker Mode
Marp comes with a built-in speaker mode that allows presenters to view their notes and upcoming slides while giving a presentation. To enable speaker mode:
- Export your presentation to html (you can also use my template and leverage GitHub Pages).
- Open your Marp presentation file in your browser.
- Press "P" on your keyboard or click on the icon for speaker mode.
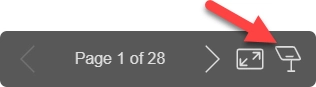
- A new window will open, displaying the current slide, next slide, and speaker notes.

Adding Speaker Notes
To add speaker notes to your Marp slides, use the following syntax:
---
<!-- Your speaker notes go here. -->

<!--
Or Your speaker
notes go here.
-->

---
This will create a hidden area for your speaker notes, which will be visible only in speaker mode. You can also export them to PowerPoints and PDF.
Conclusion
In conclusion, Marp is a powerful and flexible presentation tool that can help you create stunning slides with ease. Unlike traditional presentation tools like PowerPoint, Marp uses Markdown, a lightweight markup language that allows you to focus on your content without getting bogged down in formatting details. With Marp, you can easily customize your presentations with custom themes, images, CSS, and other features, making your slides truly stand out. Additionally, Marp is free and open-source, so you don’t have to worry about licensing fees or vendor lock-in. Overall, Marp is a fantastic alternative to traditional presentation tools, and we encourage you to give it a try!
Happy presenting!

Top comments (0)