A simple experiment with in-scene content creation
In the lead up to our next Game Jam, commencing September 16, participants from our June Hackathon will be taking over the Decentraland blog and revealing their design and building secrets. This week’s guest blogger is Interweaver (aka noah, in-world).
Hey everyone. Interweaver here. By day I build interactive educational websites, but also have a long-standing interest in online multiplayer Metaverses. This stretches back to a childhood spent chopping trees in RuneScape and pulling all-nighters hacking around as a leet scripter in Second Life.
I encountered Decentraland, like many of us, towards the end of 2017, and was very excited to finally see the dream of a true peer-to-peer, trustless virtual world beginning to be realized. Content creation and community are absolutely at the heart of any Metaverse, and so I jumped at the opportunity to participate in the recent Creator Contest and SDK Hackathon as a way of really diving into DCL’s new building tools.
Playing with blocks
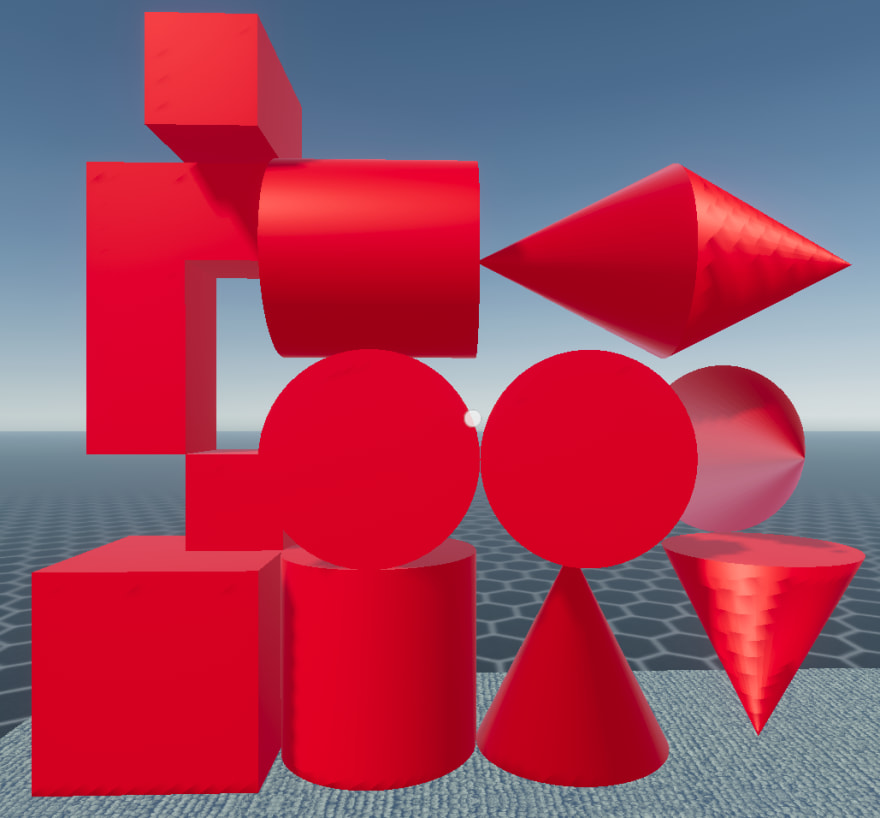
As a community Hackathon participant, I worked on several exciting projects, including an educational recycling game for the EcoGames District. In this blog post I’ll be talking about how I designed and implemented my Decentrablocks project. The idea for this scene was simple: I wanted to be able to intuitively build things while actually standing in the scene, not in a separate Builder or with an external text editor and modeling software (as one does with the SDK). Also, I’m not a 3D artist, so it had to be made entirely of primitive shapes.
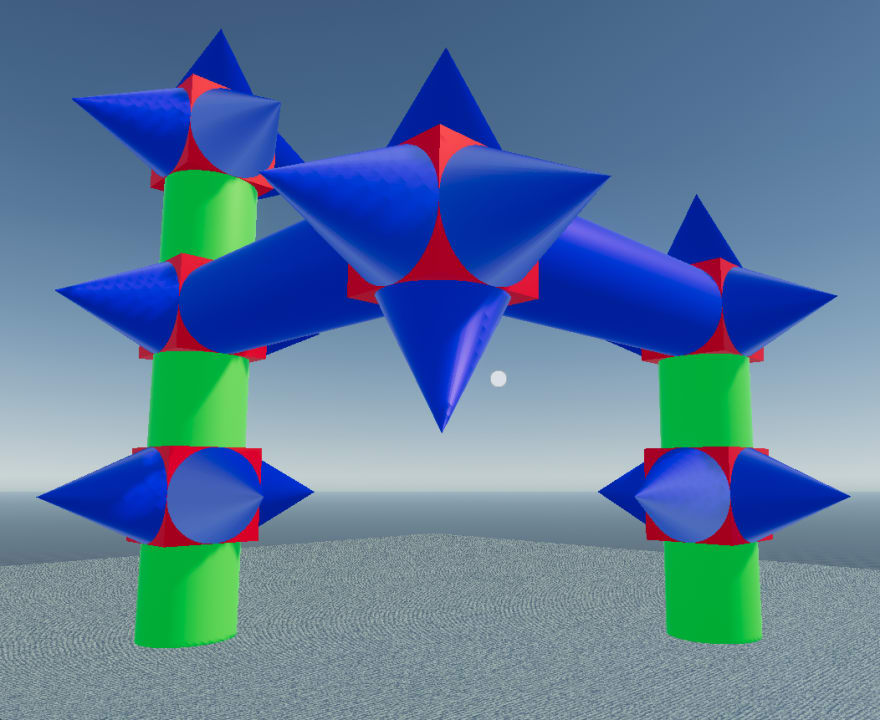
In true Hackathon fashion, the scene came together between about 8pm one night and 5am the next morning (on a work day – sigh). The end result was a little rough around the edges, but achieved my objectives. The scene allows you to:
- Grab a new block from the pile of various blocks by clicking it
- Carry it wherever you want just by moving and looking around
- Place a carried block by clicking again
- Pick up any placed block by clicking it
- Delete a block by placing it on a symbol on the floor
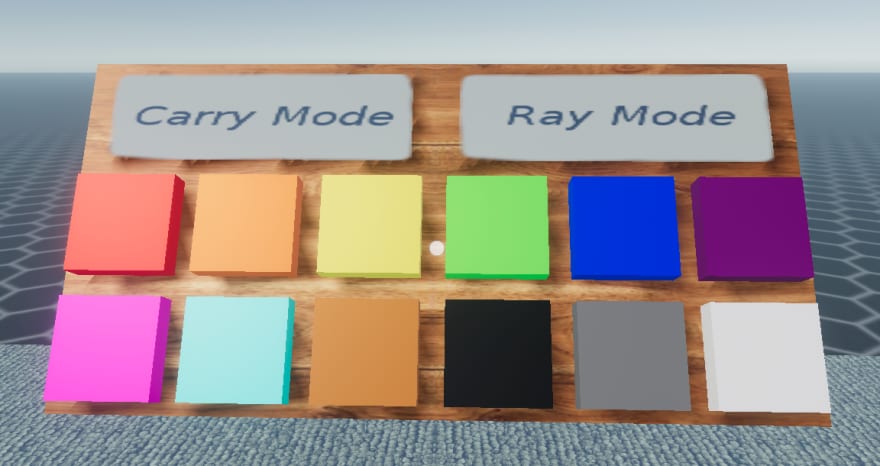
- Pick the color of new blocks
- Choose the block-moving mode:
- Carry Mode, where the block tries to stay a fixed distance away from you
- Ray Mode, where the block goes to the nearest solid object along your line of sight
To make lining the blocks up easy, they snap to a half-meter grid, and they are prevented from intersecting, just like real blocks 😁.
Overall, the scene has a bit of a Minecraft feel, but where most of the blocks are bigger than the grid size, and are carried around in front of you rather than in an inventory. Per my main goal, you can totally build some fun things without ever leaving the scene.
Feel free to try it out for yourself!
Implementing Decentrablocks
Okay, now that the introductions are out of the way, let’s talk about how it works! If you want to check out the code yourself, it’s all on GitHub. Note: To keep the math easy to visualize, I’ll sometimes only describe the 2D case, but the 3D case is equivalent.
Free Carry
The core mechanic for the scene is being able to pick something up, carry it around, and put it back down again with some degree of precision. Now, making a good system for positioning things in 3D can be tricky. Fortunately, walking and looking around in Decentraland already provides a significant degree of spatial control, and so I decided to leverage that to make carrying objects easy. The very first part of the project I implemented was free carry. Simply having an object stay exactly where it is, relative to your screen, while you walk around and rotate the camera, without any snapping or intersection prevention or anything.
The math behind this is pretty simple, once you understand the difference between world space and local space.
World space is the global X, Y, Z coordinate system. In Decentraland scenes, +X goes in the direction of increasing parcel X coordinates on the Genesis City map, +Y goes in the vertical upward direction, and +Z goes in the direction of increasing parcel Y coordinates on the map. (I think that this is confusing, and wish they had chosen to align the Y coordinates and have Z be vertical, but it is what it is). When you describe an object's location according to this coordinate system, you are giving its location in world space.
Local space, by contrast, is a coordinate system relative to some transform (the combination of position, rotation, and scale). It still has X, Y, Z coordinates and you can describe the location of objects in local space by giving those three numbers, just like in world space. The actual values will be different though. You usually talk about the local space of a particular object; for example, user space is the local space of a given user. It's the space where the user's camera is at the origin <0, 0, 0>, the +X direction is along the user's line of sight, the +Y direction is the upwards direction on the user's screen, and distance is the same as in world space (scale = 1).
With this understanding, free carry is really easy to define. If ObjPosWorld is the position of the object you want to carry in world space (bold denotes a vector), and ObjPosUser is its position in user space, you simply want ObjPosUser to remain constant while the object is being carried! This will result in the object not appearing to move on the user’s screen while they are moving around. Note that ObjPosWorld will not be constant if the user moves around. Our goal here is to calculate ObjPosWorld, so that we can update it on every frame using a System, and therefore keep ObjPosUser constant. This will involve transforming between world space and user space (in both directions).
When the object is first picked up, we know ObjPosWorld and want to use it to get ObjPosUser. The math is pretty simple. Let’s take UserPos to be the position of the user (in world space), and UserRot to be a quaternion that represents the rotation of their camera. Quaternions sound scarier than they are – you can simply think of them as a set of four numbers that can represent any possible rotation in 3D.
If you multiply a vector by a quaternion, it essentially gives you a new vector that is the old vector, but rotated by the rotation that the quaternion represents. You can also take the inverse or conjugate of a quaternion, and get a new quaternion that represents the opposite rotation of the old one. These pieces of information are all we need to know to transform from a position in world space (ObjPosWorld) to a position in user space (ObjPosUser):
ObjPosUser = (ObjPosWorld - UserPos) * conjugate(UserRot)
Basically, you’re subtracting the user’s position from the object’s position, and then reversing the user’s rotation from the object’s position. The end result is the local user space coordinates of the object.
As a programmer, I am always frustrated when someone writes out a bunch of math for an algorithm and leaves the code as an exercise for the reader, so let’s avoid that 😁. Here’s what the above equation looks like in TypeScript, using the Decentraland SDK, and where entity is the object you’re carrying:
// Run this once, when you first pick up the object.
let objPosWorld = entity.getComponent(Transform).position

const objPosUser = objPosWorld
  .subtract(Camera.instance.position)              // Subtract UserPos
  .rotate(Camera.instance.rotation.conjugate())    // Unrotate by UserRot
Now that we have our constant ObjPosUser, we just need to use it, along with the latest UserPos and UserRot values, to recalculate ObjPosWorld at each frame and move the carried object there. Remember that UserPos and UserRot change when the user moves around. This is the same equation as above, but solved for ObjPosWorld instead of ObjPosUser:
ObjPosWorld = (ObjPosUser * UserRot) + UserPos
Or, in code:
// Run this once per frame, in order to move the object as the player moves.
let objPosWorld = objPosUser
  .clone()                           // (Clone stops the .rotate from changing objPosUser)
  .rotate(Camera.instance.rotation)  // Rotate by UserRot
  .add(Camera.instance.position)     // Add UserPos

entity.getComponent(Transform).position = objPosWorld
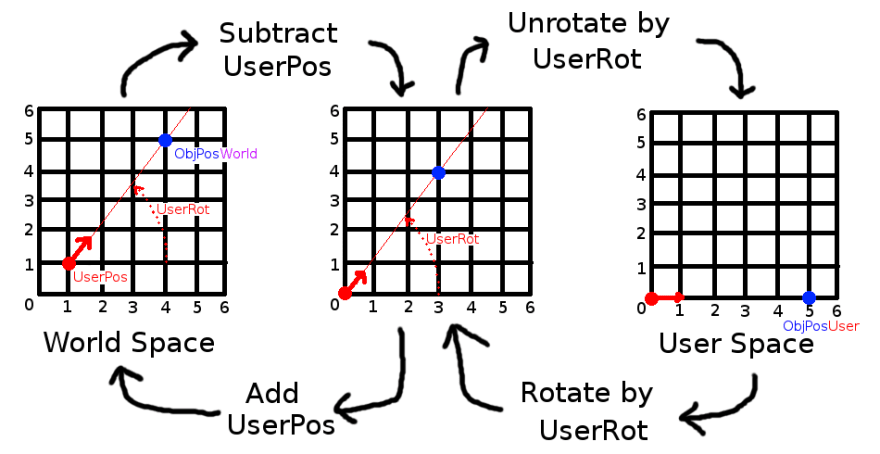
Also, as a visual thinker, I am always frustrated when someone writes out a bunch of words and leaves drawing pictures as an exercise for the reader, so let’s avoid that too. Here’s a drawing of the situation (in this case, the user happens to be looking straight at the object):
Well that pretty much covers free carry. I’ve made a simple, dependency-free implementation of this as a Component and System pair available on my GitHub, along with a tiny example game.ts showing its use.
Aligning with Snap-to
A design decision I made for this scene was to snap block locations to half-meter increments. This makes aligning blocks a lot easier. My initial implementation of this was basically as simple as calling Math.round() on each of the components of the objPosWorld variable before actually updating the object’s position, but multiplied by 2 first, and then divided by 2 after, to round to the nearest 0.5m instead of 1m:
objPosWorld.set(
  Math.round(objPosWorld.x * 2) / 2,
  Math.round(objPosWorld.y * 2) / 2,
  Math.round(objPosWorld.z * 2) / 2
)
Now users can carry blocks around and their positions are discrete for easy placement! But blocks can still be moved inside of each other – a pretty unrealistic situation.
Detecting Overlaps (or, The Grid)
The next challenge was to detect when a position is already occupied, and prevent moving a block there. A natural way to accomplish this was to have a big multidimensional array that I’ll call The Grid, where every element represents one 0.5m-cubed cell in the single-parcel scene (so a 32x32x32 array.) Then you simply:
- Check each element of The Grid that a block would occupy before moving it
- If they’re all free, move the block and mark them as occupied in The Grid
- If the user moves the block away again, mark them as unoccupied again
- If they’re not all free, we’ll need to resolve the overlap somehow (see below)
A nice side effect of this mechanism is that when we check our array indices to make sure they’re in bounds (between 0 and 31) before reading from the array, if they’re not, we can also prevent overlaps in those cases, and avoid the block going underground or outside our parcel’s boundaries.
Resolving Overlaps
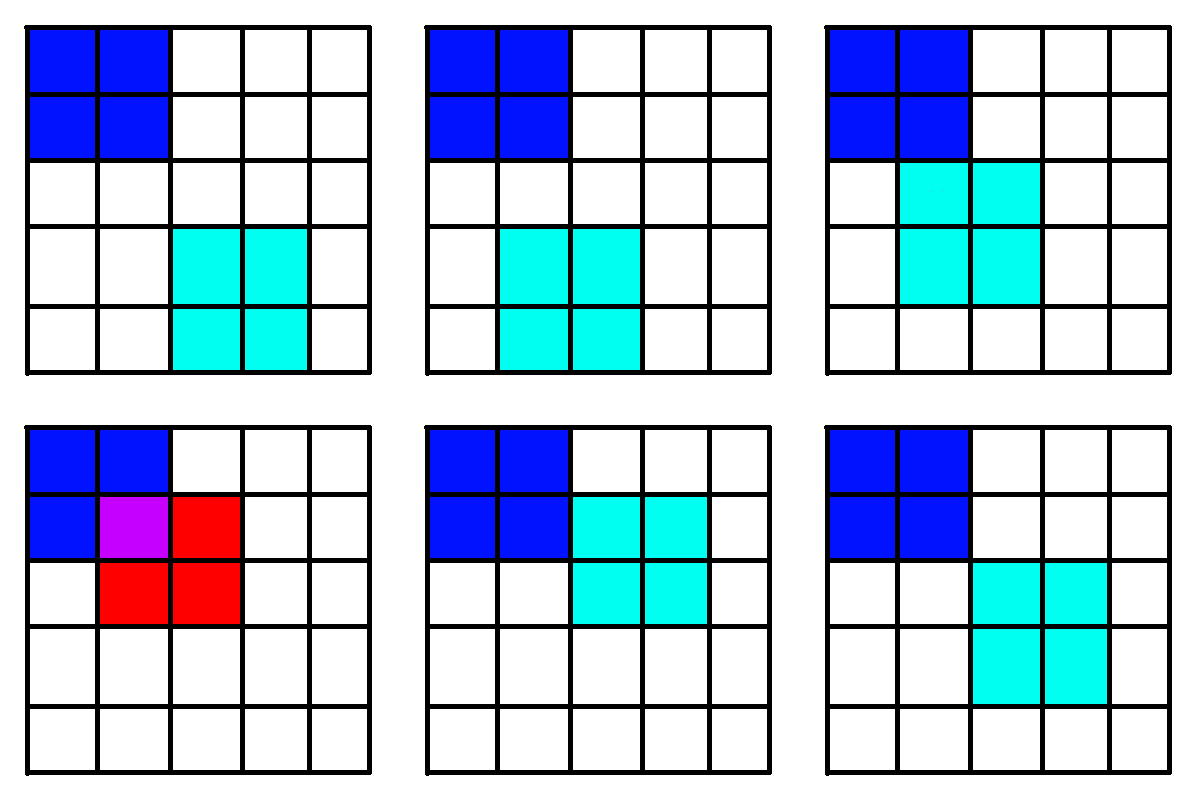
So what do you do when the user tries to move a block while carrying it, prompting an overlap? Simply not moving the block would be one option, but would feel unresponsive to the user. A better solution would be to move the block to a different unoccupied spot that’s still along the user’s line of sight. This means that the block would appear to move as expected (remaining directly in front of the user), but also no longer overlap with another block or the edge of the scene.
Rasterizing with the Bresenham Algorithm
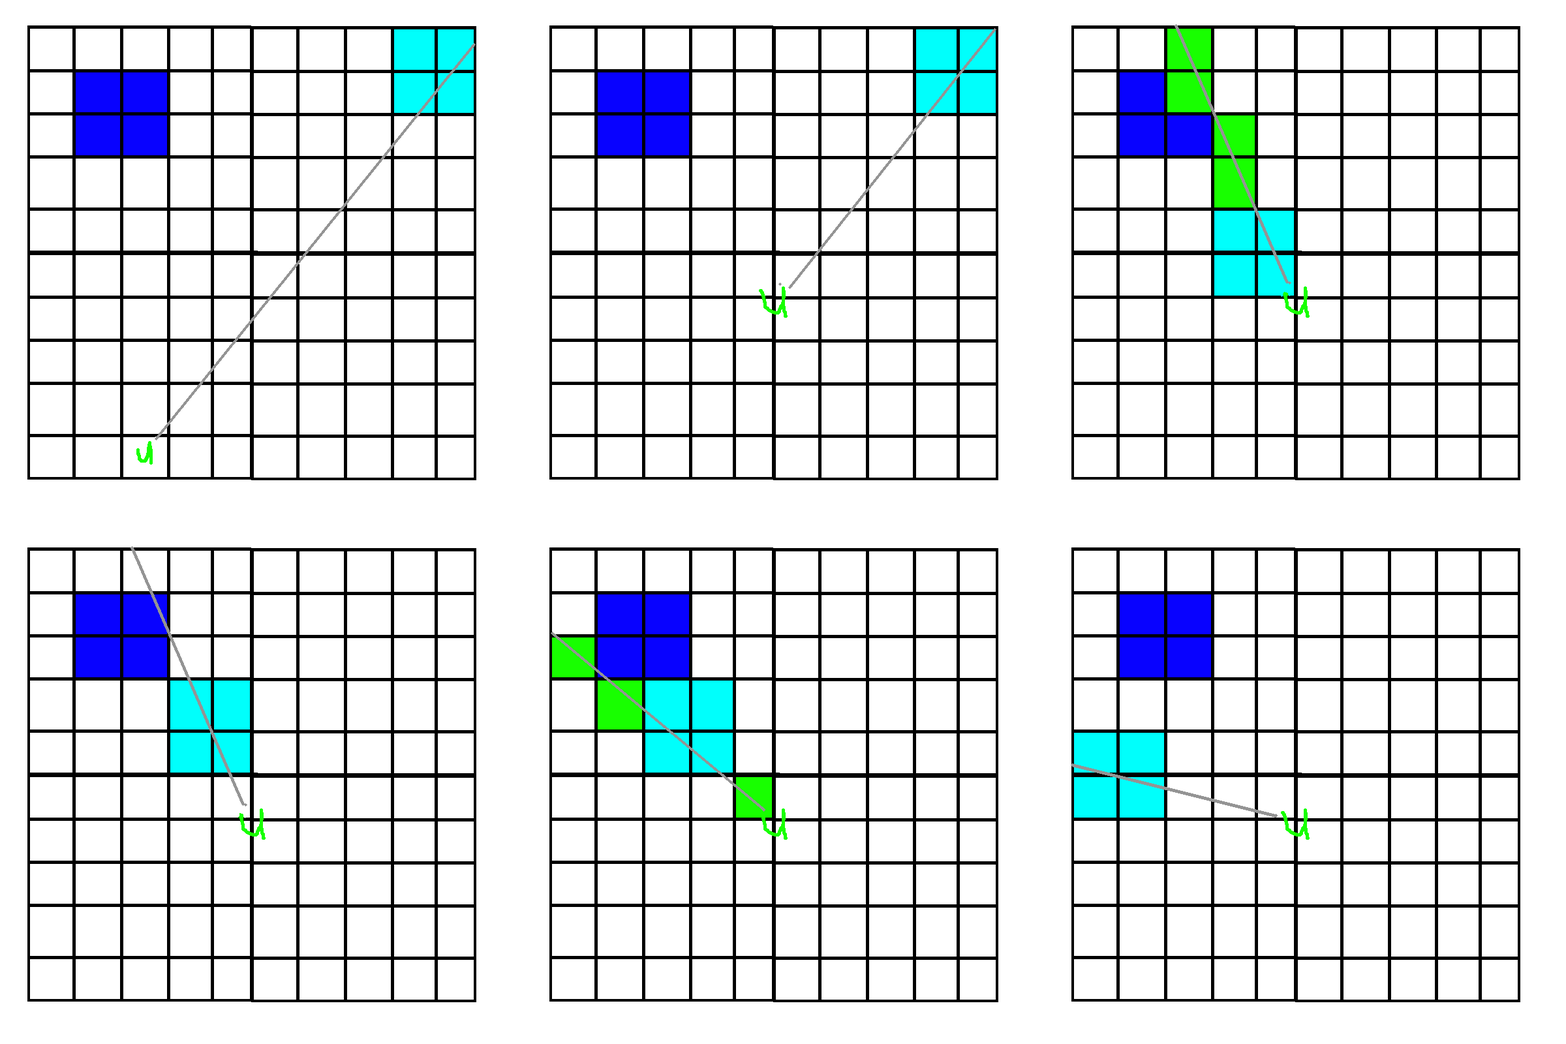
To achieve this, I needed some way to determine all the possible positions along the user’s line of sight that the block could be in. After a few minutes of Googling, I came across the Bresenham 3D algorithm, which rasterizes a line segment between two integer points in 3D space; that is to say, it converts the line segment into a set of voxels that are all along that line segment. There are definitely other algorithms I could have used, but this one served my purpose well enough. You can check out the repo to see my TypeScript implementation.
Using the Rasterization
With the set of voxels along the user’s line of sight in hand, we can now resolve overlaps. If you’ll recall, there are two different block-moving modes to account for, Carry Mode and Ray Mode.
In Carry Mode, the block tries to stay at a fixed distance from you as you walk and look around. When an overlap is detected, simply iterate through the voxel set, using The Grid to check for overlaps at each spot, starting with the farthest voxel (the carry position) and moving inwards. The first available spot you encounter is where you move the block. This makes sure the block is as close as possible to the carry position.
In Ray Mode, the block goes as far as it can without hitting anything (another block or the edge of the scene), and then stops there. So simply iterate through the voxel set, again using The Grid to check for overlaps, but this time starting with the nearest voxel (the user’s position) and moving outwards. The last available spot before the first unavailable spot you encounter is where you move the block. This makes sure the block is right in front of the first solid object along the user’s line of sight.
In Conclusion
And that’s pretty much it. We can carry blocks naturally by walking and looking around, they snap to a grid for easy placement, and they can’t intersect with each other. For a nine-hour project, I was pretty happy with the outcome. It certainly showed me that while Decentraland’s SDK is still in the early stages of its evolution, you can already accomplish a great deal with it.
I’m looking forward to the many new features coming out soon! In particular, Decentrablocks would have been a lot less buggy and easier to write if global click events had been available, instead of always needing to click on an actual object, and this feature is planned for SDK v6.3 or earlier.
Going forward, I look forward to being an active member of the Decentraland scene-building community. There’s another Decentraland Game Jam coming up in September, and after my experience with this past Hackathon, starting from zero knowledge of the SDK, I can confirm that they’re a great opportunity to familiarize yourself with it while working with some really skilled creators!
I plan on participating, and if you’re at all interested in building content for a decentralized online world, I hope you’ll join me.
See you in the Metaverse!






Top comments (0)