
Content projection is a useful technique in Angular to modify component content. Let's learn it from a very simple scenario.
You have a button component button.component.ts using <button> and currently, the text used there is submit
button.component.ts
import { Component } from '@angular/core';

@Component({
  selector: 'app-button',
  template: `
    <button class="primary-button">
      submit
    </button>
  `,
  styles: [
    '.primary-button { background: #94FEB1; padding: 10px; }'
  ]
})
export class AppButtonComponent  {
}
Then we use that component twice in the HTML template of app component.
app.component.html
<app-button></app-button>
<app-button></app-button>

It will definitely show two buttons with submit text.
How can we customize the text for that component? Let's say I want to display login text for the first button and register for the second one.
One approach is just to use @Input so, the text can be passed as property as such
app.component.html
<app-button [text]="login"></app-button>
<app-button [text]="register"></app-button>
That's not too bad but we can try another approach using ng-content. To use it, we put <ng-content></ng-content> as replacement of submit text.
button.component.ts
<button class="primary-button">
  <ng-content></ng-content>
</button>
Then in the HTML template
app.component.html
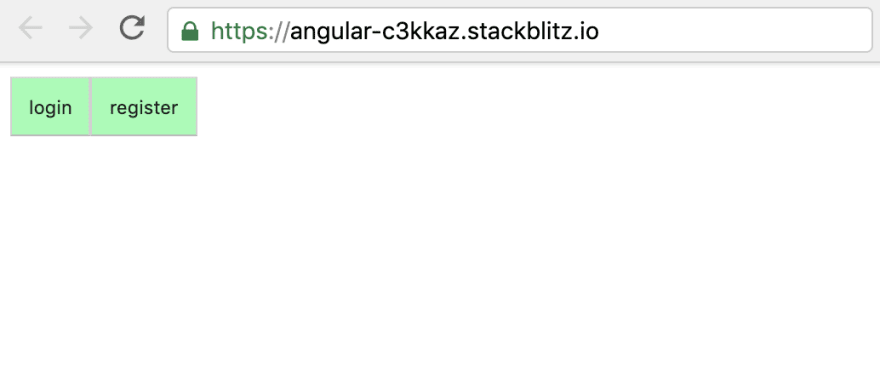
<app-button>login</app-button>
<app-button>register</app-button>
Woah, this looks familiar like <button> HTML tag. See that the inner content of <app-button> are projected into the <ng-content></ng-content> that we define in the HTML template of button component.
That is a single content projection. Interestingly, we can also use ng-content for multi-content projection.
Multi-content Projection
Let's say we have a new component named Banner. It looks like this
import { Component } from '@angular/core';

@Component({
  selector: 'app-banner',
  template: `
    <div class="banner">
      <div class="banner-title">
        title
      </div>
      <div class="banner-description">
        description
      </div>
    </div>
  `,
  styles: [
    '.banner { background: #C1FDFE; padding: 10px; border: 1px solid #333 }',
    '.banner-title { font-weight: bold; font-size: 20px; color: #5D83FE }',
  ]
})
export class AppBannerComponent  {
}
app.component.html
<app-banner></app-banner>
Here is when it is displayed

Notice that we have a blue color for title and black color for description. What we're trying to do is to use ng-content to modify title and description in the banner component.
You must think that it should be easy to solve by adding it like below
banner.component.ts
<div class="banner">
  <div class="banner-title">
    <ng-content></ng-content>
  </div>

  <div class="banner-description">
    <ng-content></ng-content>
  </div>
</div>
Then
app.component.html
<app-banner>
  <h1>Black Friday Discount</h1>
  <p>50% discount for specific products</p>
</app-banner>
And this what happened

Can you spot something wrong? Yes, our banner title is not shown in blue color. Apparently, if we have multiple ng-content specified in the template, Angular will only use the latest defined one. In our case, it will only replace ng-content in banner-description.We should project title and description to correct place.
To solve this, ng-content has a property named select. If you specify select with a CSS matching selector, it will get only the elements matching the selector from the passed in content.
<div class="banner">
  <div class="banner-title">
    <ng-content select="h1"></ng-content>
  </div>
  <div class="banner-description">
    <ng-content select="p"></ng-content>
  </div>
</div>
for banner-title, we target h1 tag, and for banner-description, we're looking for p tag from the passed content.
And the result will be
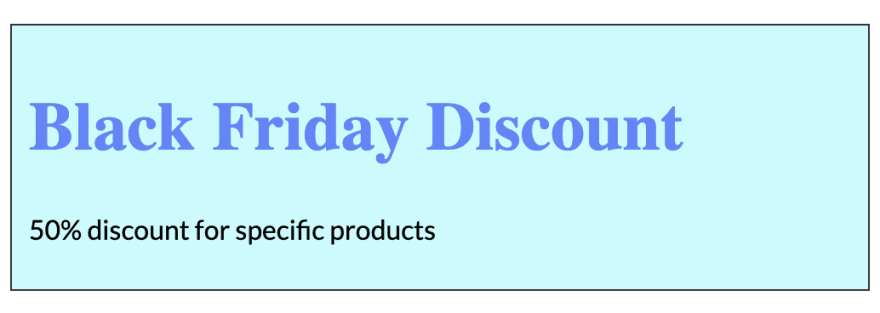
This is what we want. Awesome!
Remember that select property accepts CSS selector, so you can also use class or any valid CSS selector, for example:
<ng-content select=".my-title"></ng-content>
Summary
ng-content is a way to pass content into a component. It has select property that allows us to have multiple content projection.
Hope this article is useful!

Latest comments (2)
You can also avoid unnecessary inserted DOM elements by using
<ng-container>withngProjectAs=“yourSelector”.oh nice! didn't know this before