
Introduction
Live Share is a vs code extension that enables developers to collaborate with others in real-time. It enables users to share sessions, edit codes, and also debug each other's code. This extension has a lot of cool features that we will be looking at in this article. Throughout the course of this article, I will be focusing on the person sending out the invite(initiating the collaboration) and screenshots will be shared at intervals in order to understand how this works.
Getting Started
Installing live share extension
Prior to now, you should already have visual studio code installed on your computer. The next step is to install the live share extension. It is advisable to install the live share extension pack as this would give you access to the whole features that I would be talking about in this article. After doing this, the live share icon will appear at the bottom of the code editor. You can click on it to sign in either by using a Microsoft or Github account.
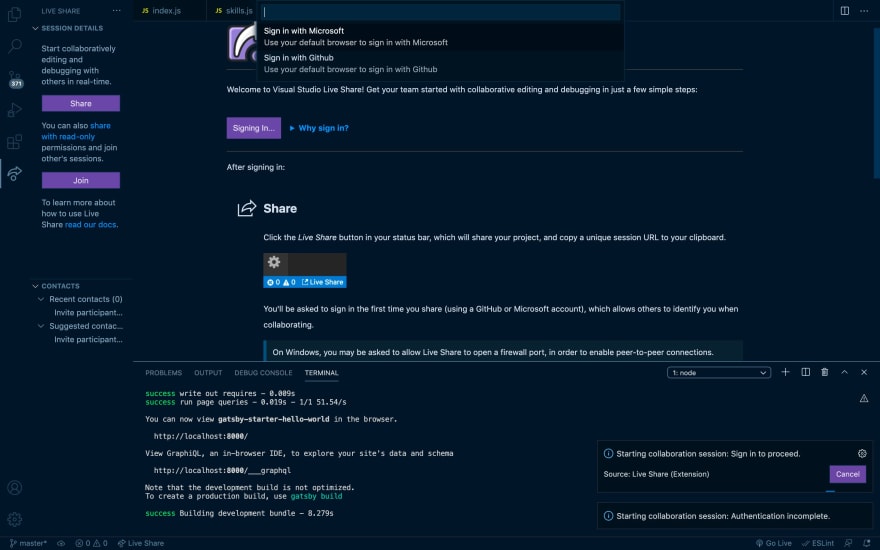
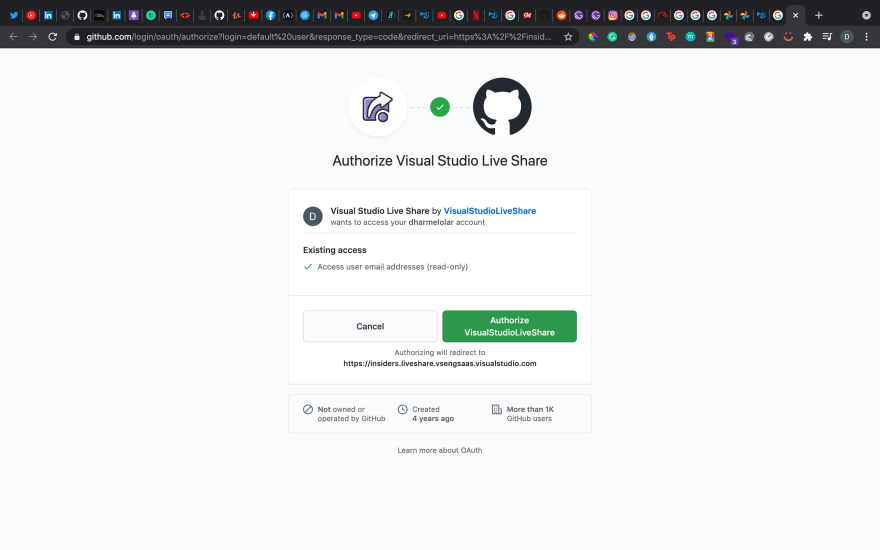

The sign-in procedure will happen in the sequence of the images shown above. The last page will display a modal, which after clicking will redirect you back to vs code.
Collaborating with other users.
In order to start collaborating with other users, you need to share a session and other participants will join from their own end. Clicking on the live share icon will begin a session and a URL will be displayed. you can now copy the link and share it with a trusted collaborator.
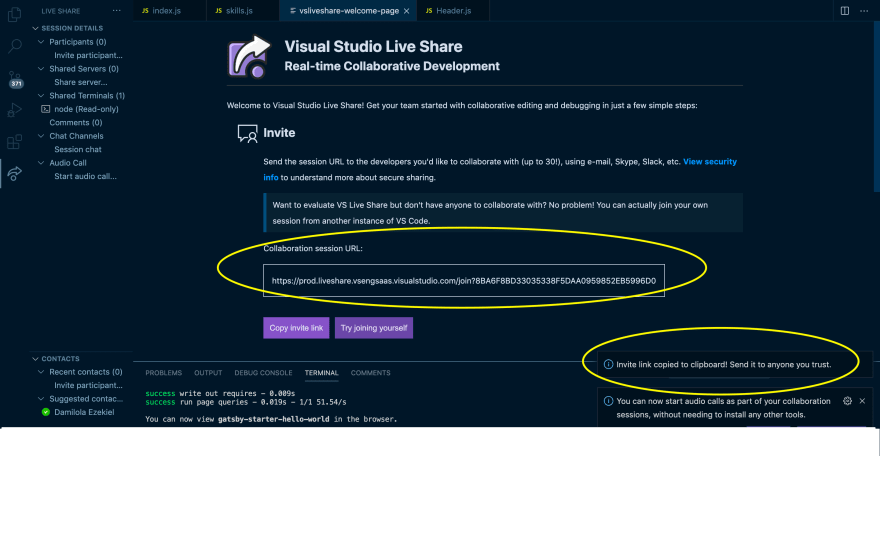
After clicking on the URL from the other end, the URL redirects the user to VSccode and the user will also be prompted to sign in. When this is done the collaboration session can begin. A cursor will also appear with the name of the user that is currently editing.


Enabling Audio calls
Personally, this is one of the features I really love about this extension because it allows you to communicate with other users without having to use any other external applications or software. In order to enable audio call, you have to click on the Audio Call Participant from the side panel, after that, a modal will be displayed so you can grant access to the use of the microphone. When this is done, the user from the other end should click on join call from the side panel and that's all! The communication can begin.

Enabling session chat
This is another cool feature of the extension. It allows you to send messages to other users during your session. You can enable this feature by clicking on chat sessions then session chat from the side panel and the chatbox will be opened on one part of your code editor.

###Share a terminal
While using the live share extension, the terminal can be used in two modes which are the read/write for everyone (this enables other participants to gain access to running commands in your terminal ) or the read-only mode(this means the other participants can only watch your terminal and they cannot make changes to it). To allow other users to gain access, simply click on share terminal from the side panel, and a popup will be displayed asking you for confirmation.
Live share extension still has other features that I did not cover in this article. You can go over the documentation for more reference. In this article, I've shared the most basic and common things that you can do with this extension.
Thanks for Reading!!!😁

Oldest comments (0)