
We have seen cool hyperspace visuals in Starwars. Here we are going mimic the same using Javascript canvas.
So, first we create a canvas element in our html file and also a script tag to hold our javascript.
<body>
    <canvas></canvas>
    <script></script>
</body>
then in our script tag, we get the canvas element.
const canvas = document.querySelector("canvas");
const ctx = canvas.getContext("2d");
Stars
Now lets define a blueprint for a Star. Each star has a location (x,y), radius, color and a draw function that draws the star on the canvas.
function Star(x,y,radius,color){
    this.x = x;
    this.y = y;
    this.radius = radius;
    this.color = color;
    this.draw = function (){
        ctx.strokeStyle = color;
        ctx.fillStyle = color;
        ctx.beginPath();
        ctx.arc(this.x, this.y, this.radius, 0, Math.PI * 2, false);
        ctx.stroke();
        ctx.fill();
    }
}
lets create an array to hold the star objects and const to specify how many stars we create.
const NUMBER_OF_STARS = 1000;
let stars = [];
Lets write a function to create the stars, we use random locations so lets use a simple random number generator.
function getRandomInt(min, max) {
    min = Math.ceil(min);
    max = Math.floor(max);
    return Math.floor(Math.random() * (max - min) + min);
}

function createStars() {
    for (let counter = 0; counter < NUMBER_OF_STARS; counter++) {
        let radius = getRandomInt(1, 3);
        let x = getRandomInt(radius, (canvas.width - radius));
        let y = getRandomInt(radius, (canvas.height - radius));
        let color = "lightblue";
        stars.push(
            new Star(x, y, radius, color)
        );
    }
}
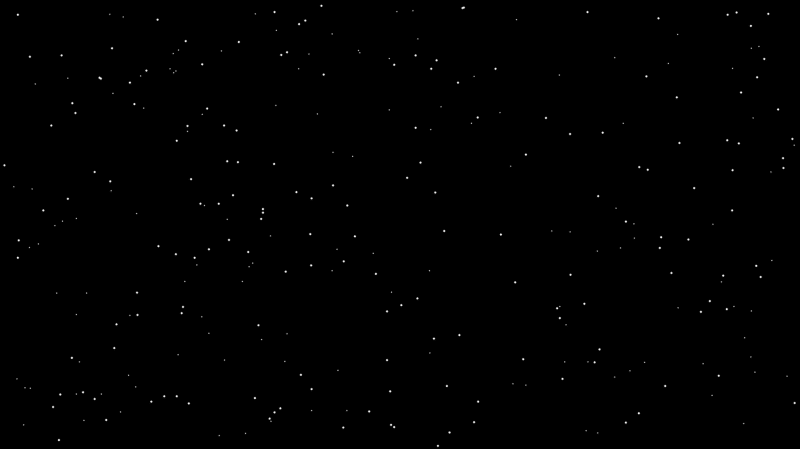
Another quick loop to draw them on the screen.
createStars();
stars.forEach(star => star.draw());
Creating stars with different radius makes it feel like few are far and few are near.
Now to the important stuff, How do we jump to hyperspace.
Movement
By movie scenes we can see that when we travel at lightspeed, each star moves from it's location to the edge of the screen, but we need to calculate the angle or linepath.
To simplify this, we can assume a center point and if we draw a line from center to the star, that essentially is the path that star will follow until it reaches the edge of the screen. like below

Now, we have two point for each line, 1st is the center of the screen and second point is the Star's location. Using the following formula, we can calculate the slope of the line, which we can use to move the star later.
so, lets add slope attribute to Star
function Star(x,y,radius,color, slope){
    this.x = x;
    this.y = y;
    this.radius = radius;
    this.color = color;
    this.slope = slope;
    this.draw = function (){
        ctx.strokeStyle = color;
        ctx.fillStyle = color;
        ctx.beginPath();
        ctx.arc(this.x, this.y, this.radius, 0, Math.PI * 2, false);
        ctx.stroke();
        ctx.fill();
    }
}
and define a function as follows:
function slopeFromCenter(x, y) {
    let x1 = x;
    let y1 = y;
    let x2 = centerX;
    let y2 = centerY;
    return (y2 - y1) / (x2 - x1);
}
Now change the Star Object creation as follows.
stars.push(new Star(x, y, radius, color, slopeFromCenter(x, y)));
Animation Loop
For the animation, we use requestAnimationFrame method which will be called once every frame, and to start & stop the travel using spacebar key, we will create a variable travel as follows.
let travel = null;
lets create a basic jump method too, will make changes to it later.
function jump() {

    for (let i = 0; i < stars.length; i++) {
        const star = stars[i];
        ctx.beginPath();
        ctx.moveTo(star.x, star.y);
        // we will work these in a minute
        const nextXY = [star.x + 1, star.y + 1];
        const nextX = nextXY[0];
        const nextY = nextXY[1];
        ctx.lineTo(nextX, nextY);
        ctx.strokeStyle = star.color;
        ctx.lineWidth = star.radius;
        ctx.stroke();
        ctx.closePath();
        star.x = nextX;
        star.y = nextY;
    }
}
All we are doing is simply adding 1 to star's xy coordinates.
let travel = null;
function animate() {
    travel = requestAnimationFrame(animate);
    jump();
}

window.addEventListener("keypress", function (event) {
    if (event.key === " ") {
        if (travel == null) {
            travel = window.requestAnimationFrame(animate);
        } else {
            window.cancelAnimationFrame(travel);
            travel = null;
        }
    }
});

We can see that stars are going to right bottom cornor as we are incrementing xy values by 1. Now lets do the actual movement code by defining a nextStop function as follows.
function nextStop(currentX, currentY, m, velocity) {
    let s = velocity / Math.sqrt(1 + m * m);
    let nextX = currentX + s;
    let nextY = currentY + m * s;
    return [Math.ceil(nextX), Math.ceil(nextY)];
}
this function simply takes (x,y), slope and velocity and returns a new coordinates, by adjusting the velocity we can adjust the travel speed too.
lets update the jump function to use nextStop function as follows.
function jump() {

    for (let i = 0; i < stars.length; i++) {
        const star = stars[i];
        ctx.beginPath();
        ctx.moveTo(star.x, star.y);
        // update the following line
        const nextXY = nextStop(star.x, star.y, star.slope, 20);
        const nextX = nextXY[0];
        const nextY = nextXY[1];
        ctx.lineTo(nextX, nextY);
        ctx.strokeStyle = star.color;
        ctx.lineWidth = star.radius;
        ctx.stroke();
        ctx.closePath();
        star.x = nextX;
        star.y = nextY;
    }
}

but...
We can see, we got right half right but left half of the screen is in reverse... This is because the slope we calculated. To fix that update the slopeFromCenter function as follows.
function slopeFromCenter(x, y) {

    let x1 = x;
    let y1 = y;
    let x2 = centerX;
    let y2 = centerY;
    let q = null; // Quadrant
    let direction = 1;

    if (x > centerX && y <= centerY) {
        q = "Q1";
    } else if (x <= centerX && y <= centerY) {
        q = "Q2";
    } else if (x <= centerX && y > centerY) {
        q = "Q3";
    } else if (x > centerX && y > centerY) {
        q = "Q4";
    }

    if (q == "Q2" || q == "Q3") {
        direction = -1;
    }

    return [(y2 - y1) / (x2 - x1), direction];
}
And update the createStars method as follows
function createStars() {
    for (let counter = 0; counter < NUMBER_OF_STARS; counter++) {
        let radius = getRandomInt(1, 4);
        let x = getRandomInt(radius, (canvas.width - radius));
        let y = getRandomInt(radius, (canvas.height - radius));
        let color = "white";
        let slopeAndDirection = slopeFromCenter(x, y);
        stars.push(
            new Star(x, y, radius, slopeAndDirection[0], slopeAndDirection[1], color)
        );
    }
}
Also update the jump function to use the direction as well re-creating the stars at random location if they reach the edge of the screen. Instead of creating the new object we are simply changing it's location so it would feel like it's new star. It's better for memory & performance.
function jump() {
    for (let i = 0; i < stars.length; i++) {
        const star = stars[i];
        if (
            star.x <= 0 ||
            star.x > canvas.width ||
            star.y <= 0 ||
            star.y > canvas.height
        ) {
            star.x = Math.ceil(
                Math.random() * (window.innerWidth - star.radius * 2 + star.radius)
            );
            star.y = Math.ceil(
                Math.random() * (window.innerHeight - star.radius * 2 + star.radius)
            );
            const slopeAndDirection = slopeFromCenter(star.x, star.y);
            star.slope = slopeAndDirection[0];
            star.direction = slopeAndDirection[1];
        }
        ctx.beginPath();
        ctx.moveTo(star.x, star.y);
        const nextXY = nextStop(
            star.x * star.direction,
            star.y * star.direction,
            star.slope,
            20
        );
        const nextX = nextXY[0];
        const nextY = nextXY[1];
        ctx.lineTo(nextX * star.direction, nextY * star.direction);
        ctx.strokeStyle = star.color;
        ctx.lineWidth = star.radius;
        ctx.stroke();
        ctx.closePath();
        star.x = nextX * star.direction;
        star.y = nextY * star.direction;
    }
}
Now, it will be working fine... but over the time screen will be filled complete... to have nice animation, we modify the animate function. Here using ctx.fillRect we are filling the screen with black transparent color, which prevents the screen from getting completely filled.
function animate() {
    travel = requestAnimationFrame(animate);
    ctx.fillStyle = "rgba(0,0,0,0.1)";
    ctx.fillRect(0, 0, window.innerWidth, innerHeight);
    jump();
}
The final result can be accessed here.
Hit Spacebar to start or stop,
+ key to increase speed,
- key to slowdown and enjoy the journey :)
The complete code with few other improvements are linked here
Thank you...

Top comments (0)