Intro
Setting up a connection between these two backend servers was a very tedious process to figure out if you are not familiar with the documentation already so I will breakdown a simple method to set up a connection.
Jellyfin Setup
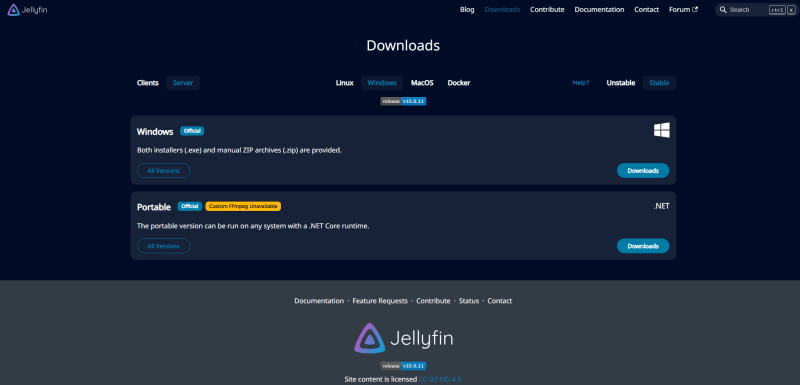
To start you should begin by installing the Jellyfin server onto your computer. You can follow the link here to get to the Jellyfin download page.
After getting your OS specific version of Jellyfin you will follow the setup & installation steps. After it has completed installation you can run it from the Jellyfin application located in your tray unless you are going directly to your Jellyfin server address. The default endpoint will be 8096.
You will be greeted by the signup page. If you already have done the initial signup Jellyfin you will instead be greeted by the Jellyfin signin page.
Setting Up The API
After you have signed into your server you will now be able to use the regular Jellyfin functionality such as adding media files to your server for access on a client.
To get access to your API you will need to press on the three bars located on the top left of your webpage than from the navigation panel that dropped down, click on "Administrator Dashboard".
In the Administrator Dashboard navigate the left side of your webpage until you find "API Key" within the "Advanced Settings" section. From there you simply need to press the big plus sign in the top left. You will then be prompted to input an application title so you better organize your keys. After entering the title your API Key will be generated. Copy the API key for later use.
I'm going to be going under the assumption that you already have you Python server setup and now just need to connect your API Key
Connect to Python
As a good method as always keep your API Keys in a ".env" file within a ".gitignore" folder so you do not give the public access to your API Keys.
This next part is very important to follow.
Set your URL for your fetch request in the following format. (In the example it is for the User endpoint. Look at the following documentation on the Jellyfin API for other endpoints. )
any_variable = "http://{server_address}:8096/Users?{api_key}
headers = {
        "Accept": "application/json",
        "Authorization": "MediaBrowser Token={api_key}"

        }
//"MediaBrowser" and "Token=" are mandatory in formatting of Authorization
Take a look below of this method being utilized in the following GET request.
For the flask-restful setup I used in my code I added the following line of code to make my GET request accessible.
api.add_resource(Users, '/users')
There is further setup to use flask-restful, if you want to emulate my method, reference the following documentation
As long as you have your Python server and Jellyfin server running you can now access your Jellyfin API in Python.
I'm going to use Postman to display the API being fetched successfully.
If you followed the setup correctly you should receive a 200 response code with the following information populate from your GET request.
Conclusion
Using a Python backend with a Jellyfin server is not mandatory, the API can be accessed directly from your frontend client. There are some benefits to using the dual server method. Python allows for easy API modification aswell as simple database management of your Jellyfin server. Actions such as adding media files can be done via your Python server through POST requests, as well as deleting files from your server via DELETE requests. The main benefit comes from the user information access. The jellyfin server allows administrators to see basic user information but the GET request allows you to see more detailed information such as the current password for each user, making a good alternative to having to reset your user's password each time they forget. Utitlizing the Python database allows for specified metadata to be organized and managed. Having the filtered metadata makes translating it to your frontend a breeze.
TLDR: A Python server is not mandatory to access a Jellyfin server but using the two jointly allows for additional benefits from both servers, and adds simple access to the Jellyfin API for your frontend.


Top comments (0)