Chatbots are a rapidly growing market for applied artificial intelligence. But what separates a smart chatbot from a virtual assistant that's just not helpful? We want to make sure our chatbot understands the end user's intents and is able to effectively respond in an intelligent manner. At the same time, we want to make sure our chat infrastructure is globally-distributed for a low-latency and high-availability experience.
In this tutorial, we'll combine the Watson Virtual Assistant technology with PubNub's global data stream network to build a React-enabled chat application that can intelligently respond to user queries.
Table of Contents
Sign Up for your Free Watson Assistant
- Click here to sign up for your IBM Cloud account. You'll need to provide your Email address and choose a password:

ℹ️ Unable to verify your email address? Sometimes outlook.com and gmail.com domains get flagged as spam. Try using another email account.
- Verify your email address by entering the verification code in your confirmation email.
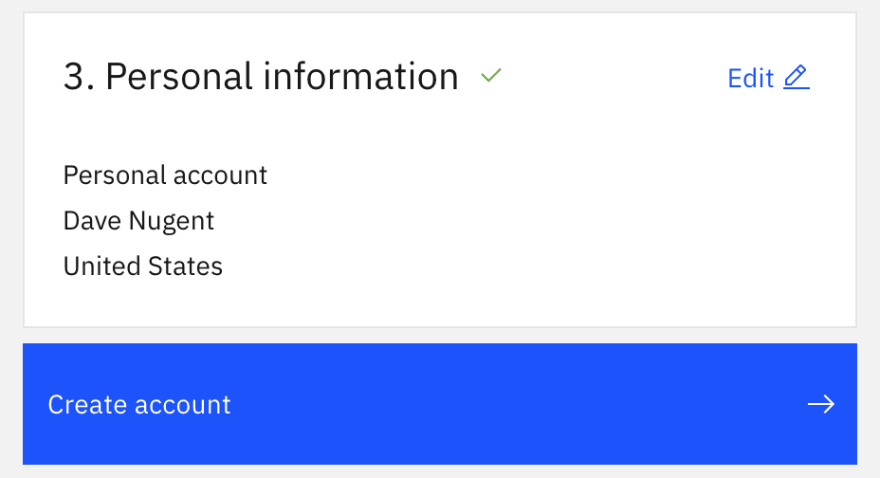
Enter your personal information, click Next and then click Create account.
Acknowledge the IBM Privacy policy.
Congratulations! Your account was created, and now we can create our Watson Assistant. On the top right of your screen, click Create resource +.
Now you'll see all the Services and Software you can create. We'll type
assistantinto the search box and press enter. Then click the box for Watson Assistant.
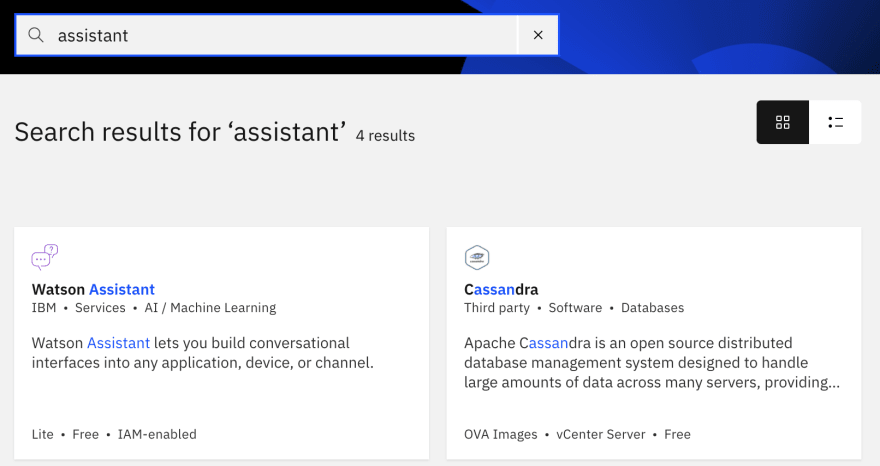
- Make sure the Lite plan is selected -- you'll get 10,000 messages per month free. In the bottom right corner, click Create.

- Congratulations, you've created your own Watson Assistant! For the rest of this lab you'll want to take note of the
API keyandURLunder Credentials. Then, click Launch Watson Assistant so we can configure the assistant.
Now we can take a look at the different ways we can configure your assistant:

Let's go over these briefly:
- Intents are purposes or goals that are expressed in a customer's input, such as answering a question or processing a bill payment.
- Entities represent information in the user input that is relevant to the user's purpose.
- Dialog is where you'll add nodes that define how your assistant will converse with your end users.
- Options is where you'll hook in your webhook URLs, if you decide to do other integrations in the future.
- Analytics tells you the metrics of the conversations, and how well your assistant understands what end users are saying to it.
We could spend a lot of time building our own skill, but instead, we can import a pre-built one!
- On the left of your screen, click on the Assistants icon.
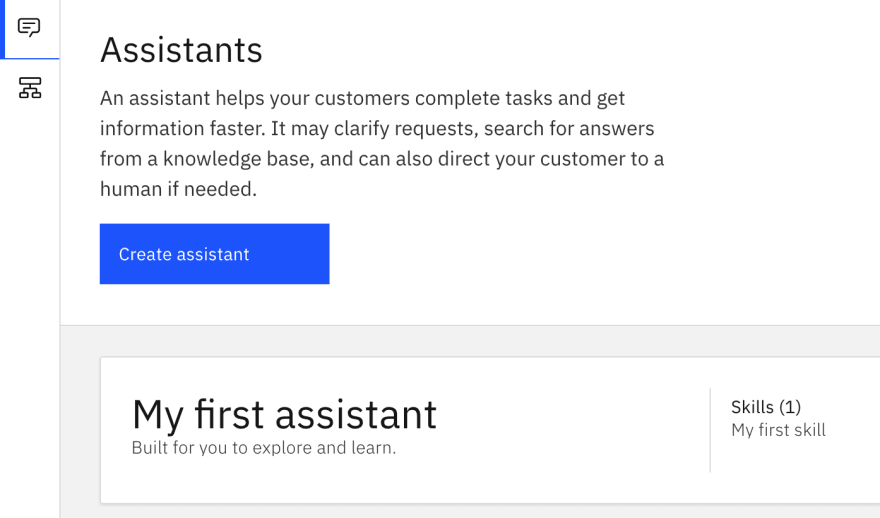
Click on your assistant (mine is called My first assistant)
Click the triple dot menu and click Swap skill.
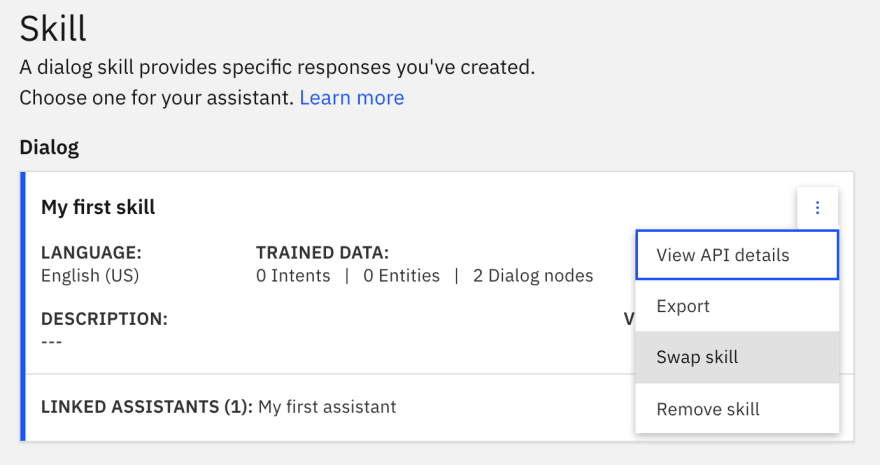
- Click Use sample skill and then click Customer Care Example Skill.

Yay, we've populated a sample skill with intents, entities and dialog notes!
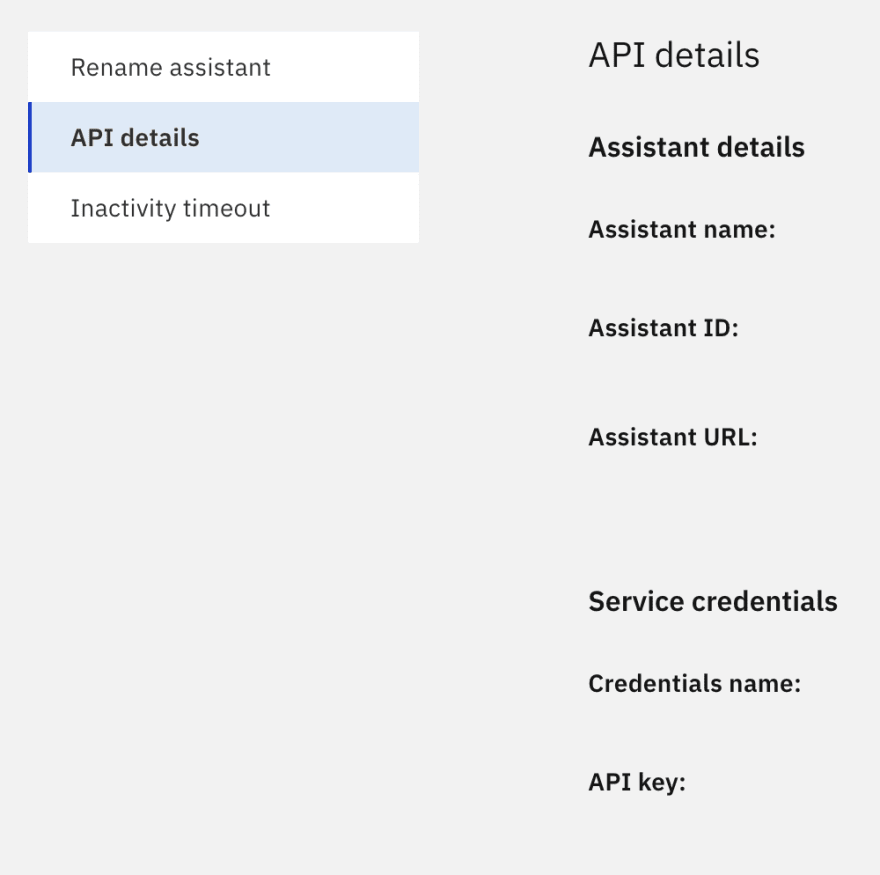
- Now let's grab our API details. At the top of the page, click the left arrow next to Assistants.
- Click the triple dot menu in your assistant and click Settings.
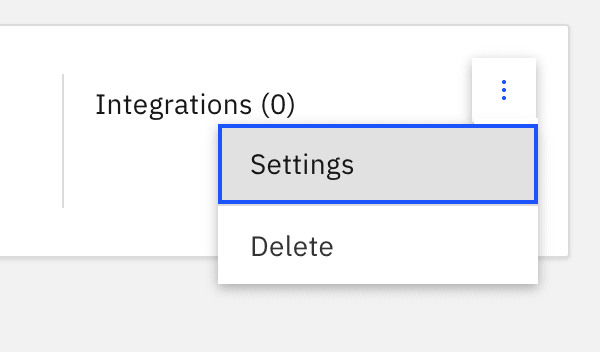
- Take note of your Assistant ID and API key.
Create your PubNub Account
Next we'll create a private PubNub channel and get our keys by creating an account. Click here to get started.
You'll need to copy down the publish key and subscribe key from your PubNub project. Keep a note of these keys, we'll use them to send and receive messages inside our project.
Remix our Glitch Project
Glitch is a fun, collaborative coding environment that makes it really easy to re-use, or "remix" in Glitch parlance, other people's code.
Please visit our Watson PubNub Chat Project on Glitch. Once you click Remix, you'll duplicate that code into your own project.
After that, follow the instructions in the README.md in order to complete the workshop.
Next Steps
- Red Hat Marketplace is a collaboration between Red Hat and IBM that allows you to buy, deploy and run applications across your public, private and hybrid cloud deployments. If your company makes cloud software, you can also sell your software direct to customers through Marketplace.
- Check out other Watson posts on the PubNub blog.
- Bother Dave on Twitter

Oldest comments (0)