Hello, today I will show you the steps to install the font for the ionic 4 project. You can install the font you want to install by following these steps. I think the project has already been created. If you don’t have any information with ionic, you can follow the steps and get information from my blog address.
I used Google Fonts to install my font. You can find almost all fonts here. Again, you can add projects in the same way you
find fonts from other sites.
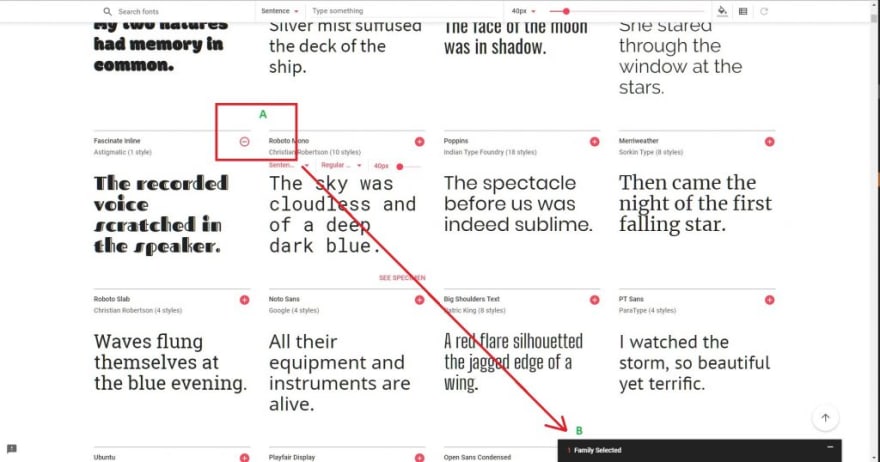
First I choice a font what I like it from Google Fonts. A-) I select the desired font by clicking on the Add button. B-) I wanted to remind you that we can also select multiple fonts. To do this, you can select the desired font by clicking on the Add button.
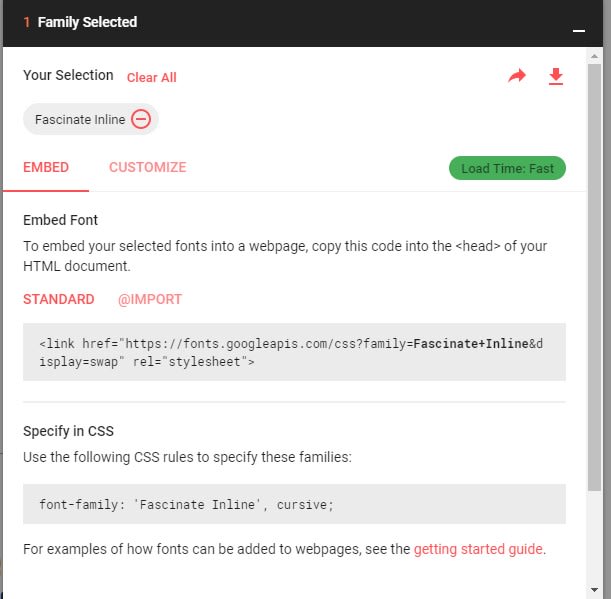
Then google tells me how to add the font to the project we will follow these steps. When selecting more than 1 font, it is used in other fonts next to the place shown in bold.
" Info; load time is important. Because when we make a request to pull the font from our project, the font extraction time should not be too long. Of course, this is valid if we pull from cdn – ie from the url as above – if we download the font we don’t need such an event.
Now we are moving on to our project. "
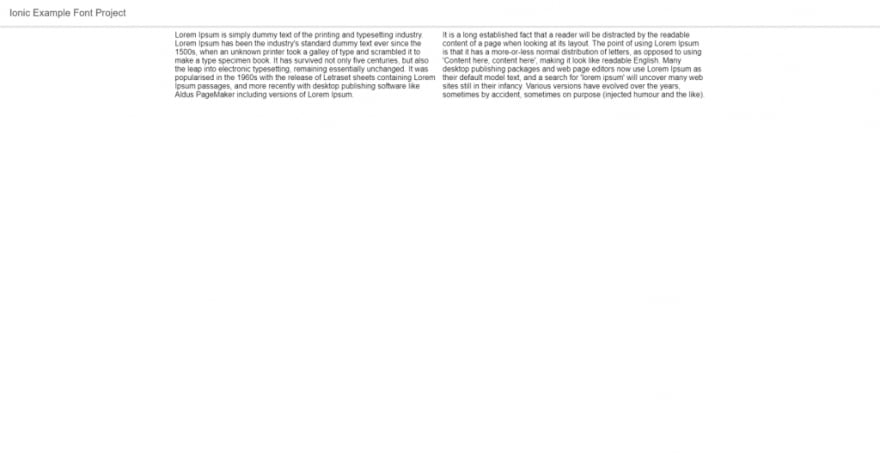
Even when no fonts are added to the project, you can still use some fonts that are installed for ionic, just like web applications. You can see the previous version below.
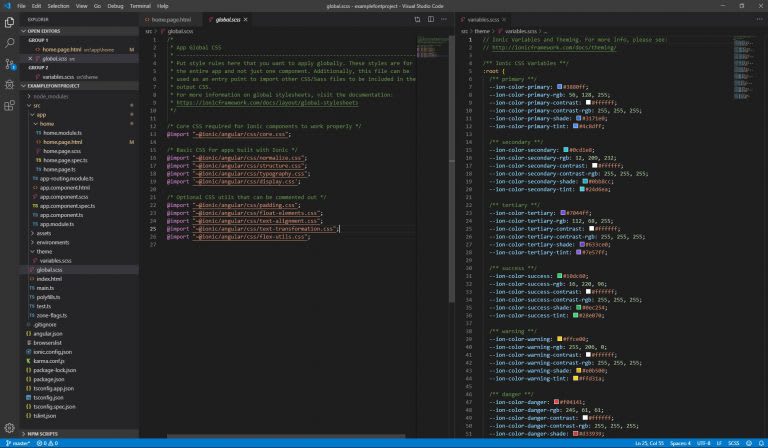
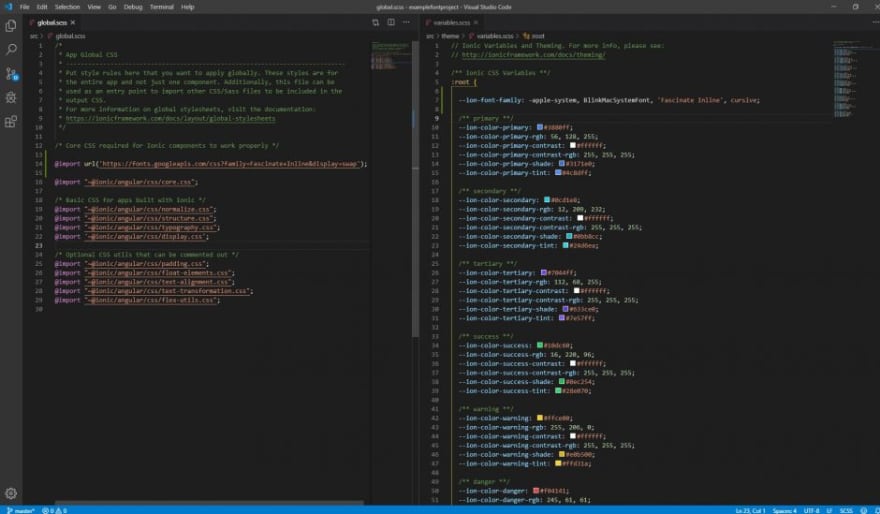
We will install the fonts from the global.scss file. From variables.scss I’ll add it as :root because I’ll use it for the whole project. Before doing these operations as shown below.
Then I import the font into my project using the link provided by Google and add the font as :root.
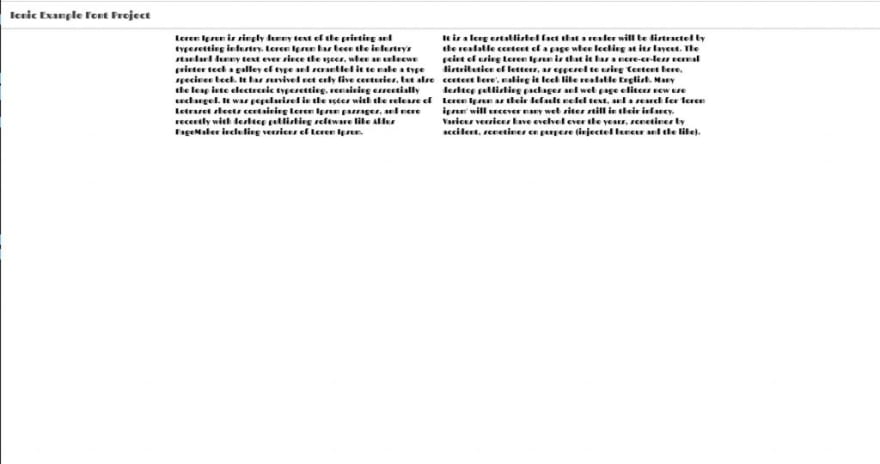
And after you add them, it looks like this. When I add the font that you can see things what I wrote before the font styling.
If you want to use it in a specific place, remove variables.scss and add it to the scss file where you want to use it.



Top comments (0)