What is Azure App Service?
Azure App Service is a service that allows you to host web applications, REST APIs, and mobile backends. It is based on HTTP and supports various programming languages such as .NET, .NET Core, Java, Ruby, Node.js, PHP, and Python. It provides additional features like security, load balancing, autoscaling, automated management, and DevOps capabilities for continuous deployment from Azure DevOps, GitHub, Docker Hub, and more.
Why Use App Service?
- Multiple language and framework support
- Managed production environment
- Containerization and Docker integration
- DevOps optimization with Azure DevOps, GitHub, Bitbucket, Docker Hub, or Azure Container registry
- Visual Studio and Visual Code integration
- API and mobile features
- Serverless capabilities with Azure Functions
Now, let's go through the steps to create an app service:
Step 1: Set up an Azure account
If you don't have an Azure account, sign up at https://azure.microsoft.com/. Provide the necessary information and credit card details (although a free tier with limited resources is available).

Step 2: Access the Azure portal
Go to portal.azure.com and log in with your credentials.

Step 3: Create an App Service
In the Azure portal, navigate to Azure App Service and create a new instance. This will serve as the hosting environment for your website.

Step 4: Create a resource group
To create a resource group, click on the "Create a resource" button (+) and search for "Resource group." Select "Resource group" from the results and provide a name for your resource group. Choose the appropriate subscription and region. Review the configuration and create the resource group.
Select "Resource group" from the search results and click on the "Create" button.
Provide a name for your resource group, such as "MyResourceGroup", and choose the appropriate subscription and region for the resource group.
Click on the "Review + create" button, and then click "Create" to create the resource group.

Step 5: Create a Web App
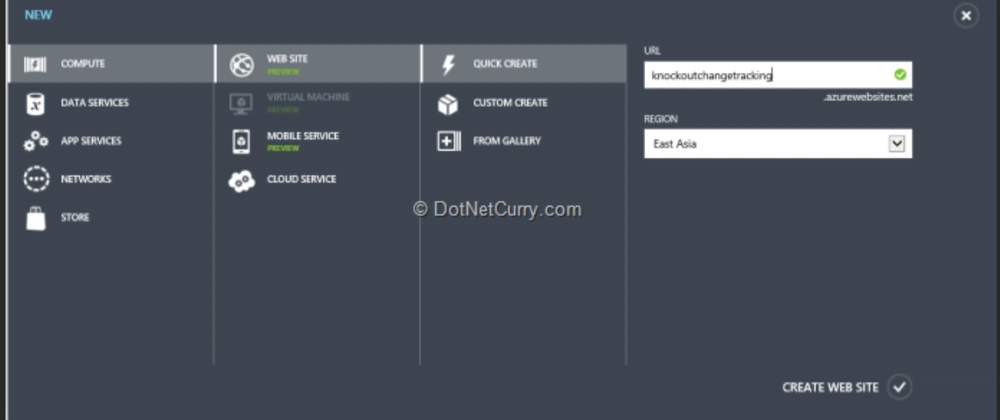
Within the resource group, click on the "Create a resource" button (+) again and search for "Web App." Select "Web App" from the results and configure the necessary details such as app name, subscription, resource group, and operating system. Adjust other settings like the runtime stack, region, and pricing tier. Review the configuration and create the Web App.
Once the resource group is created, you can proceed to create a Web App within that resource group. Click on the "Create a resource" button (+) again and search for "Web App" in the search box.
Select "Web App" from the search results and click on the "Create" button.

Fill in the necessary details for your Web App, such as the app name, subscription, resource group, and operating system.

Configure other settings as required, such as the runtime stack, region, and pricing tier.


Review the summary of your Web App configuration, and if everything looks correct, click on the "Review + create" button.
Finally, click on the "Create" button to create the Web App within your specified resource group. It takes a while to deploy the Web App

Step 6: Access the Web App
Once the Web App is created, navigate to it by clicking on "Go to Resource" within the Azure portal.

Step 7: Configure App Service Logs
To enable application logging and web server logging, access the "App Service Logs" section of your Web App. Turn on the desired logging options for diagnostic information.
Turn on Application logging (Filesystem) so as to:
Enable application logging to collect diagnostic traces from your web app code. You'll need to turn this on to enable the streaming log feature. This setting turns itself off after 12 hours.
Turn on Web server Log to:
Gather diagnostic information for your web server.

Log Stream, you can see it is showing it is going to connect and when you are connected to log stream the default timeout is 2hrs
and change the time with the app.

Step 8: Connect to a GitHub repository
Set up a GitHub repository for your website's source code. In the Azure portal, go to your App Service instance and navigate to the Deployment Center. Authorize Azure to access your GitHub account and select the repository and branch that contains your code. Configure build settings if necessary. Connecting our web service to GitHub repository:
Set up a GitHub repository: Create a new repository on GitHub or use an existing one to store your website's source code.
Connect GitHub repository to Azure: In the Azure portal, go to your App Service instance and navigate to the Deployment Center.
Authorize Azure to access your GitHub account: Follow the prompts to authorize Azure to access your GitHub repositories. You may need to provide your GitHub credentials and grant the necessary permissions.
Select your repository and branch: In the Deployment Center, choose the repository and branch that contains your website's source code. This allows Azure to automatically fetch the latest code whenever changes are pushed to the selected branch.
Configure build settings: Depending on your website's technology stack, you may need to configure build settings in the Deployment Center. For example, if you're using a specific framework or language, specify the appropriate build commands or settings.
On Settings, select External Git as the source, the drop a link to your GitHub repository give the brain which the project is pushed to and have the repository type as public. After that, you click on save.

Step 9: Review and save the configuration
Double-check the configuration in the Deployment Center and save it. Azure will start syncing your repository and building your website based on the selected branch. Azure will start syncing your repository and building your website.
Database configuration:

Click on save button:

API Management Service:
To create and manage APIs Follow the steps below and add on organization name and email then click on create.

After creating you can see on overview that APIs have been enabled but not yet configured.

For further configuration on APIS you click on Link API

Fill in the details to create an HTTP API and click on create button.

You can also Create from Container App
Click on Browse to link up with a container app that you have created, if you don't have one you can create a new one.
Then add all the necessary information needed as below:

Then click create button. It was created successfully:

We need to save the json file so as to deploy this API on GET,POST,DELETE etc.
You can choose the format of the JSON file from the following:

Review file and click on the button save.

Step 10: Test and verify
Once the deployment is complete, access the provided URL for your App Service instance and test your website. Make sure all functionality works as expected.
On Overview Click on Browse, or the domain URL.

After clicking on browse we see that our web app service was successfully deployed, on this link:

It is successful.

That's it! Following these steps, you'll be able to deploy your website to Azure using a GitHub repository. Remember to update your repository with any code changes and push them to the selected branch to trigger automatic deployments to Azure.
If you encounter any difficulties, feel free to reach out for assistance.

Top comments (0)