A few weeks ago I published a post called “Creating a Force Graph using React and D3” that explained how to create a force graph using D3 which is wrapped in React container. In this post I’ll add a new feature to the graph — a context menu. Make sure to read the previous post before you continue reading this post.
The Context Menu Event
The browser regular behavior when you press the right mouse button is to open the browser context menu. In some scenarios you might want to control what is going to happen when your user is pressing the right mouse button. For that purpose you can use the contextmenu event. The contextmenu event enables you to wire a custom handler and you can also prevent from the browser context menu to open. The following code shows how to wire the event to some element to prevent the browser context menu:
D3 and Context Menus
The contextmenu event can be used on any DOM element and therefore can also be wired to SVG elements as well. The easiest way to add the event to a D3 created element is using the on function like any other event wiring. The following code shows how to wire the contextmenu event to D3 selected element and to prevent the browser context menu:
In this example, we use the d3.event in order to prevent the default browser behavior.
Creating a D3 Context Menu
Now that we know how to wire the contextmenu event, we can start generating our own context menu. We will start with a function that will be responsible to create the menu:
The createContextMenu function will receive the node data, an array of menu items, the width and height of the SVG and the SVG id. The function will calculate the the position of the pressed node, which can be a little tricky, and also will prevent the browser regular behavior. The position of the menu can be affected by many things (view port, location of the SVG in the page and more) and therefore its calculation is separated from the menu creation. In my example the location is easily calculated using the *d3.event * point.
Now let’s create the menuFactory function which will be responsible to generate the menu:
Most of the code in the function is straight forward. We add menu entries according to the menu items we got. Each entry is a rectangle with text, which is taken from a title property on the menu item. We also wire handler to click event which will run the action function in the menu items. Last but not least, we handle the closing of the menu if the user click outside of it.
Wiring The Menu to the Force Graph
In order to wire the context menu to the force graph we first will need to create the menuItems array:
Once the array is available all we have to do is to run the createContextMenu function with all the relevant data once the contextmenu event occurs. Here is the complete graph code including the context menu:
In the CSS module you can add the following rules to make the menu visibility more appealing:
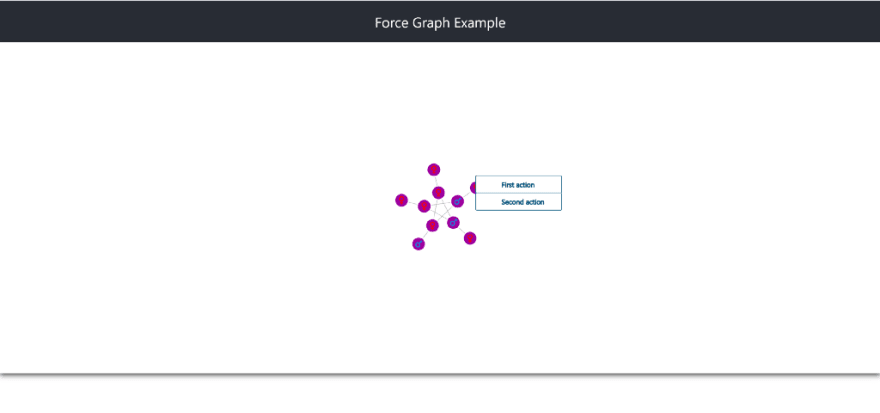
Here is how the graph will look like with an open context menu:
Summary
In the post I explained how you can add a D3 generated context menu to a force graph. Context menus can be very useful to add actions to your graph so I hope that you will find this post valuable. You can find the graph code here.


Top comments (0)