About the Project
I've always been fascinated by small microcontrollers. Being able to see the bits change and the effect of changing just one bit is rare on a normal computer, but microcontrollers such as the Arduino UNO allow me to see and manipulate the interactions between software and hardware. I had recently learned to solder and had the time to work on a new project, so I ordered some pieces and decided to try to make a handheld game with an Arduino. I also wanted to be able to build several of these with a group of friends to teach them soldering, a little embedded programming, and make something they could take with them to college.
Making it Happen
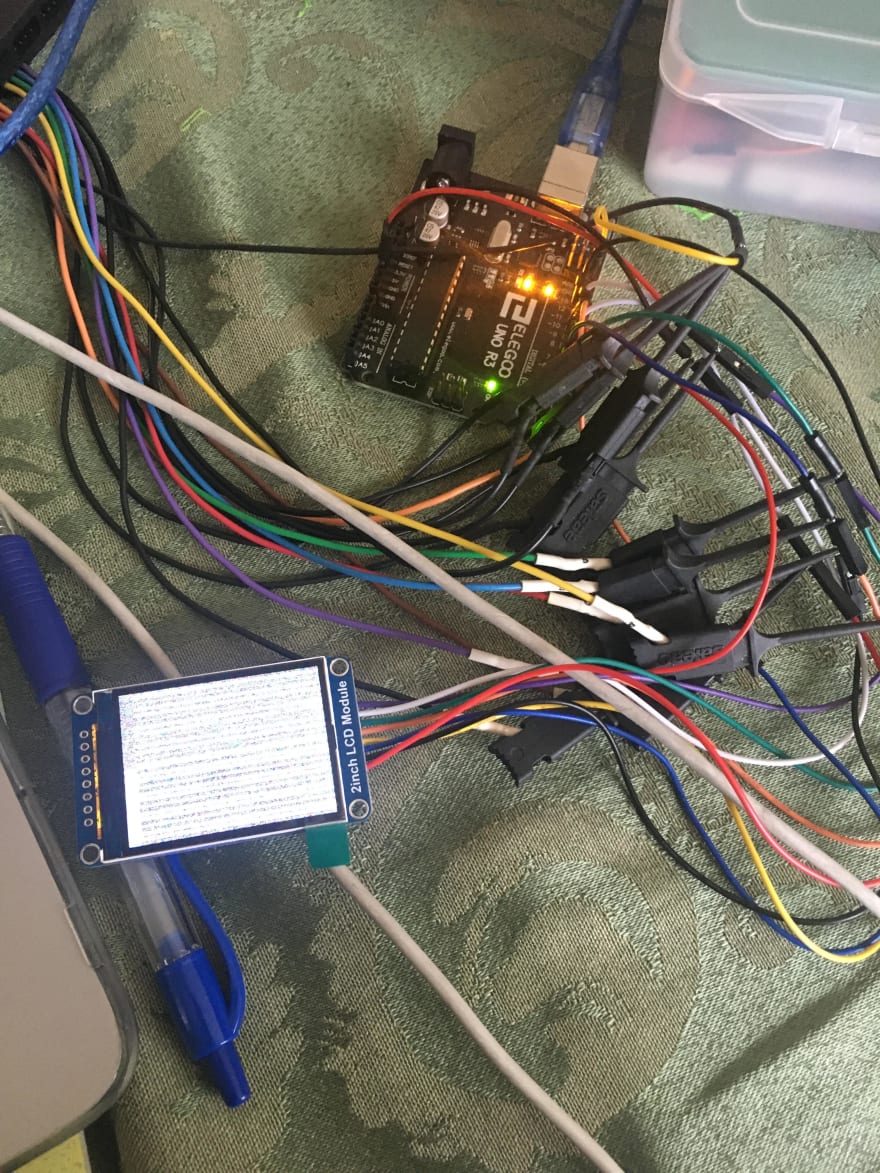
The first step was figuring out how to program the uno without the Arduino IDE. The IDE is a great starting point, but the display is rather large for the Arduino to control, and the little speed lost to the Arduino libraries was important. Also, the Arduino IDE only supports one file (sketch). As this could become a larger project, I wanted the ability to use multiple files, and potentially cpp with multiple classes/namespaces to organize everything. I found the avr crosscompiling toolchain, and wrote a blinky without the Arduino IDE for the first time. From there it was just reading the documentation for the atmega328p and the display I'm using, and convincing them to work together. I ended up using the USART on the arduino in SPI mode since it was double-buffered rather than the hardware SPI pins which are single-buffered, and managed to get the display to turn on!
After lots more fiddling, I managed to make the arduino paint the screen as fast as it possibly can, using assembly to ensure I used every clock cycle to its full effect... (added delay in between screen refreshes)
Sadly, that was rather slow for a game... However, the display supports setting a smaller painting window, so I shouldn't ever need to update the entire screen at once.
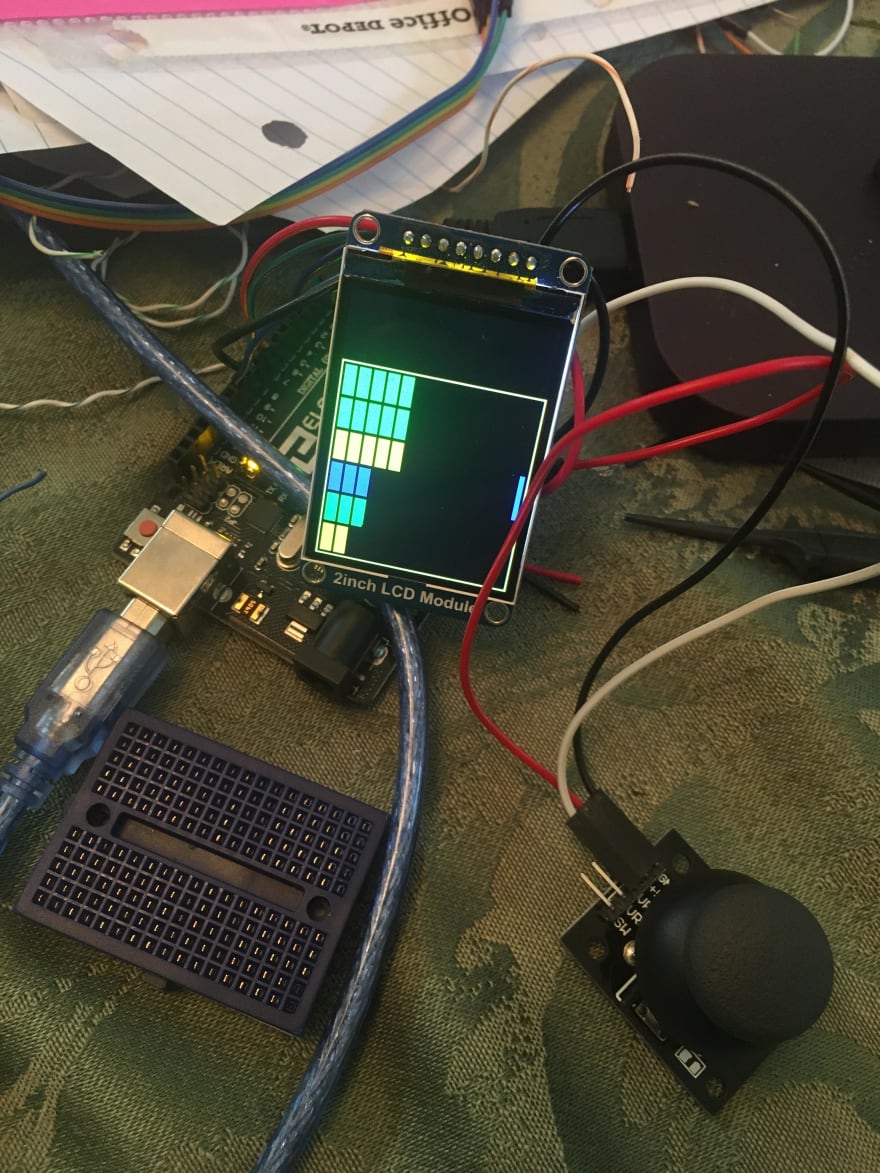
I decided to use a simplified brick breaker as the first game, so I made a ball and paddle controlled by an analog joystick which made fun designs when I don't completely clear the ball as it moves...
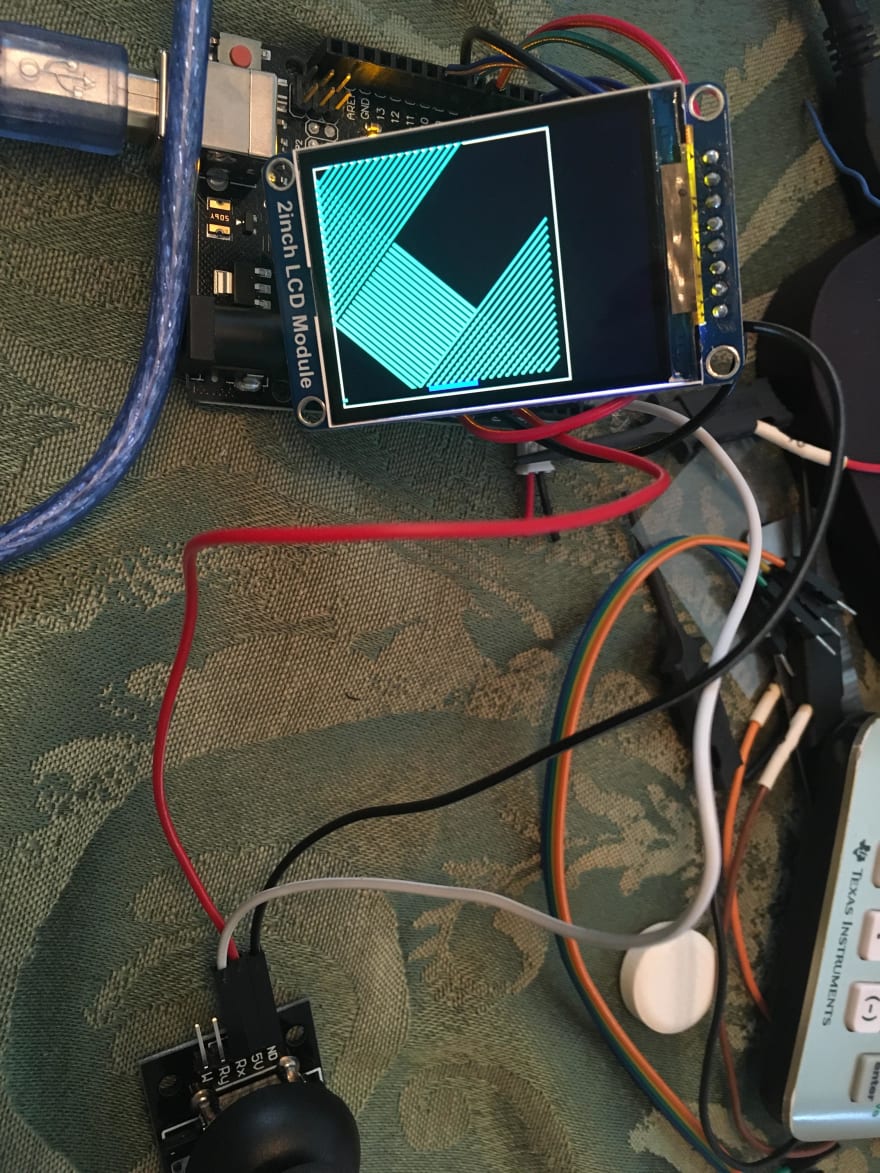
That looks a lot faster, so it seems it is possible to make a playable game with the arduino by only updating some of the screen. After adding some blocks to break it's mostly playable!
To make text appear, I made a bitmap font and imported it as hex into my program. Then I was able to paint that font as an image on the screen. However, as an added challenge, I decided to do it without any existing libraries. So, I ended up with a bunch of assembly and a few failed attempts where I had lost my font in PROGMEM and was looking for it in SRAM.
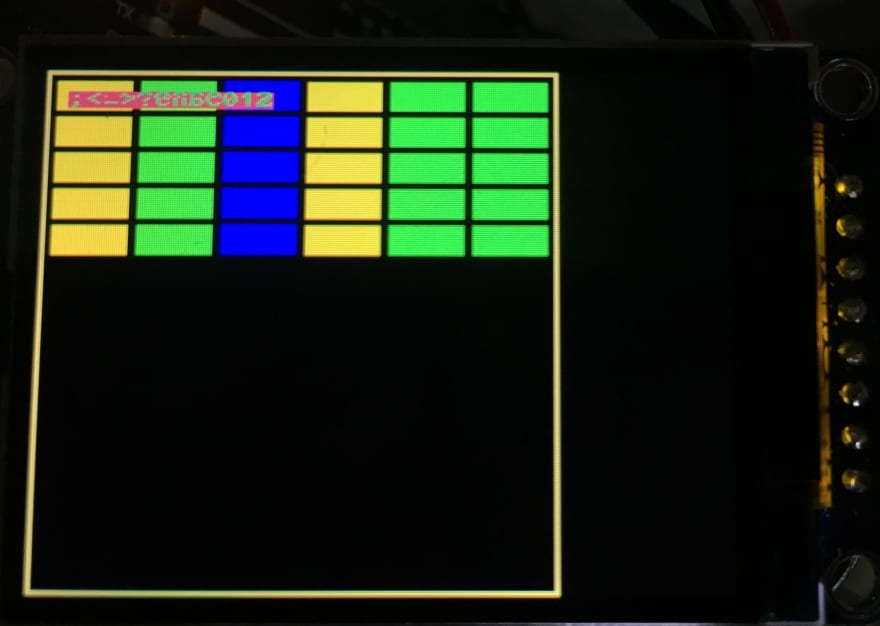
After finally getting the font working, I could add a score on the side!
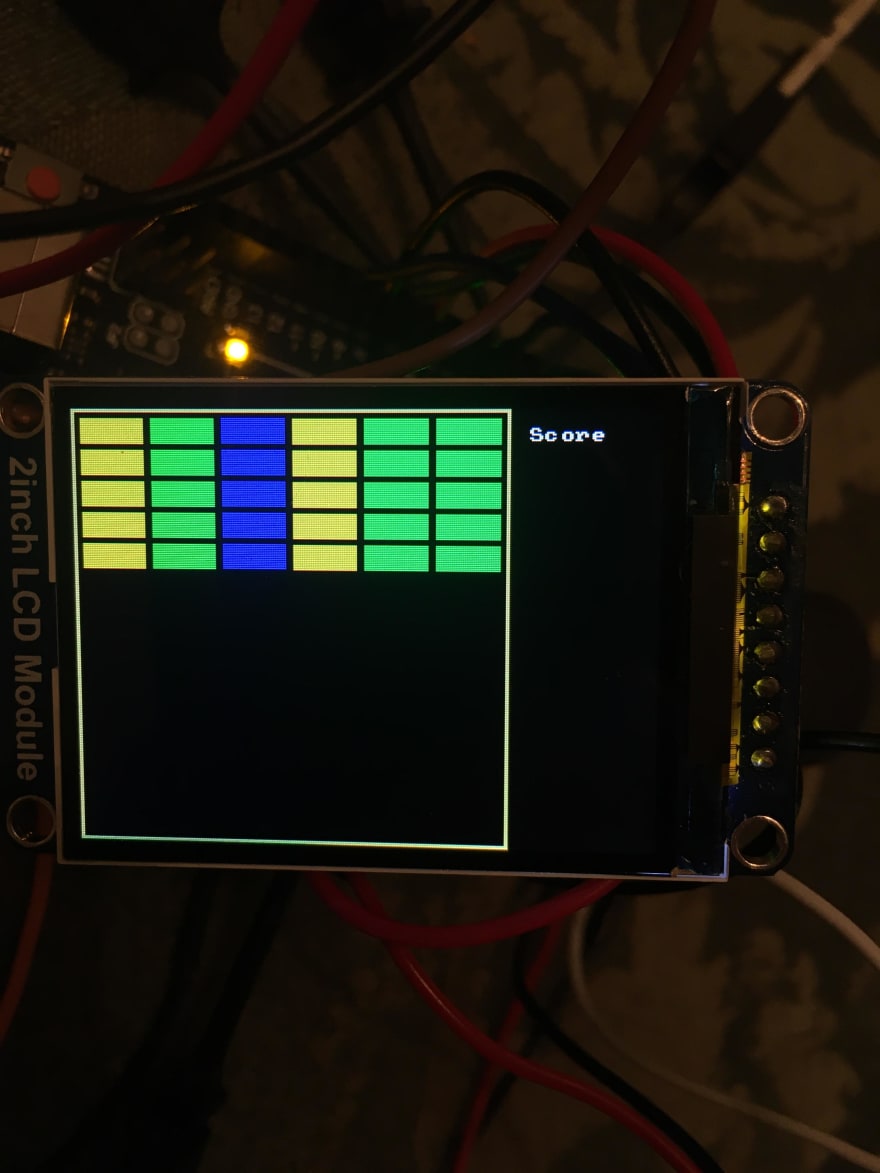
Making decimal numbers appear was another challenge, since I still wanted to use only plain c and asm, but I eventually succeeded in a final game that works!

Link to Code
This has been updated for V2. To find the AVR code, look in resources/AVR.
V2!
Sadly, I realized that the Arduino Uno was not the right choice for this project. Although I did succeed and learned a lot about avr processors, the arduino can't go beyond basic games, and I wanted more processing power. So, I turned to the Adafruit Adalogger M0. I'm currently working on rewriting this to work on the adalogger, but with the SD card, I'm expecting to be able to store many different games and pick one to play on the fly without downloading new code constantly. We'll see what happens...
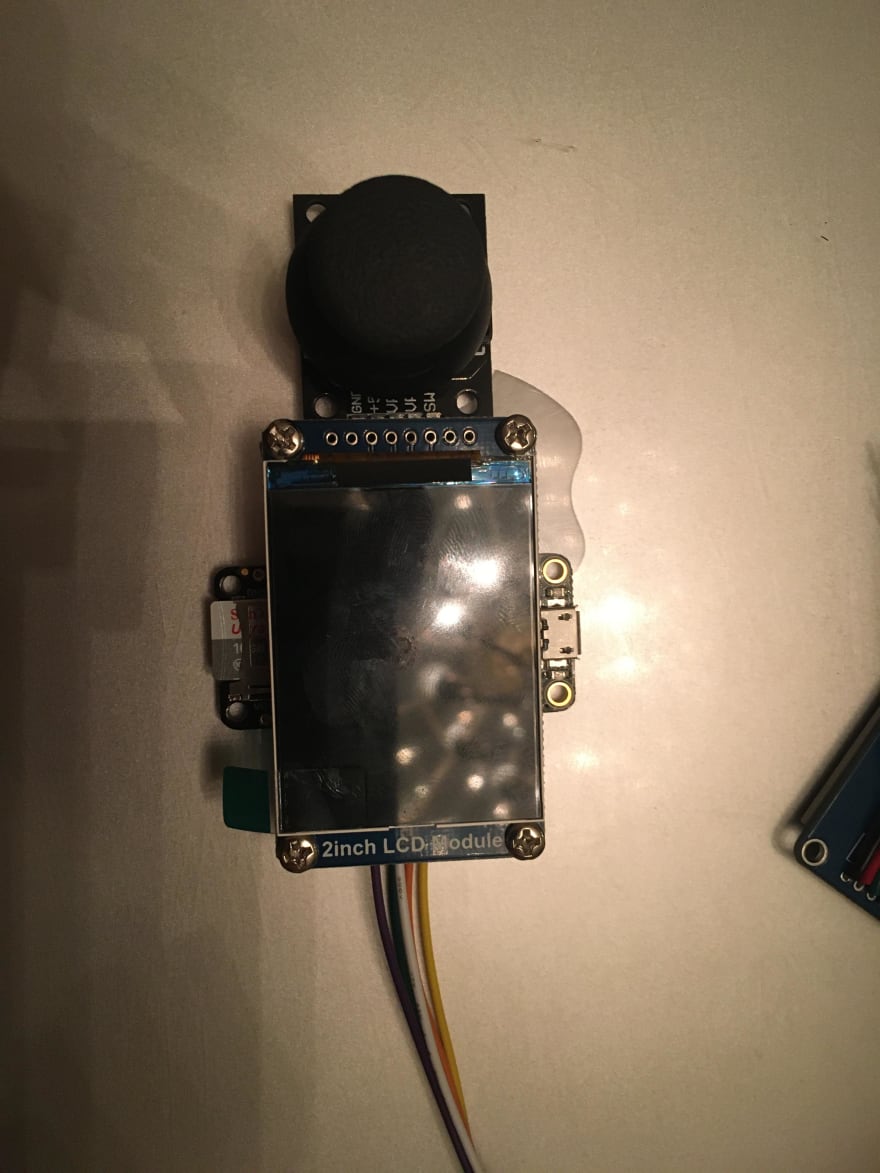
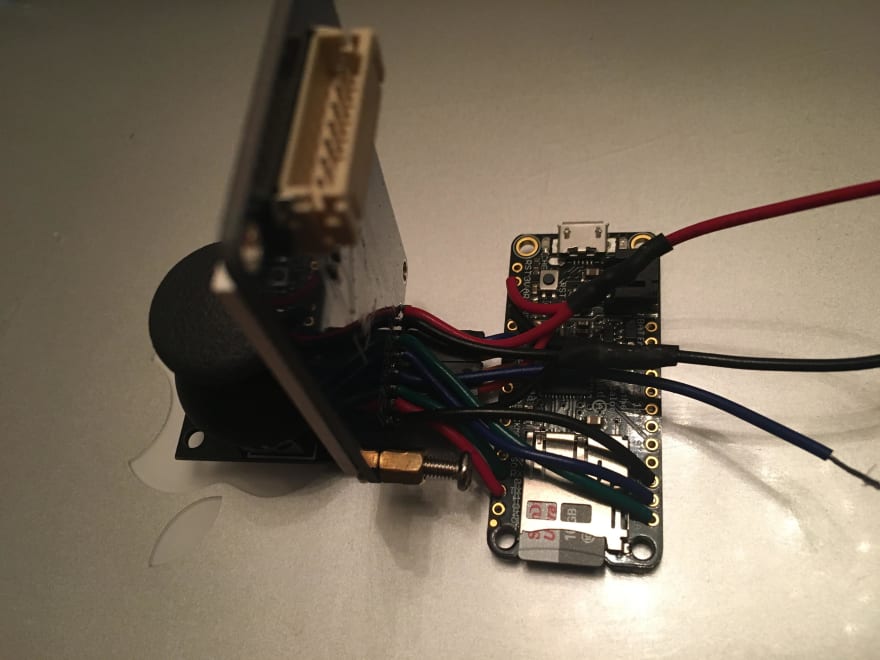
Here's some pictures of what I've assembled so far...

(Initial layout planning)

(Starting to solder)
(Finished Soldering)
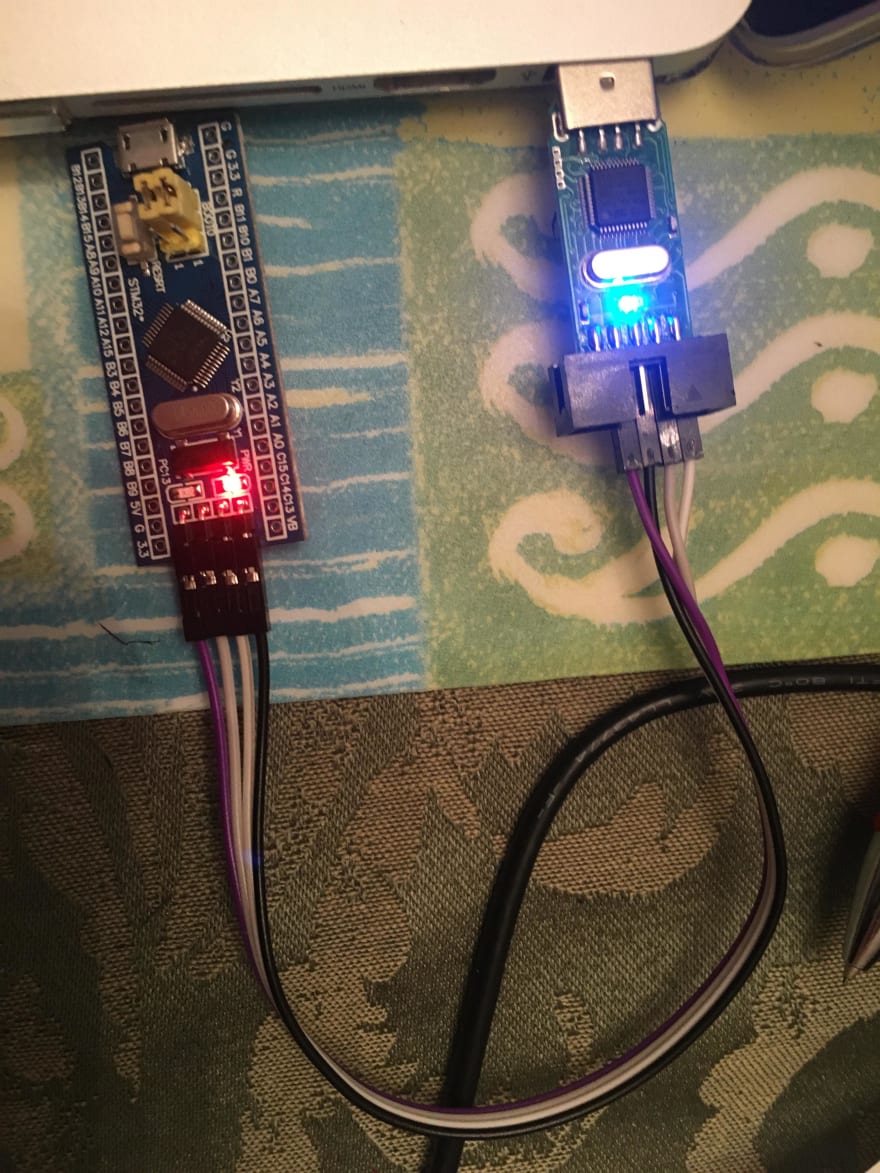
(Flashing a STM32 development board with BlackMagic Probe as a debugger)
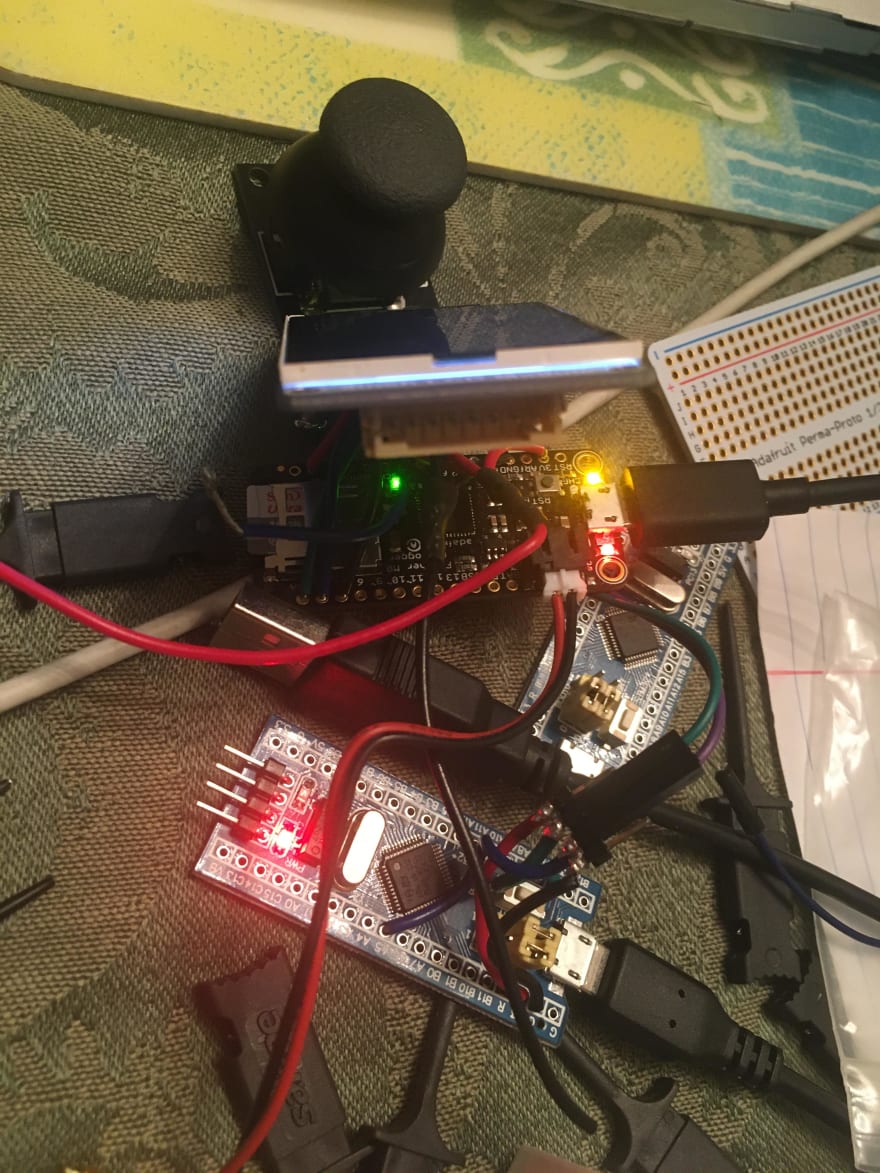
(Debugging with the flashed BMP)
I've just finished getting the adalogger to refresh the screen and it's a lot faster than the arduino. I would get ~1 Hz-ish refresh rate on the display from the arduino, but with the adalogger, I've gotten ~40Hz. The refresh rate of the display is ~60Hz, so I get a tearing effect, but it's a lot faster than the arduino was. I'm looking forward to finishing the project!
Thanks for reading!
~ 2020 HS Senior
Notes:
- I had wanted to make the videos loop since they're so short, but gifs didn't do the timing justice.
- I hadn't intended to write a post on this when I made it and just found what pictures I had available since V1's been cannibalized by V2, so some of the images are not great.
- Check out the resources folder in the GitHub repo or comment if you're stuck on something similar. I wrote this as an overview, there were a lot of problems I shortened or skipped over entirely, and although most of my resources were websites I quickly found and used to solve a single problem (thanks StackOverflow!) , many of the reference documents are in there.

Top comments (0)