Hooks have become really popular after its official release. They've truly made the lives of React Developers easy. You can know more about React Hooks here.
Auth0, who provides a seamless service to integrate authentication and authorization in you apps, have recently released Hooks, which are in beta. There are four different extensibility points where you can use these hooks.
These extensibility points are
- Client Credentials Exchange
- Post Change Password
- Post User Registration
- Pre User Registration
This blog post focuses more on Post User Registration Hook, but let's try and understand the other hooks as well.
Client Credentials Exchange
This particular hook can be used when you want to modify the scope for the user. Consider an example where you want to provide the user with the additional ability to read the resources. You can use this hook to modify the scope. To know more read the official documentation from Auth0.
Post Change Password
When your user changes their password you want to send them a notification email.This is the extensibility point where you want to execute the code to send them the notification. This is just one use-case for this hook, according to your requirements you can use this hook and notify the user. The official Auth0 documentation covers this pretty well.
Pre User Registration
Let's say you want to store some additional information about the user. The Pre User Registration extensibility point is the perfect place for that. With this you can store user_metadata or app_metadata. To know more how to use this hook checkout the official documentation.
Post User Registration
The Post User Registration helps you perform any activity you want once a user registers an account. It can be from sending an email notification, to notifying on the slack. It can also be used to add it your database, which is what we are going to learn to do.
Setting up the application
For this demo we will be using firebase as our database.
1. Setting up Firebase
- Go to the Firebase Console and login.
- Click on Create Project and give your project a name. You can choose to disable Google Analytics for the project if you wish to.
- Once your project is created, select Develop from the sidebar and then select Database.
For this tutorial I'll be creating the Realtime database with the test mode selected
Once you hit the enable button your database is created.
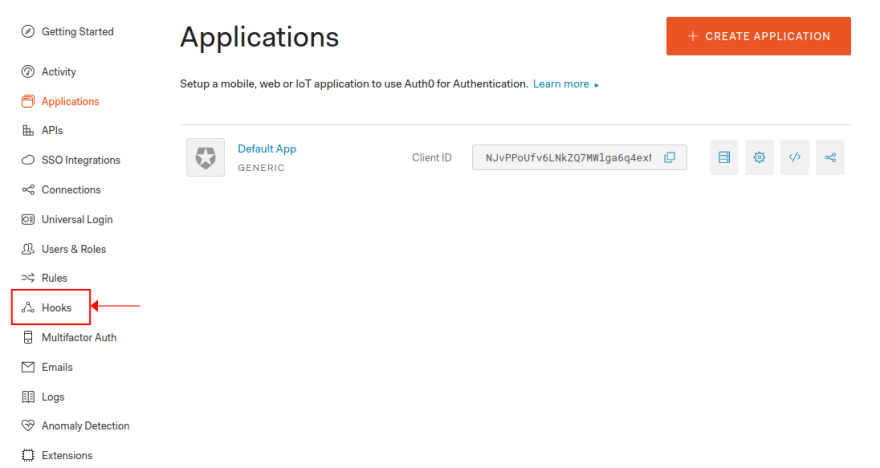
2. Setting up Auth0
- Auth0 gives us a default app to play with. We will this for the tutorial.
- On the left side there is an option of Hooks. Once you select that you will see the above mentioned options.
- We will create a new hook under Post User Registration. Click on
Create New Hookand give your hook a name.

- Open the text editor by clicking on the edit button to write some custom code.
/**
@param {object} user - The user being created
@param {string} user.id - user id
@param {string} user.tenant - Auth0 tenant name
@param {string} user.username - user name
@param {string} user.email - email
@param {boolean} user.emailVerified - is e-mail verified?
@param {string} user.phoneNumber - phone number
@param {boolean} user.phoneNumberVerified - is phone number verified?
@param {object} user.user_metadata - user metadata
@param {object} user.app_metadata - application metadata
@param {object} context - Auth0 connection and other context info
@param {string} context.requestLanguage - language of the client agent
@param {object} context.connection - information about the Auth0 connection
@param {object} context.connection.id - connection id
@param {object} context.connection.name - connection name
@param {object} context.connection.tenant - connection tenant
@param {object} context.webtask - webtask context
@param {function} cb - function (error, response)
*/
module.exports = function (user, context, cb) {
  const req = require('request')
  req.post({
    url:"https://<USER-PROJECT-NAME>.firebaseio.com/user.json",
    json: {
      "username":user.email
    }
  })
  cb();
};
- Hit on save to save your script. You can test it out using Runner.

Now go back to the Firebase and you'll see new data has been added.
Similarly you can add user information to your database, once the user has registered.
Follow along this article from the Auth0 team to setup Auth0 with your React Application.

Top comments (0)