When developing Flutter applications, managing different configurations for development, staging, and production environments can be challenging.
This is where flavors come in handy. By using a package like flutter_flavorizr, you can streamline the process of creating and managing flavors in your Flutter app.
Here's a detailed guide to help you get started!
What are Flavors in Flutter?
Flavors mean you define multiple build configurations within the same codebase. For example:
- Development (dev): Used for internal testing and debugging.
- Staging (staging): Pre-production testing for QA teams.
- Production (prod): The final build for end-users.
Each flavor can have its unique settings, such as:
- App name and icon.
- Firebase configurations.
- API endpoints and environment variables.
Why use flutter_flavorizr?
Manually setting up flavors can be time-consuming and error-prone as it requires changes across multiple files in both Android and iOS projects.
The flutter_flavorizr package automates this process by:
- Generating flavor-specific configurations.
- Managing Android and iOS settings for each flavor.
- Reducing manual overhead and potential errors.
Getting Started
Add the Package: Add flutter_flavorizr to your dev_dependencies in pubspec.yaml
dev_dependencies:
  flutter_flavorizr: ^2.2.3 # Latest version
Define Flavors: Create a flavorizr.yaml file in the root of your project. And then add some configuration
For example:
app:
android:
flavorDimensions: "app"
flavors:
dev:
app:
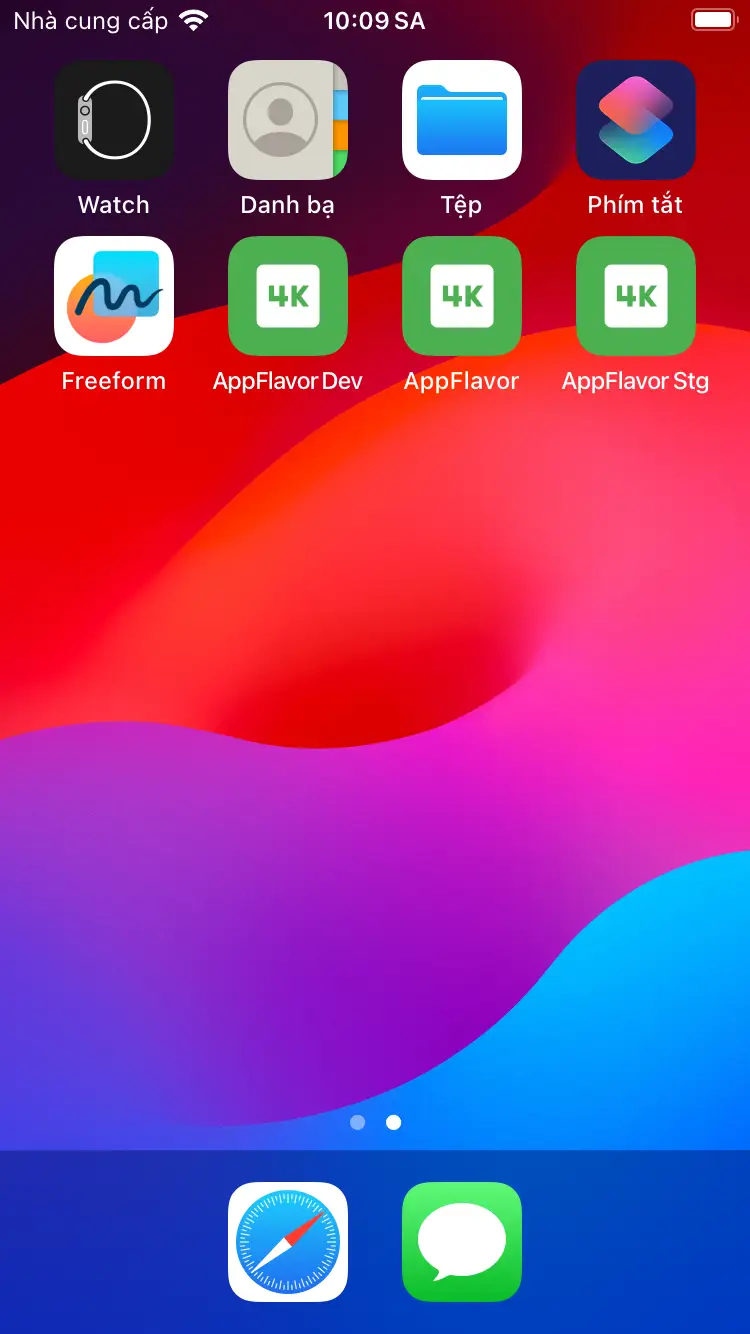
name: "AppFlavor Dev"
android:
applicationId: "com.urcompany.android.dev"
icon: "assets/icon_app/android/icon_app.png"
ios:
bundleId: "com.urcompany.ios.dev"
icon: "assets/icon_app/ios/icon_app.png"
stg:
app:
name: "AppFlavor Stg"
android:
applicationId: "com.urcompany.android.stg"
icon: "assets/icon_app/android/icon_app.png"
ios:
bundleId: "com.urcompany.ios.stg"
icon: "assets/icon_app/ios/icon_app.png"
prod:
app:
name: "AppFlavor"
android:
applicationId: "com.urcompany.android"
icon: "assets/icon_app/android/icon_app.png"
ios:
bundleId: "com.urcompany.ios"
icon: "assets/icon_app/ios/icon_app.png"
Generate Configurations: Run the generator command
flutter pub run flutter_flavorizr
After running this, the library will create and modify some files in your project to fit your configuration.
Once the process is complete, you will be able to launch your Flutter flavors.
Now, you can run your app in different environments with the following commands:
run-app:
  dev:
    - flutter run --flavor dev -t lib/main_dev.dart
  prod:
    - flutter run --flavor prod -t lib/main_prod.dart
  stg:
    - flutter run --flavor stg -t lib/main_stg.dart
Firebase config with flavor
flutter_flavorizr allows you to configure Firebase settings for each environment.
Here’s an update of how you can define Firebase configurations in flavorizr.yaml:
app:
  android:
    flavorDimensions: "app"
flavors:
  dev:
    app:
      name: "AppFlavor Dev"
    android:
      applicationId: "com.urcompany.android.dev"
      icon: "assets/icon_app/android/icon_app.png"
      firebase:
        config: ".firebase/android/google-services-dev.json"
    ios:
      bundleId: "com.urcompany.ios.dev"
      icon: "assets/icon_app/ios/icon_app.png"
      firebase:
        config: ".firebase/ios/GoogleService-Info-dev.plist"
  stg:
    app:
      name: "AppFlavor Stg"
    android:
      applicationId: "com.urcompany.android.stg"
      icon: "assets/icon_app/android/icon_app.png"
      firebase:
        config: ".firebase/android/google-services-stg.json"
    ios:
      bundleId: "com.urcompany.ios.stg"
      icon: "assets/icon_app/ios/icon_app.png"
      firebase:
        config: ".firebase/ios/GoogleService-Info-stg.plist"
  prod:
    app:
      name: "AppFlavor"
    android:
      applicationId: "com.urcompany.android"
      icon: "assets/icon_app/android/icon_app.png"
      firebase:
        config: ".firebase/android/google-services.json"
    ios:
      bundleId: "com.urcompany.ios"
      icon: "assets/icon_app/ios/icon_app.png"
      firebase:
        config: ".firebase/ios/GoogleService-Info.plist"
After defining the Firebase configurations, run the following command to generate the correct Firebase setup:
dart run flutter_flavorizr -p google:firebase
Now, each environment will point to its respective Firebase configuration.
For more details and advanced configurations, check out the official flutter_flavorizr documentation.
By leveraging flutter_flavorizr, you can streamline your development process and ensure a well-organized, scalable app structure. Happy coding!

Top comments (0)